In December, I made over an hour’s worth of content detailing every aspect of Nintendo’s Super Game Boy peripheral. Now, I’m going to take a look at it’s spiritual successor, the Gamecube’s Game Boy Player, and answer the question – “Is this the best way to play Game Boy games on your television screen?”
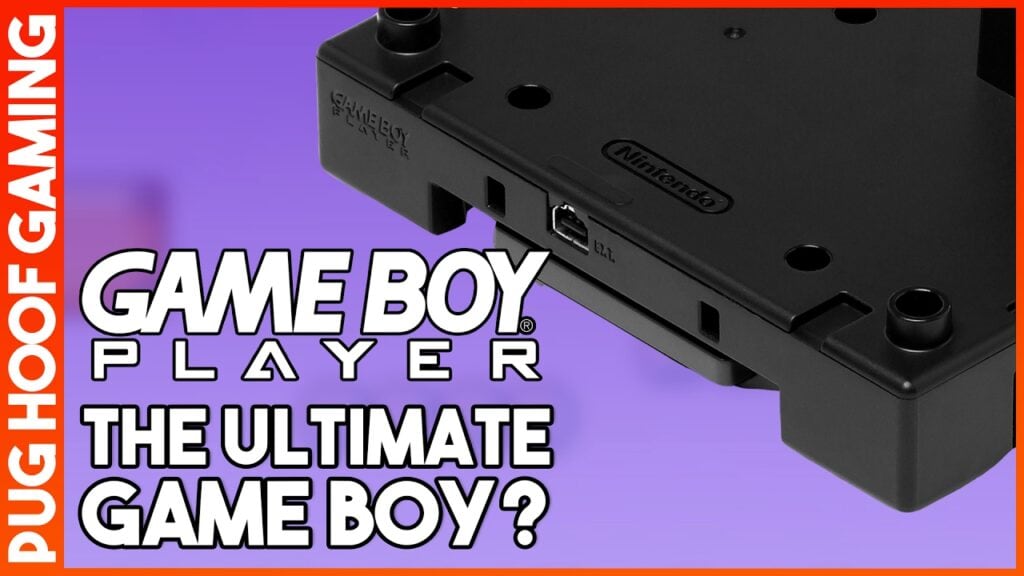
Released in 2003, the Game Boy Player was a peripheral for Nintendo’s Gamecube console, that, when screwed into the bottom of the system, added enough height to finally turn the Gamecube into an actual cube. But aesthetics aside, it’s real purpose was to allow the use of Game Boy, Game Boy Color and Game Boy Advance games to be played on the television, via the Gamecube.
It sounds similar to the Super Game Boy in functionality, and with the power of the Gamecube, you’d be expecting the Game Boy Player to have some awesome added functionality, much like the SNES’s peripheral did? Well, unfortunately, that is far from the case, but that’s not to detract from how great the Game Boy Player actually is.
To use the Game Boy Player, you’ll need to insert your chosen game into the Game Boy Player, and then insert a Startup Disc that comes with the system. Load your Gamecube up, and that’s it. The Startup Disc will load, followed by the game you inserted. You can use a standard Gamecube controller or Wavebird, or if you want the authentic experience, if you have a Game Boy Advance and a Gamecube Game Boy Advance Link Cable, that can be used as a controller.
From then on, there’s a menu that can be displayed by pressing the Z button on the Gamecube pad. Here’s a rundown of what all of those lovely options do:
Fans of the Super Game Boy will love the Frame option, as it grants the player access to 20 different borders that surround the game display. Sadly, unlike the Super Game Boy, there are no game-specific or custom borders, but there are a couple of cool options here, including a lovely Spice Orange Gamecube design.
However, your enjoyment of these borders may well be limited by the Screen Size option, where you can swap between a Normal display mode, and an enlarged Full display mode, which attempts to scale the display up to most of the Gamecube display – With some unwelcome filtering which can make the image look blurry. Personally, I stick to Normal to retain that pixel look, even if that in itself is a little blurry.
The Control menu is pretty self-explanatory, giving you the option to swap between two different controller presets for the X, Y, L & R buttons. In most cases the default setting is fine, but the alternative preset can be useful for fighters like Street Fighter Alpha 3.
Next up is the Screen Filter, and here you can choose three different settings that apply a filter to the way the Game Boy Player draws frames. Normal adds a small amount of blurring between frames, with Soft adding a sort of motion blur to the display which can help mask stuttering animation. Sharp takes all of that away, making for a harsher display that can look quite stuttery. – Although with some games you may not even notice the difference between all three.
Only have 15 minutes to have a quick game of Final Fight One? The Timer mode is your saviour, with a simple timer that displays a message and plays a sound effect when the timer runs out. Not a particularly useful mode, I think you’ll agree.
Finally, there’s the Switch Game Pak mode, which unsurprisingly allows you to stop playing the current game and switch out the cart for another one. I wouldn’t recommend ejecting the cartridge while playing a game, so this menu function is essential. If navigating to this menu is too much effort for you, holding Z and Start on the Gamecube controller will prompt you to switch cartridges.
Unlike the Super Game Boy, the aspect ratio is a lot more authentic whether you’re playing games for the Game Boy, Game Boy Color of Game Boy Advance. However, the biggest issue with the Game Boy Player is it’s image quality. Even if you’re using the legendary Gamecube Component cable, and an NTSC version of the boot disc that’ll allow you to boot up the Game Boy Player in progressive 480p mode, the display is still blurrier than a SNES outputting in RGB.
So, on the grand scheme of things it sounds like although the Game Boy Player has support for the Game Boy Color and Game Boy Advance, the peripheral is lacking in its execution. Or is it more accurate to state that the Game Boy Player is limited by the software it comes with?
Well, it’s very easy to unlock the Game Boy Player’s full potential, and the best news is that it doesn’t require any internal modification at all – Just a special SD to memory card adapter, and some software. Using an easily obtainable pack called the SD Media Launcher from Codejunkies.com, it’s possible to run homebrew software on your Gamecube using the included Action Replay disc, in tandem with the included SD to memory card reader. Two incredibly useful pieces of software are called SWISS, which allows you to run Gamecube apps with various settings such as forcing display options, and the other is an alternative to the Game Boy Player’s startup disc, called Game Boy Interface.
The Game Boy Interface comes in various different flavours, from a standard version that is fully featured and includes various different options and functions to tailor the display to your liking, to a low latency version that is designed for CRT owners and speedrunners. For those using upscalers like the Framemeister, there’s an ultra low latency version which is perfect, and it’s the version I usually boot up.
Using the Game Boy Interface is a topic in itself, far beyond my own knowledge, and the scope of this video – But for more information, the amazing My Life In Gaming have covered this topic in detail and is recommended viewing.
All you need to know is that it fixes pretty much every problem the standard Game Boy Player software has, allowing users to get the best picture you can get, especially if your Gamecube is connected to your TV through RGB or Component cables. You can use SWISS to load the Game Boy Interface and force a 240p resolution for an image that looks even better, depending on your display. The colours are better, the filtering is better – You’re basically getting the experience you would expect with the Game Boy Player out of the box.
Directly compare the Game Boy Player’s original software with that of the Game Boy Interface, and the difference is truly night and day, with a scaled up image that with the right setup, can look as sharp as an emulator.
I’ll let you be the judge of whether the extra functionality of the Super Game Boy is preferable to the ability to play Game Boy Color and Game Boy Advance games on the Game Boy Player. It may lack the highly customisable colour palettes of the Super Game Boy, but at least the Game Boy Player adopts the Game Boy Color’s functionality to change the palette for original Game Boy games by pressing different combinations of the D-pad, A and B buttons while the Game Boy splash screen appears.
As a way to play these games on the television, the Game Boy Player is a perfectly fine method, but with a tiny bit of effort, you have the definitive way to play Game Boy, Game Boy Color and Game Boy Advance games. Well, there’s always an original system, modified with a backlit screen of course (or the Japan-exclusive Game Boy Light!)
