Find all of Link To The Past’s 24 Heart Pieces in this easy to follow guide featuring full video and text instructions. If you’re missing a Heart Piece, you’ll find it right here.
You start Zelda: A Link To The Past with a meagre 3 Container Hearts, and you’ll find a further 11 Container Hearts just by finishing each of the game’s dungeons. The remaining 6 Container Hearts are found by obtaining 24 Heart Pieces – Four of these pieces are required for each full Container Heart.
The Legend of Zelda: A Link to The Past Heart Pieces – Video Guide
The video above should give you a very good idea of where to find all of those pesky pieces of heart. But what if you don’t like watching videos? Don’t worry, I have you covered – Here is a more old-fashioned text and image guide.
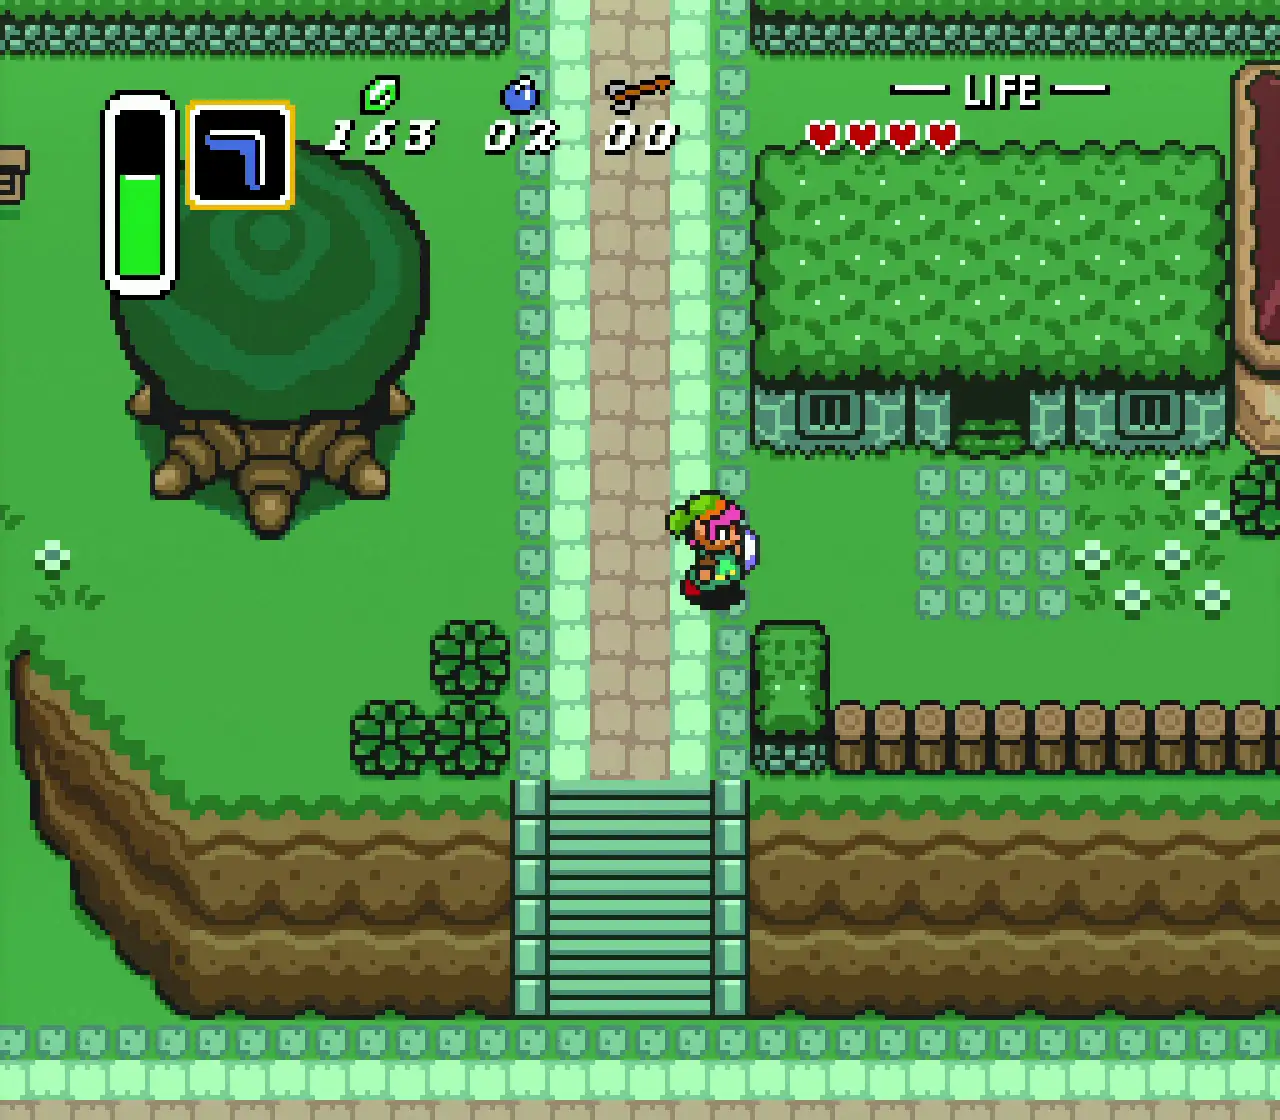
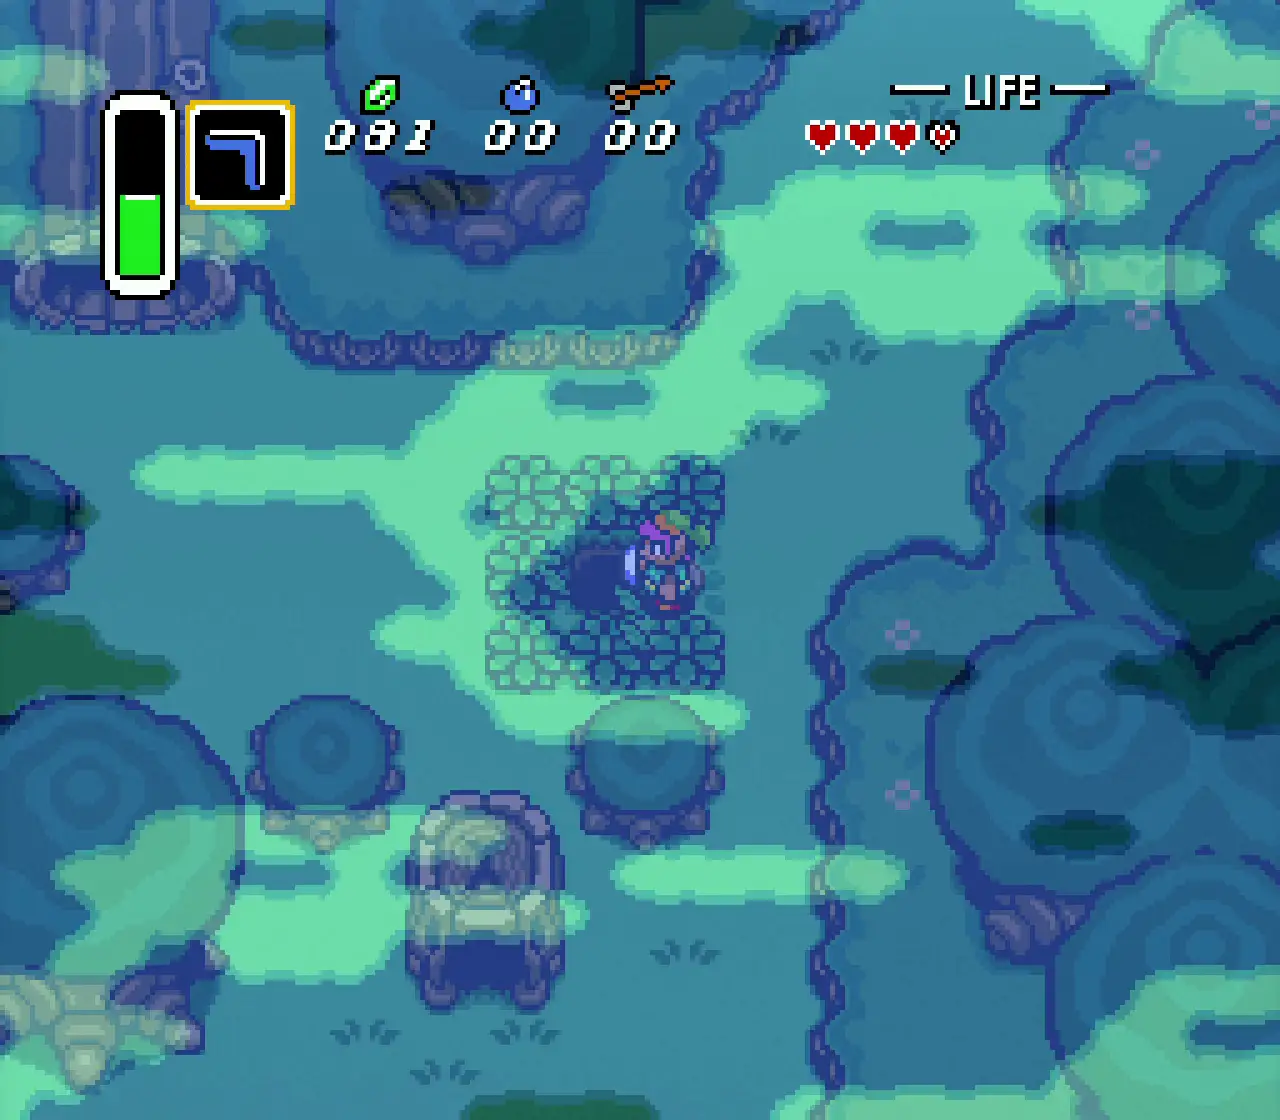
1 – Kakariko Village

Step 1 Step 2 Step 3
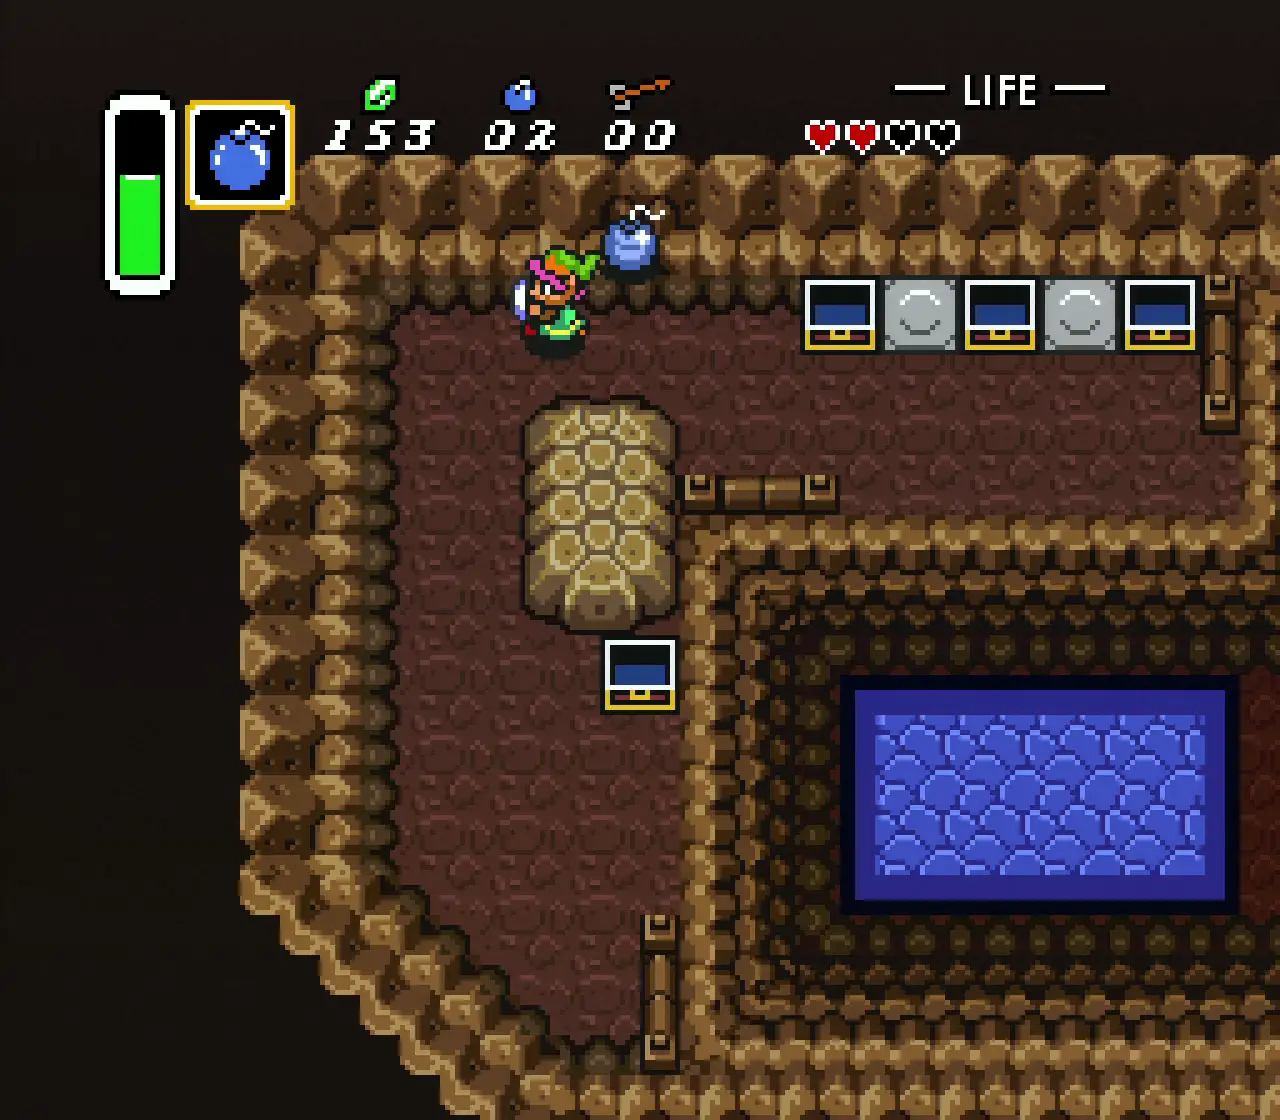
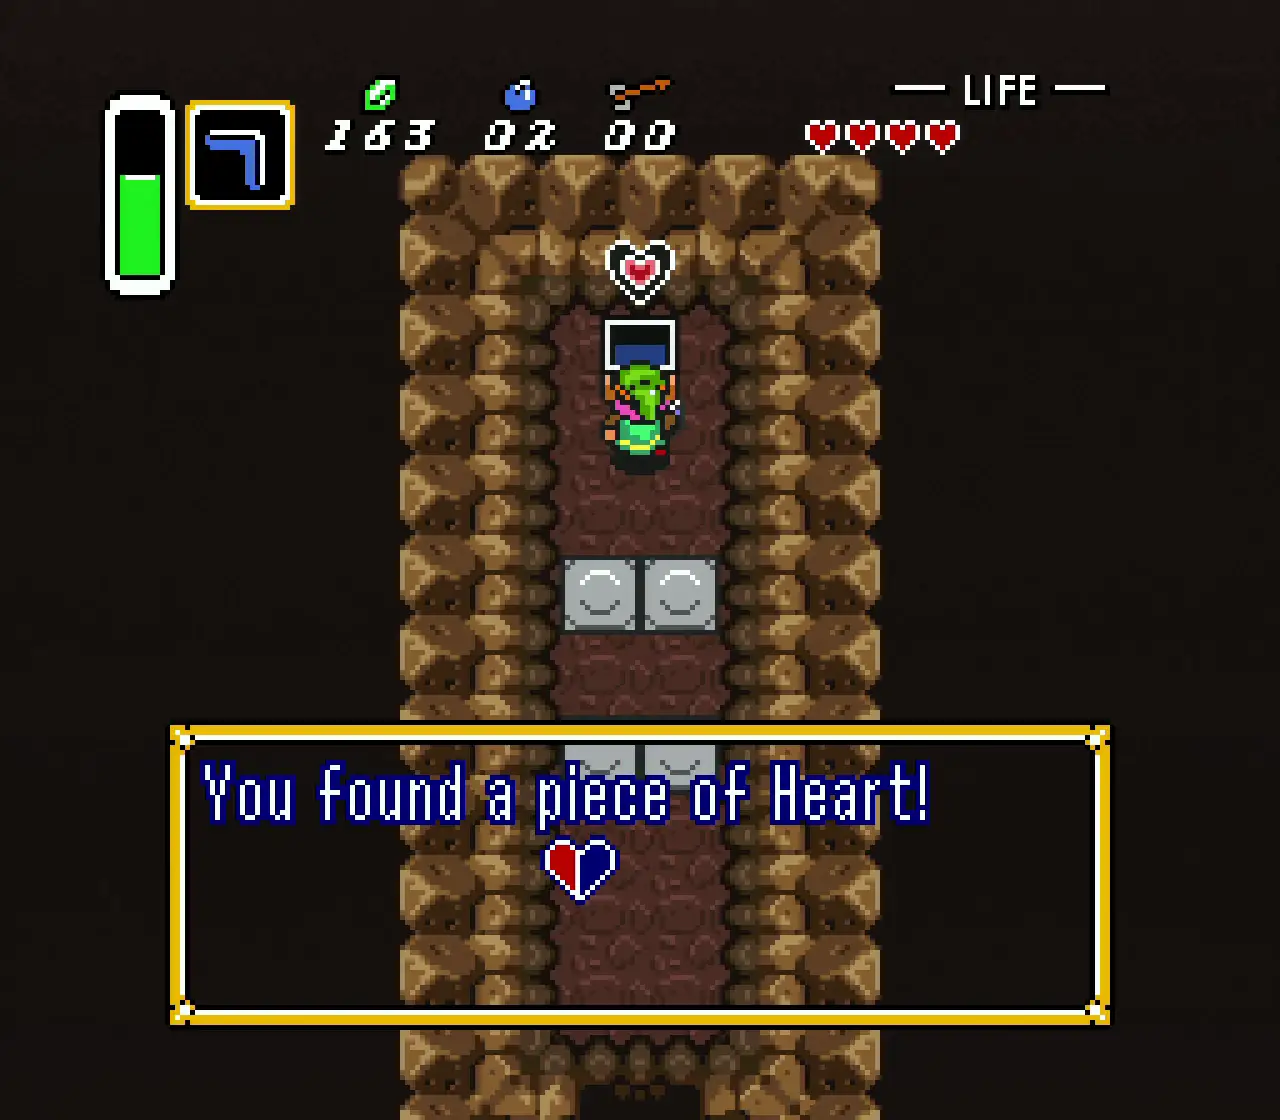
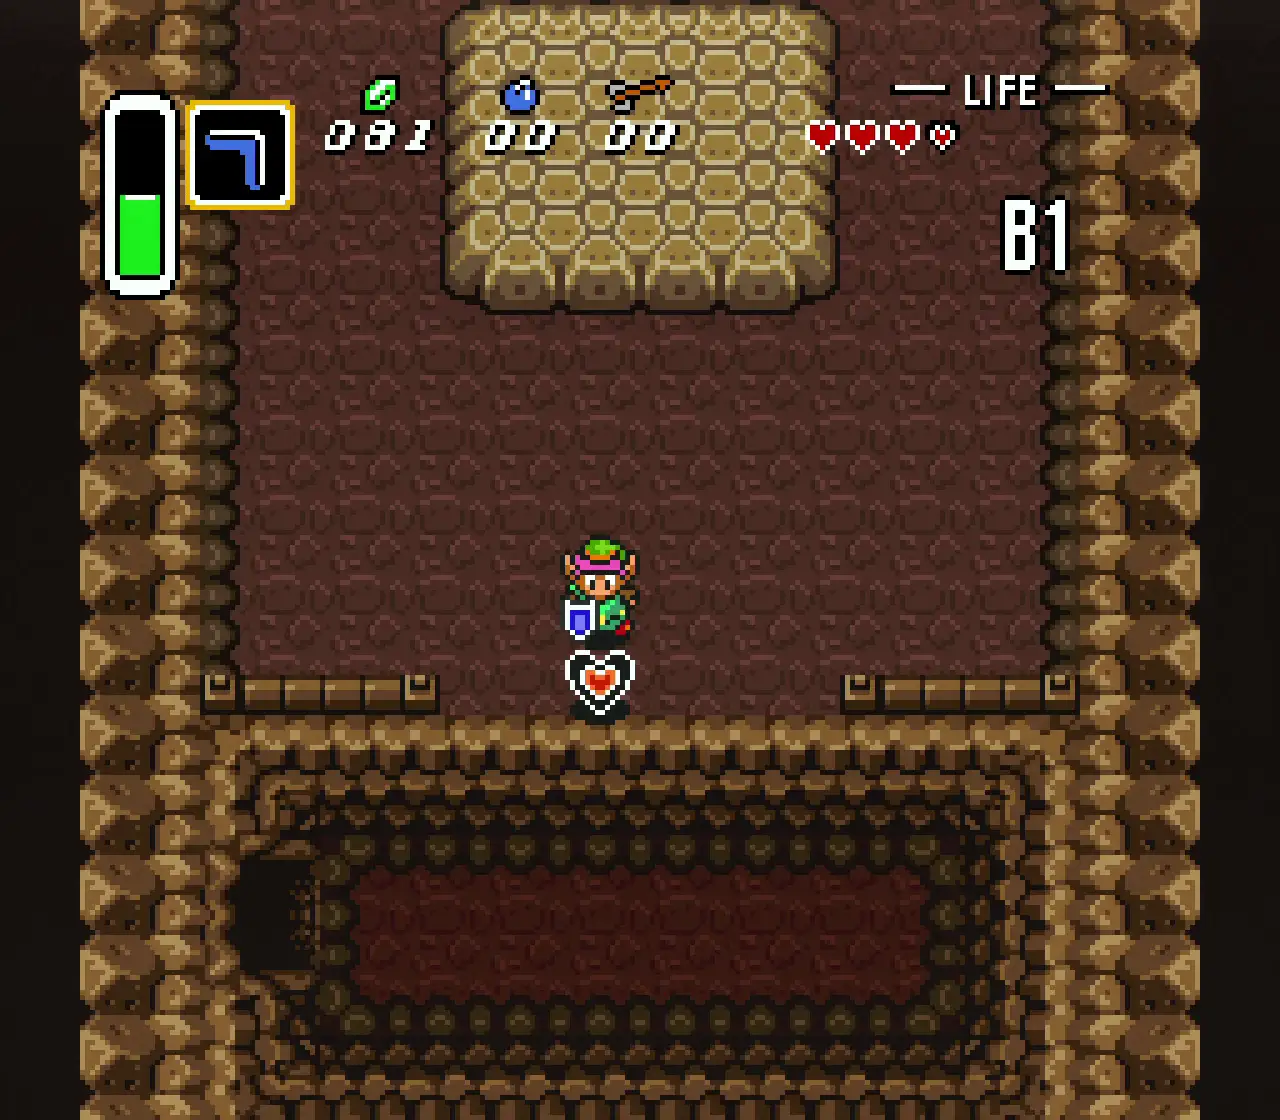
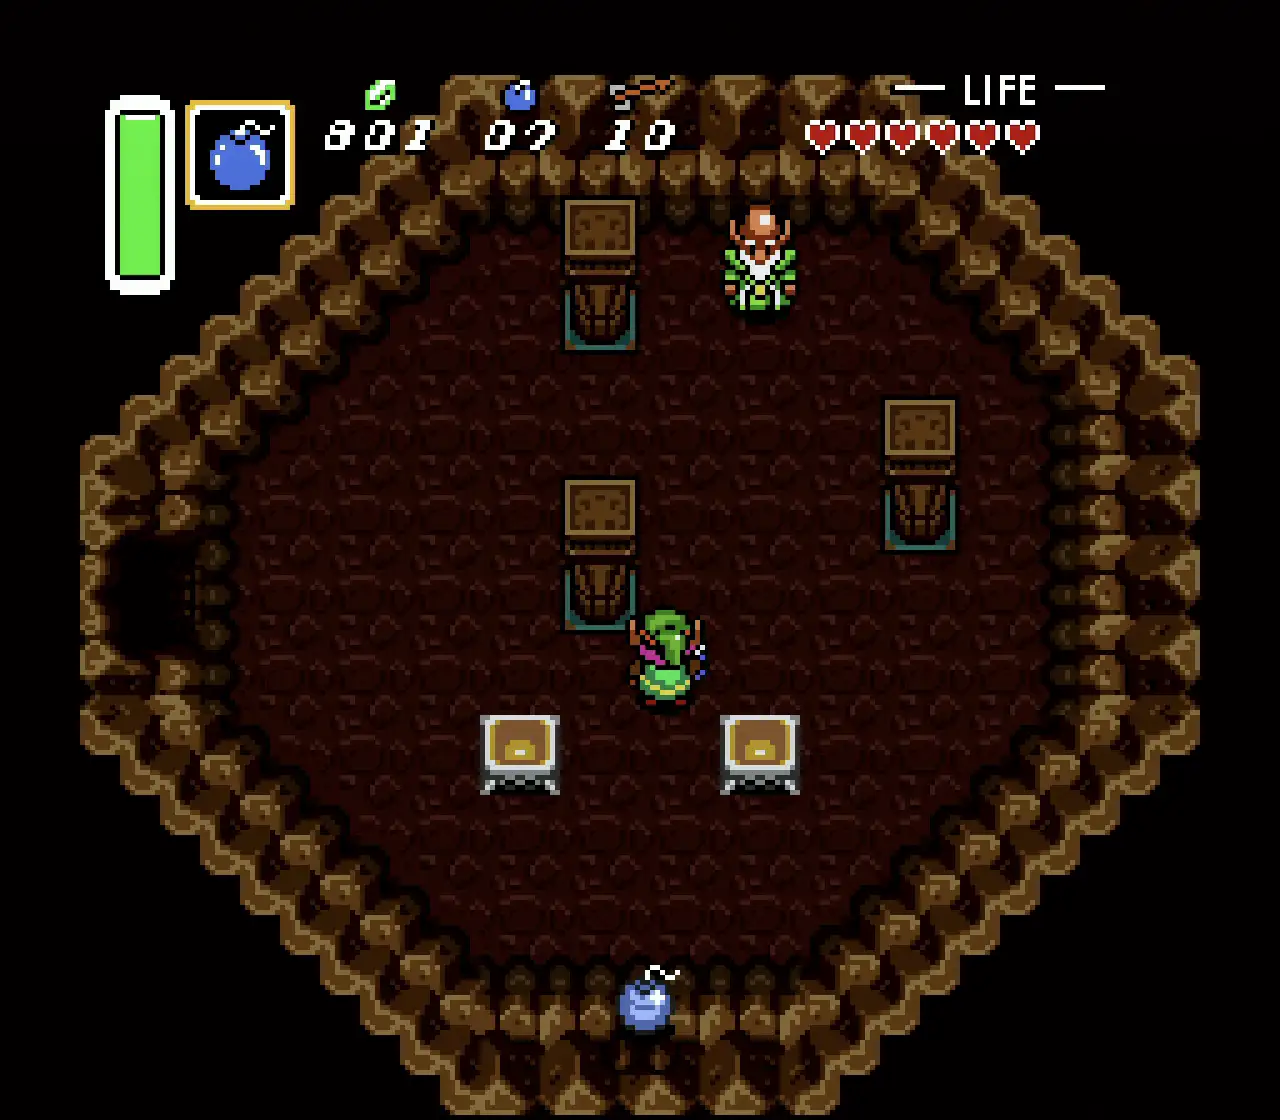
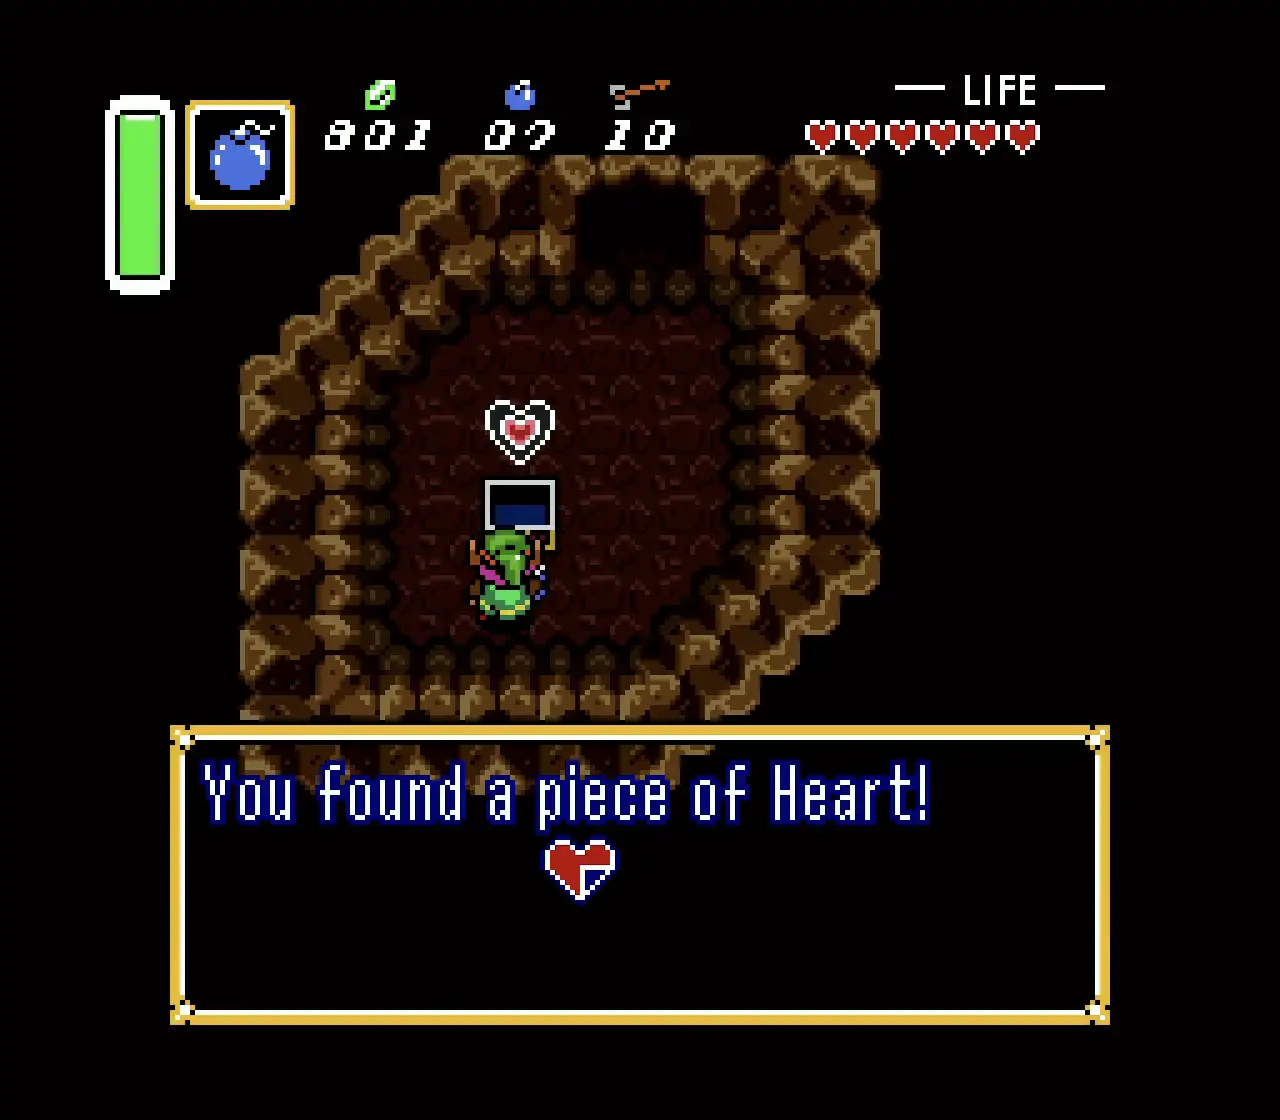
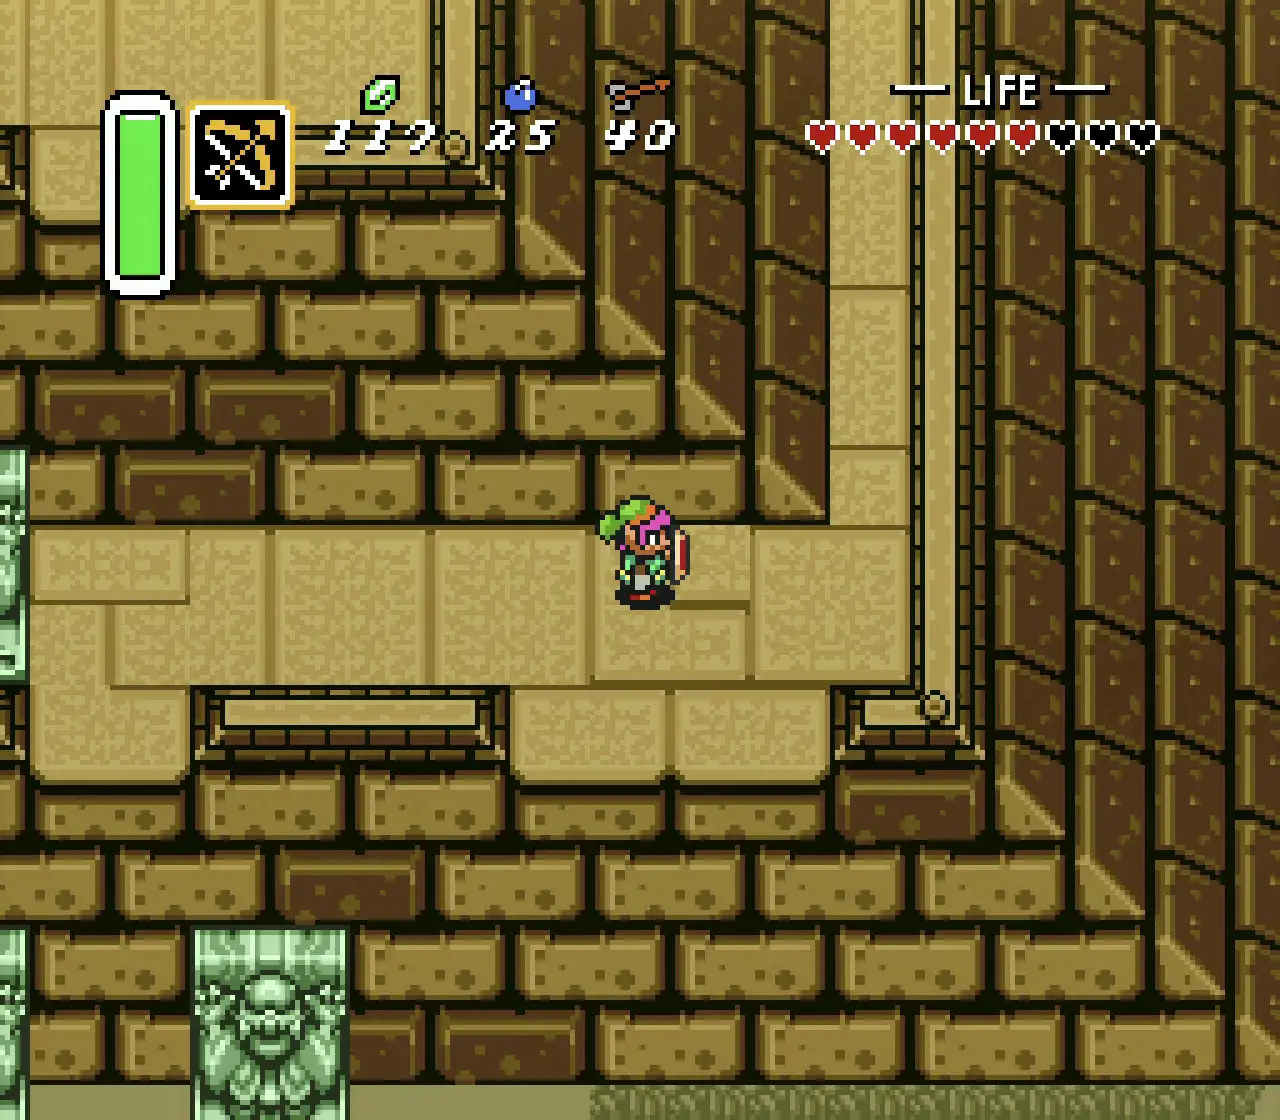
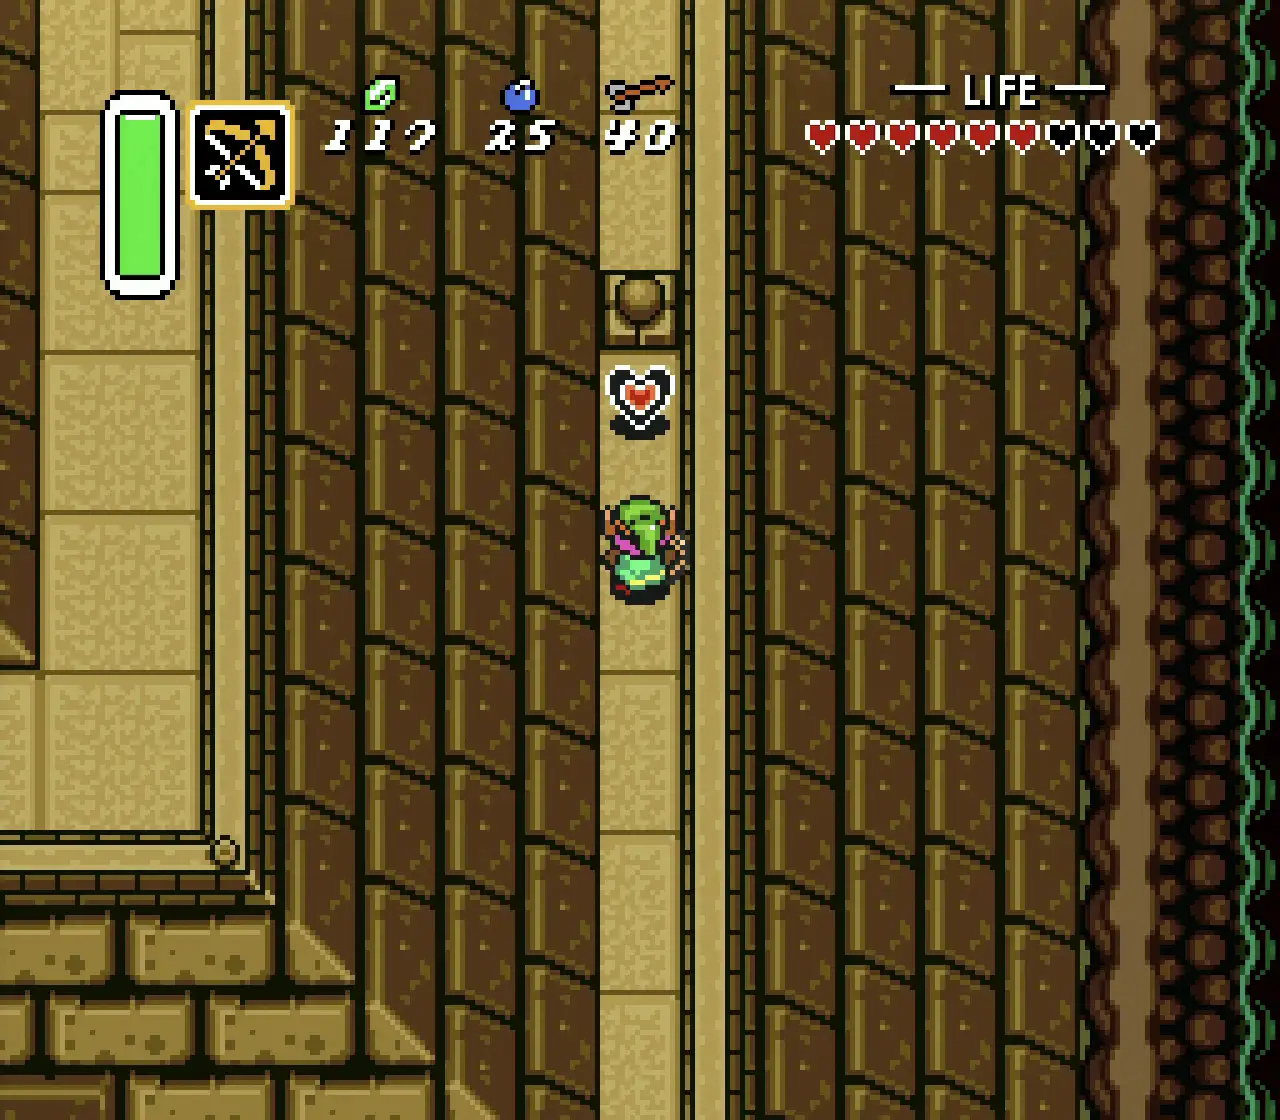
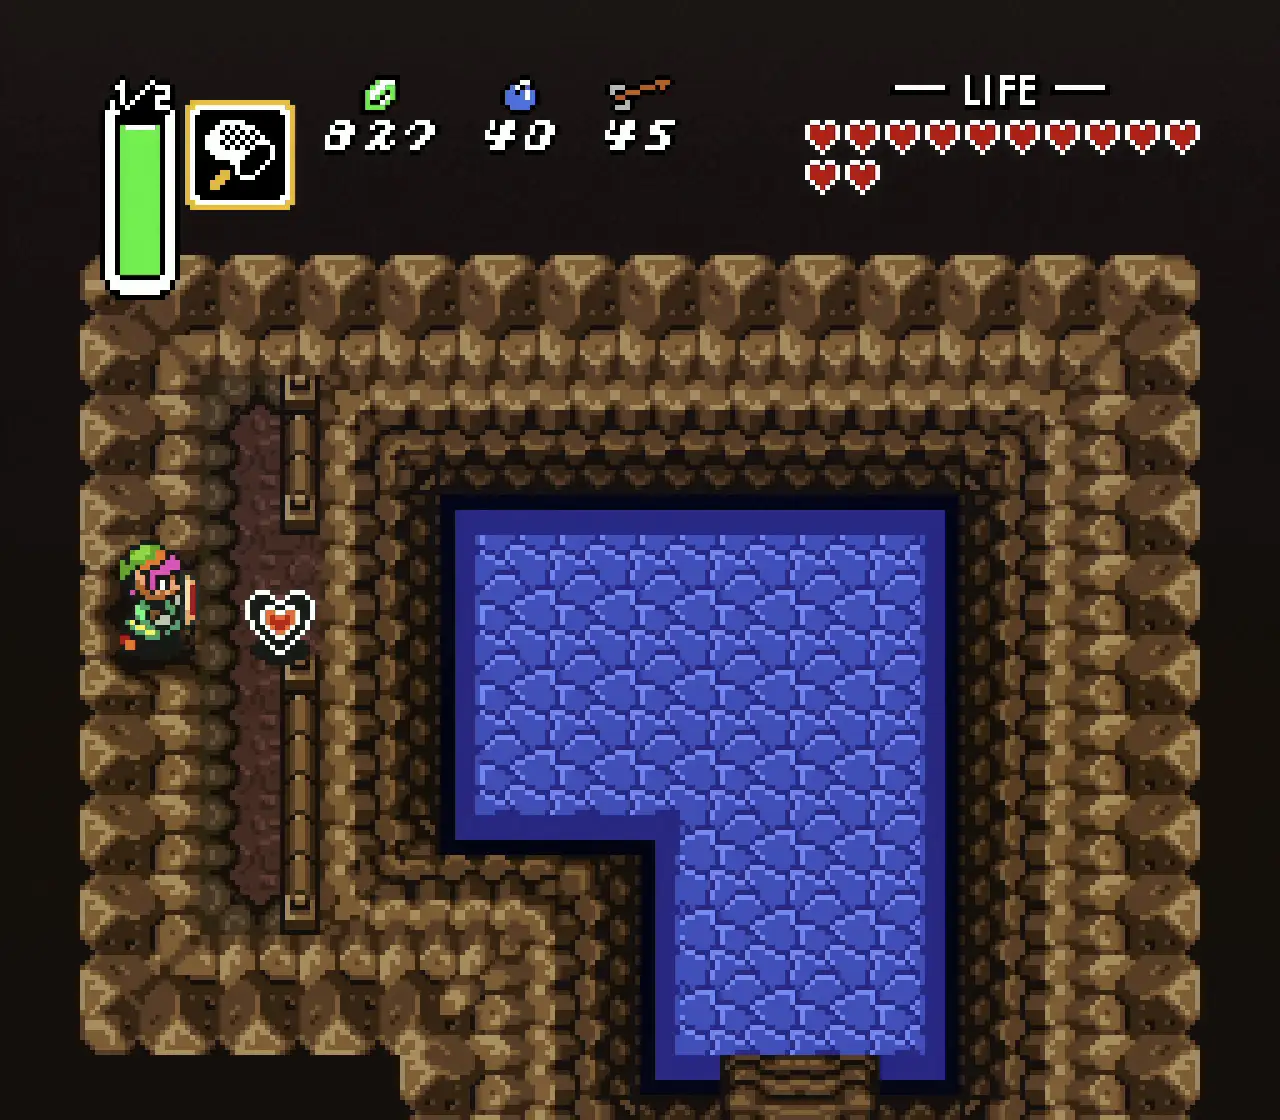
When you reach Kakariko Village, you’ll find a ledge in the Northwestern part of town. Simply leap from the ledge, straight into the hole. In this underground area, you’ll be right next to a chest containing Bombs. Lay one of these in front of the crack in the Northern wall to create an opening. Walk straight through it and you’ll reach the chest containing your first Heart Piece.
2 – Kakariko Village
Step 1 Step 2 Step 3
Also in Kakariko Village, there is a short stone building with a grassy roof. Once you enter this building and go downstairs, there’ll be a crack in the Northern wall that you can bomb. Go through the bombed wall and you’ll find another Heart Piece.

Commercial Break Vol 2: The Legend of Zelda Commercial Special – Some of the best Zelda adverts!
So far, Breath of The Wild is the Zelda game I always wanted
The Legend Of Zelda: A Link To The Past Bottles – Empty Bottle Locations
3 – Kakariko Village
Step 1 Step 2 Step 3 Step 4
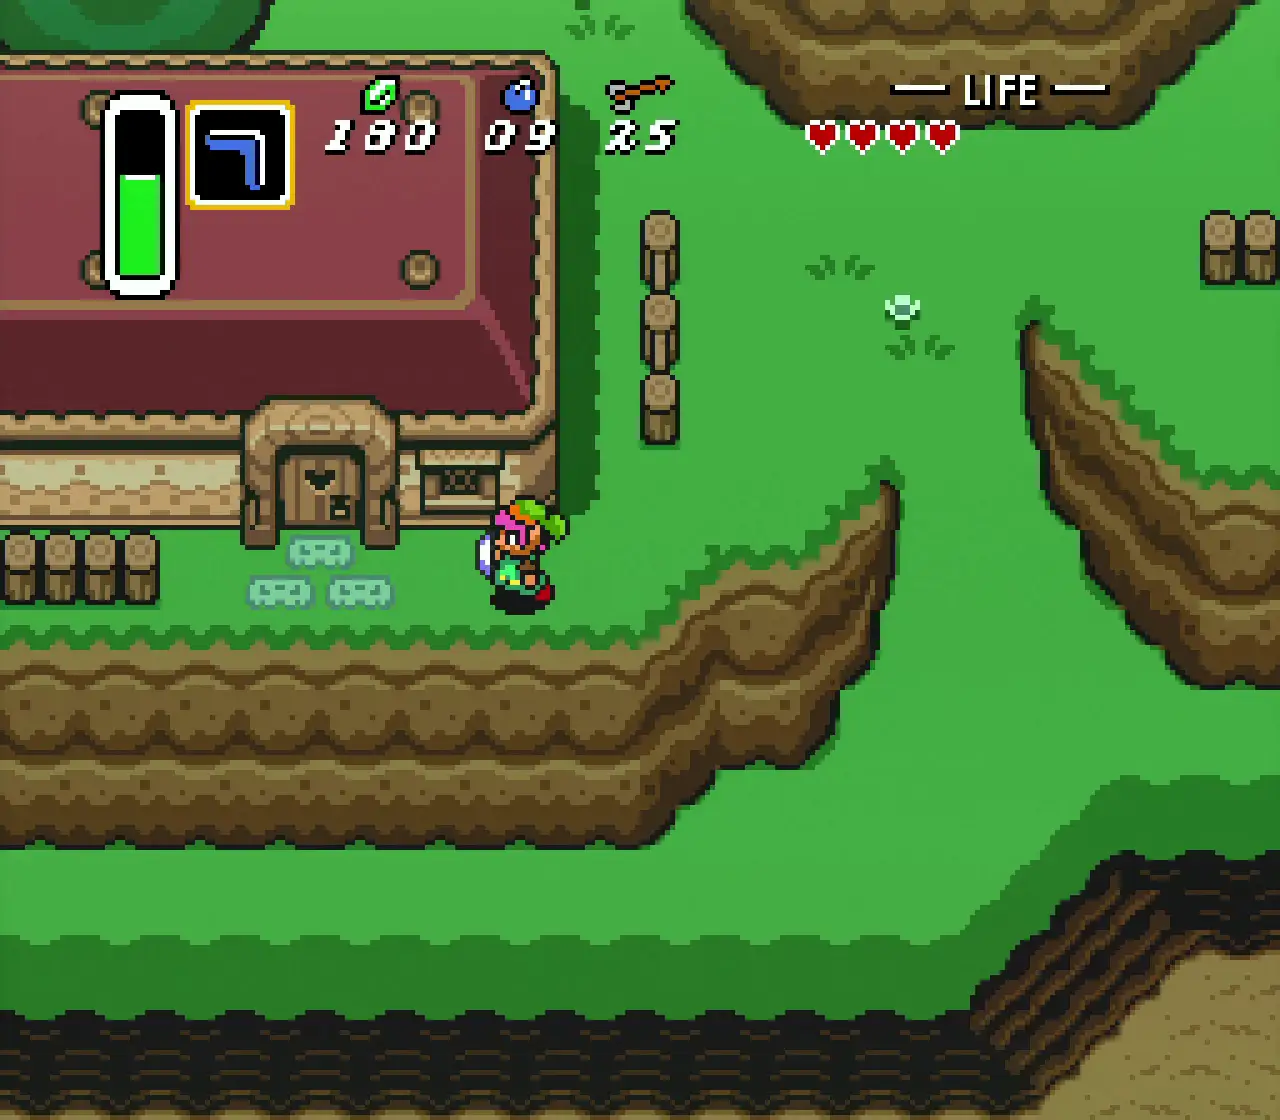
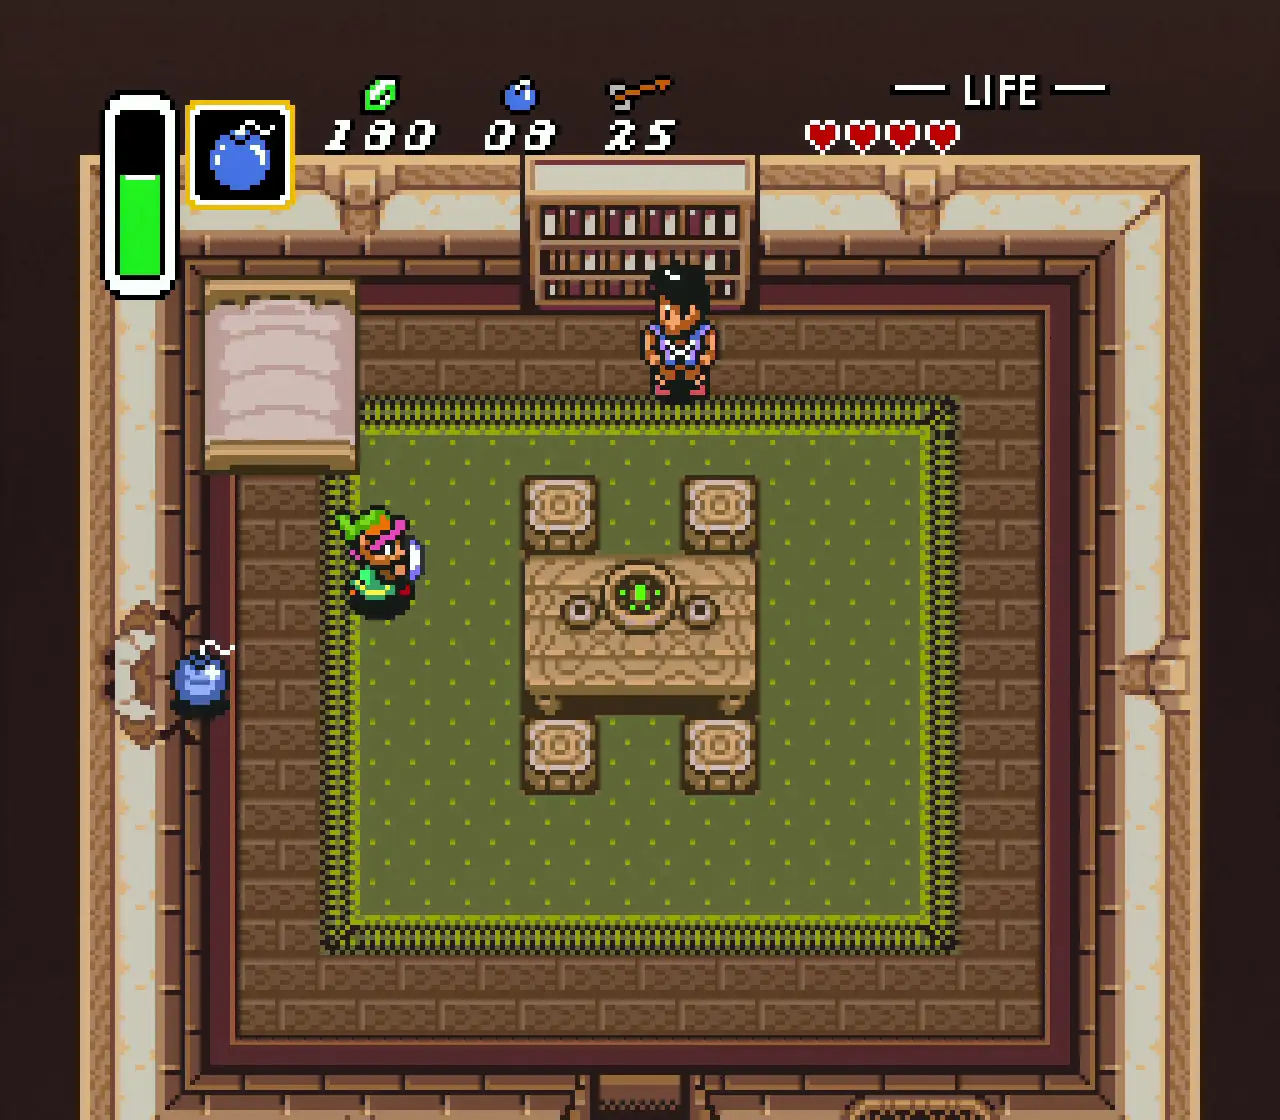
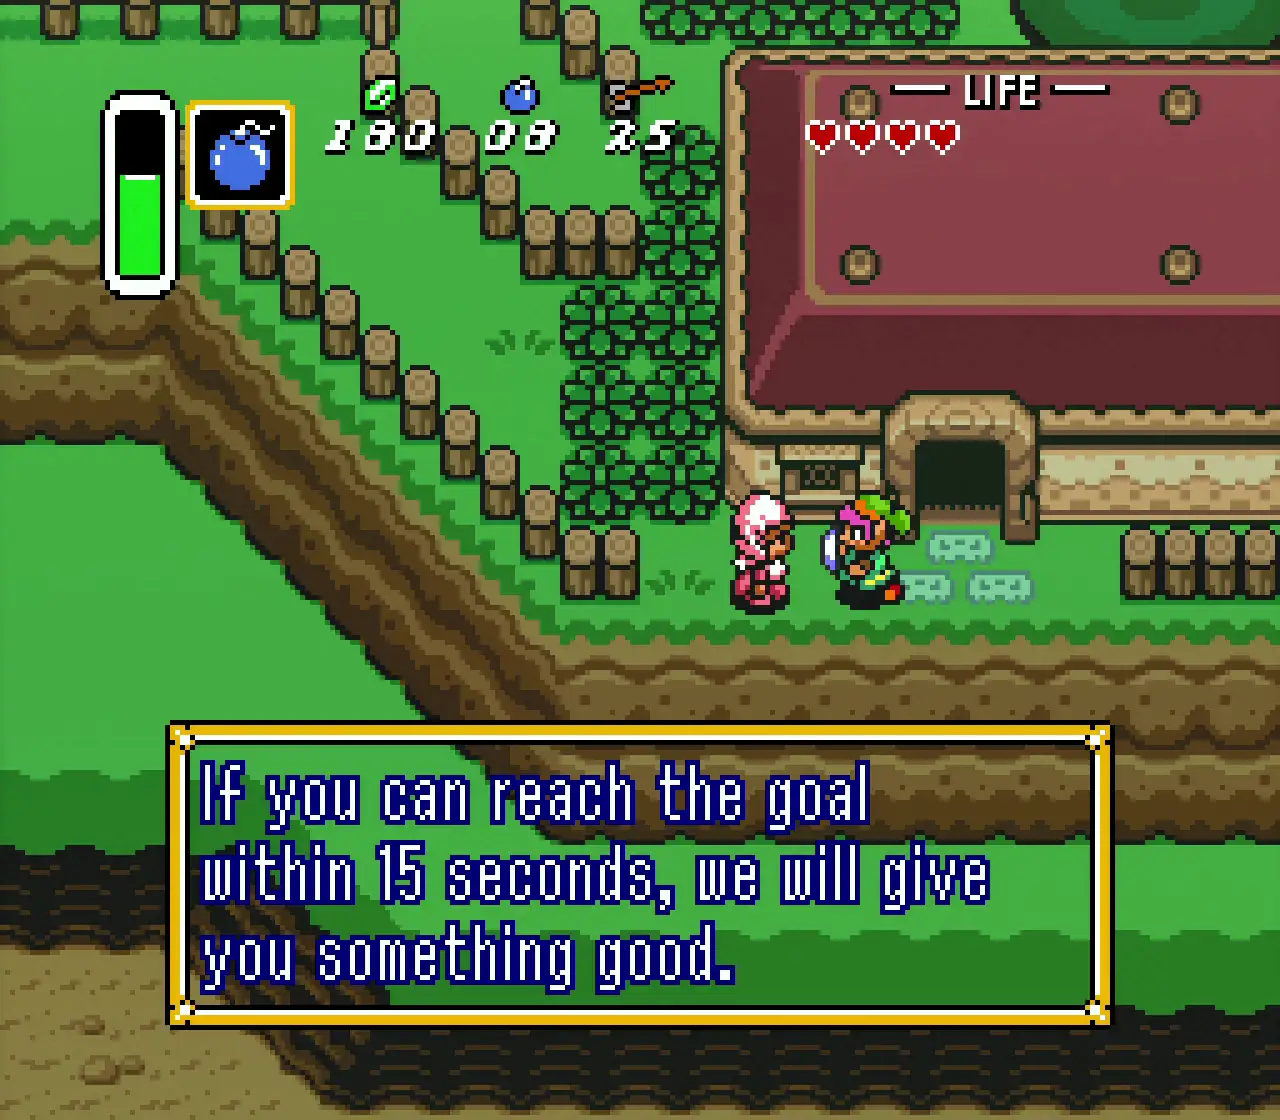
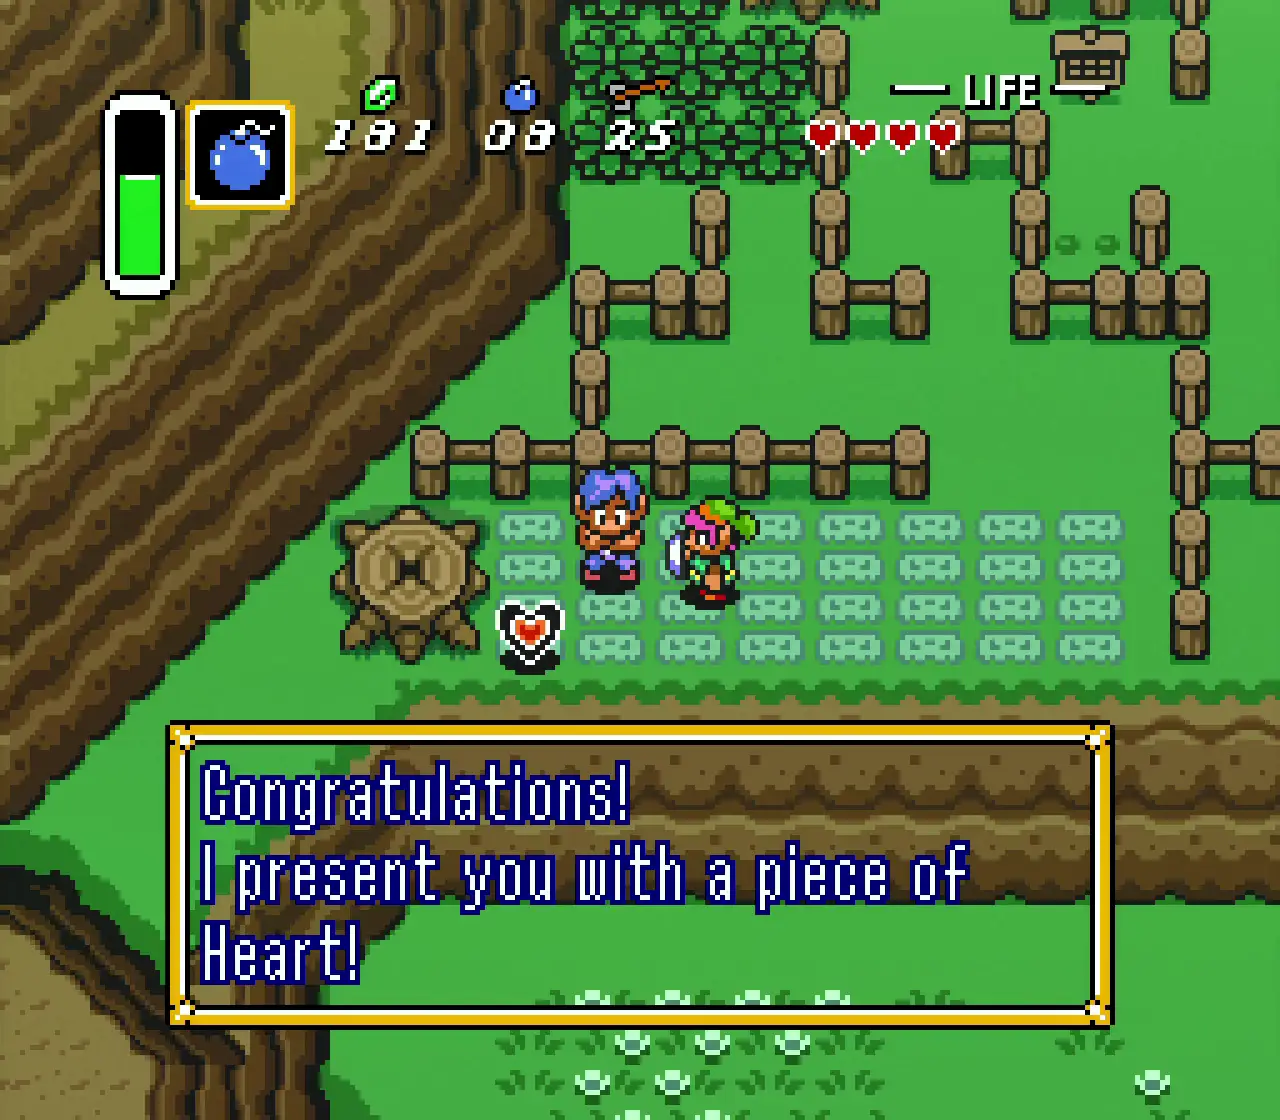
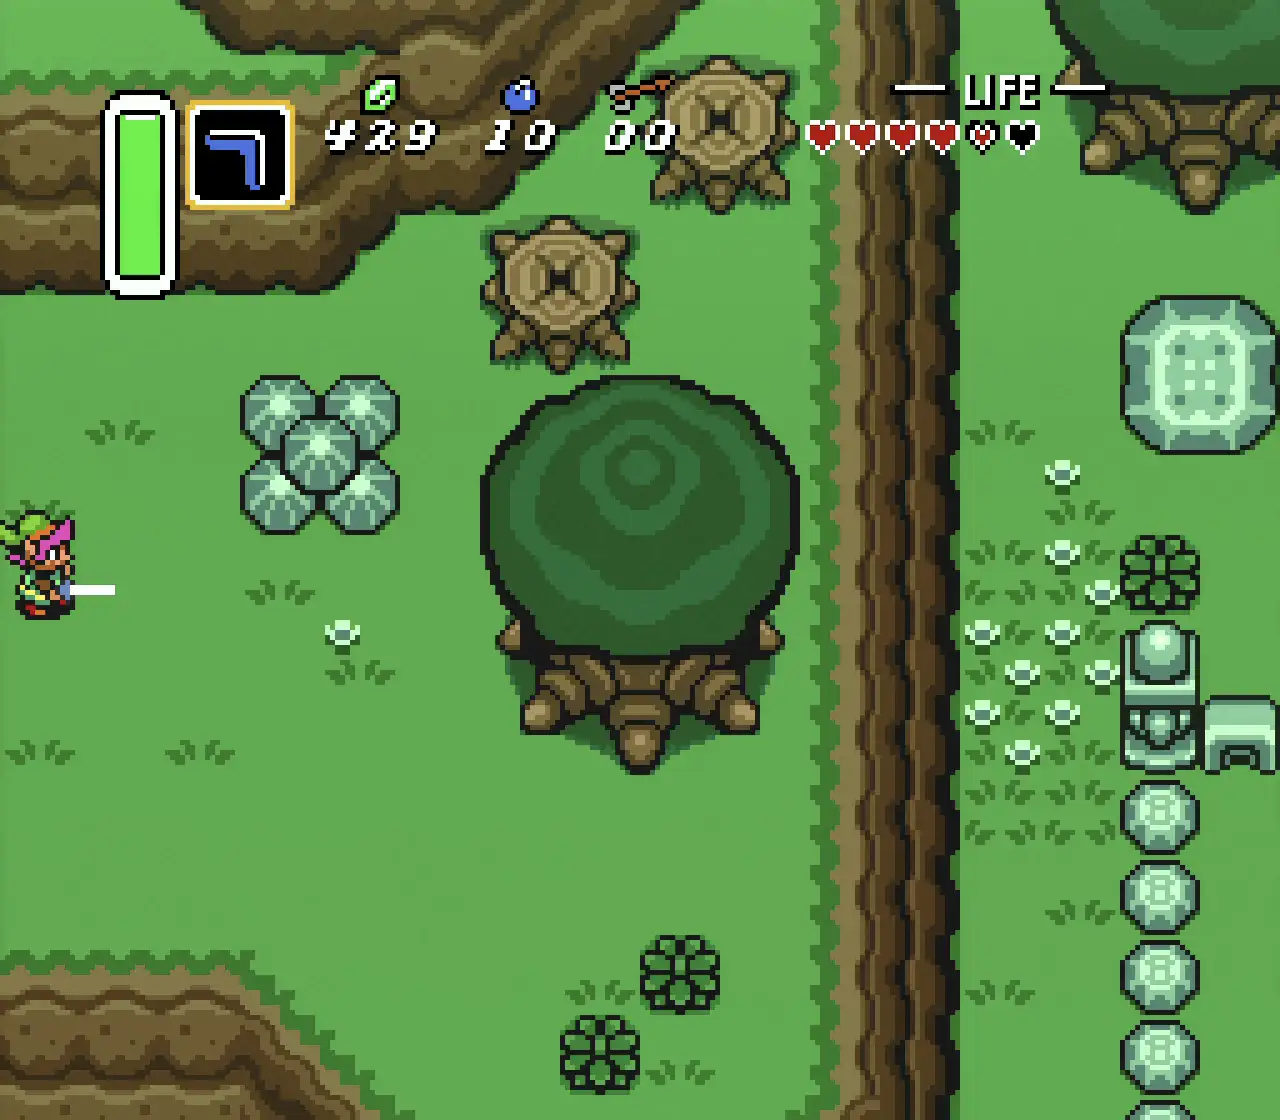
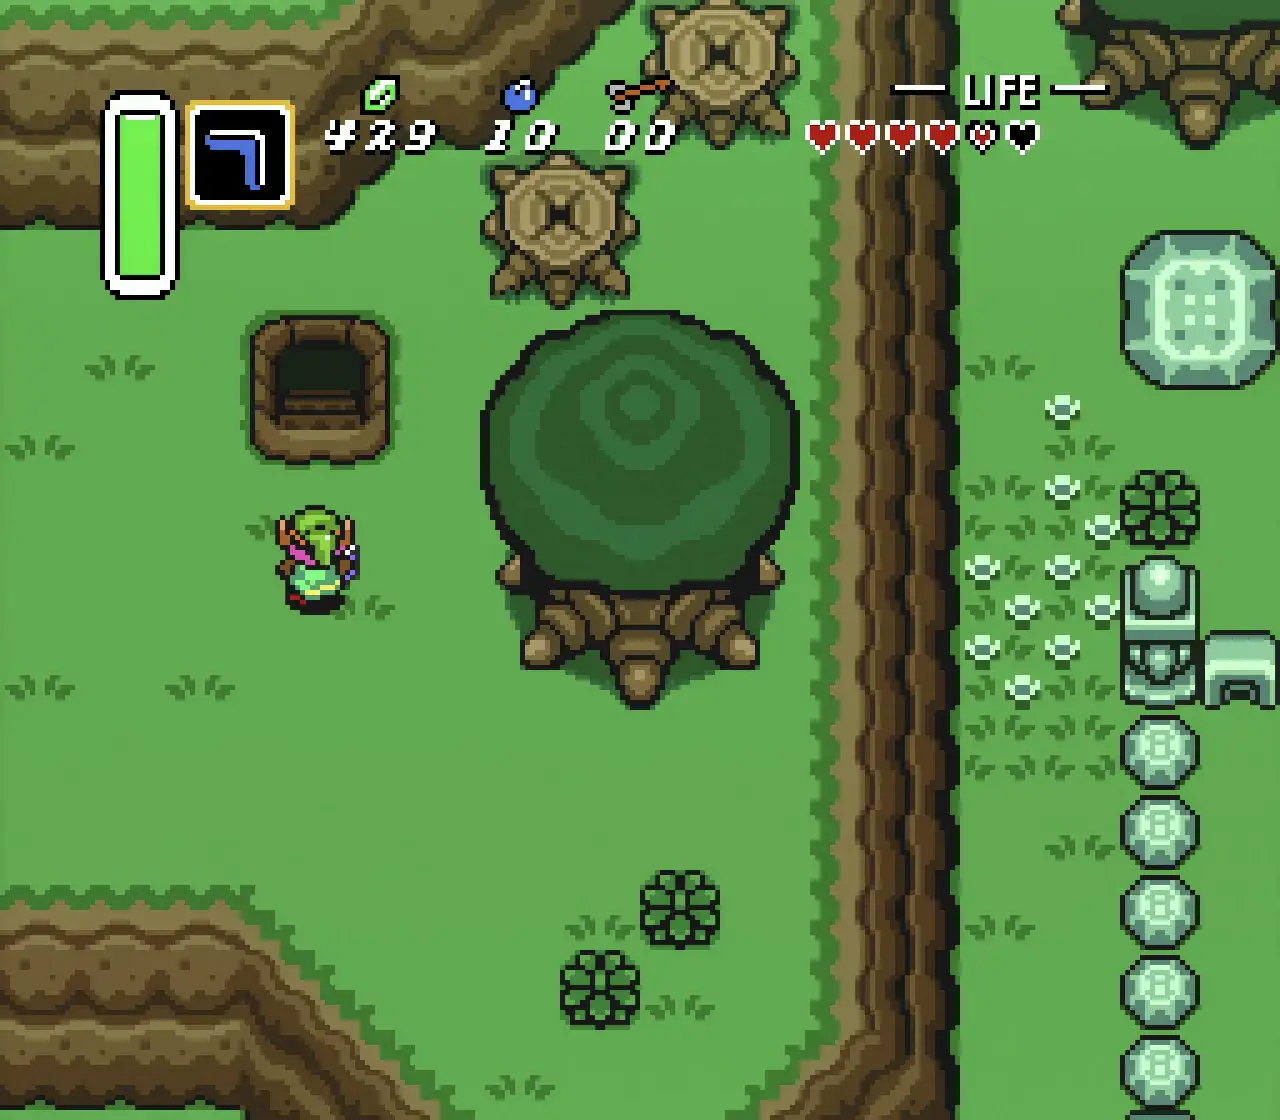
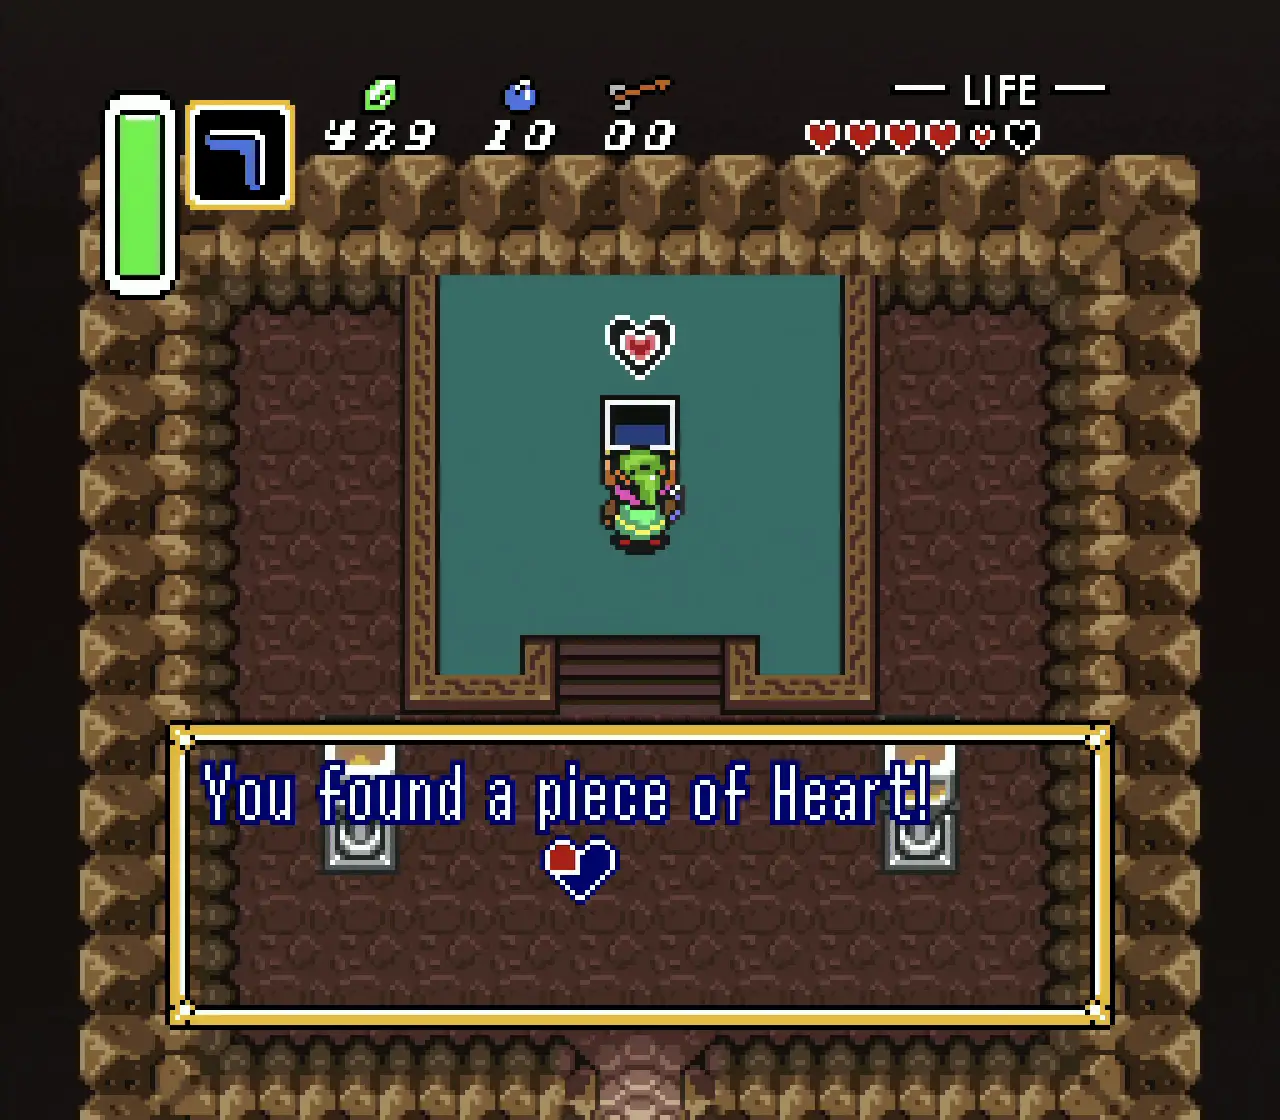
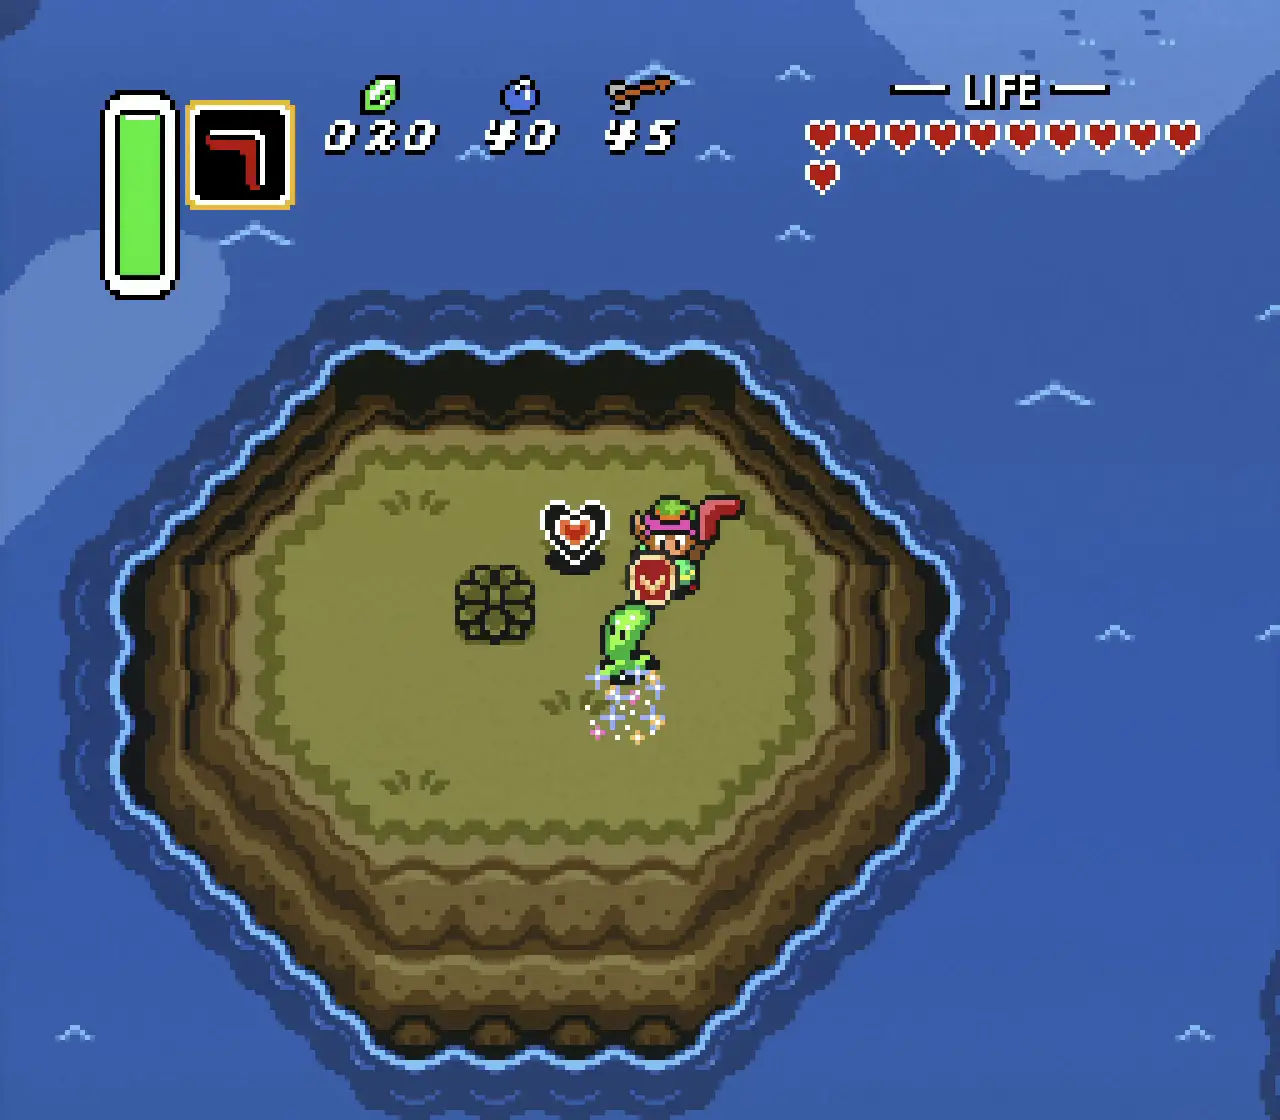
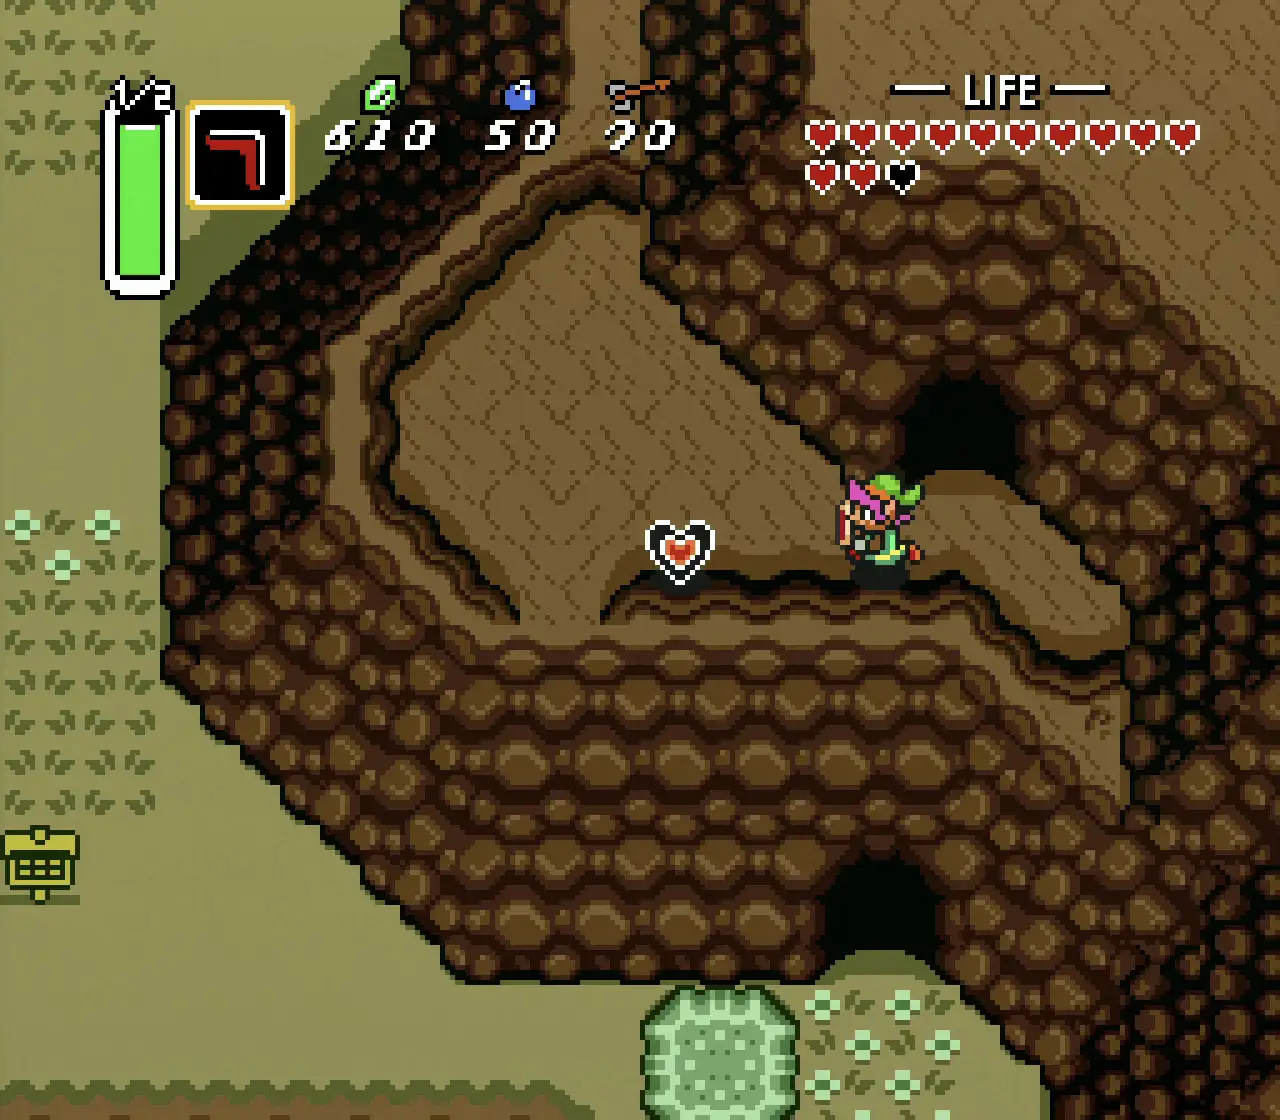
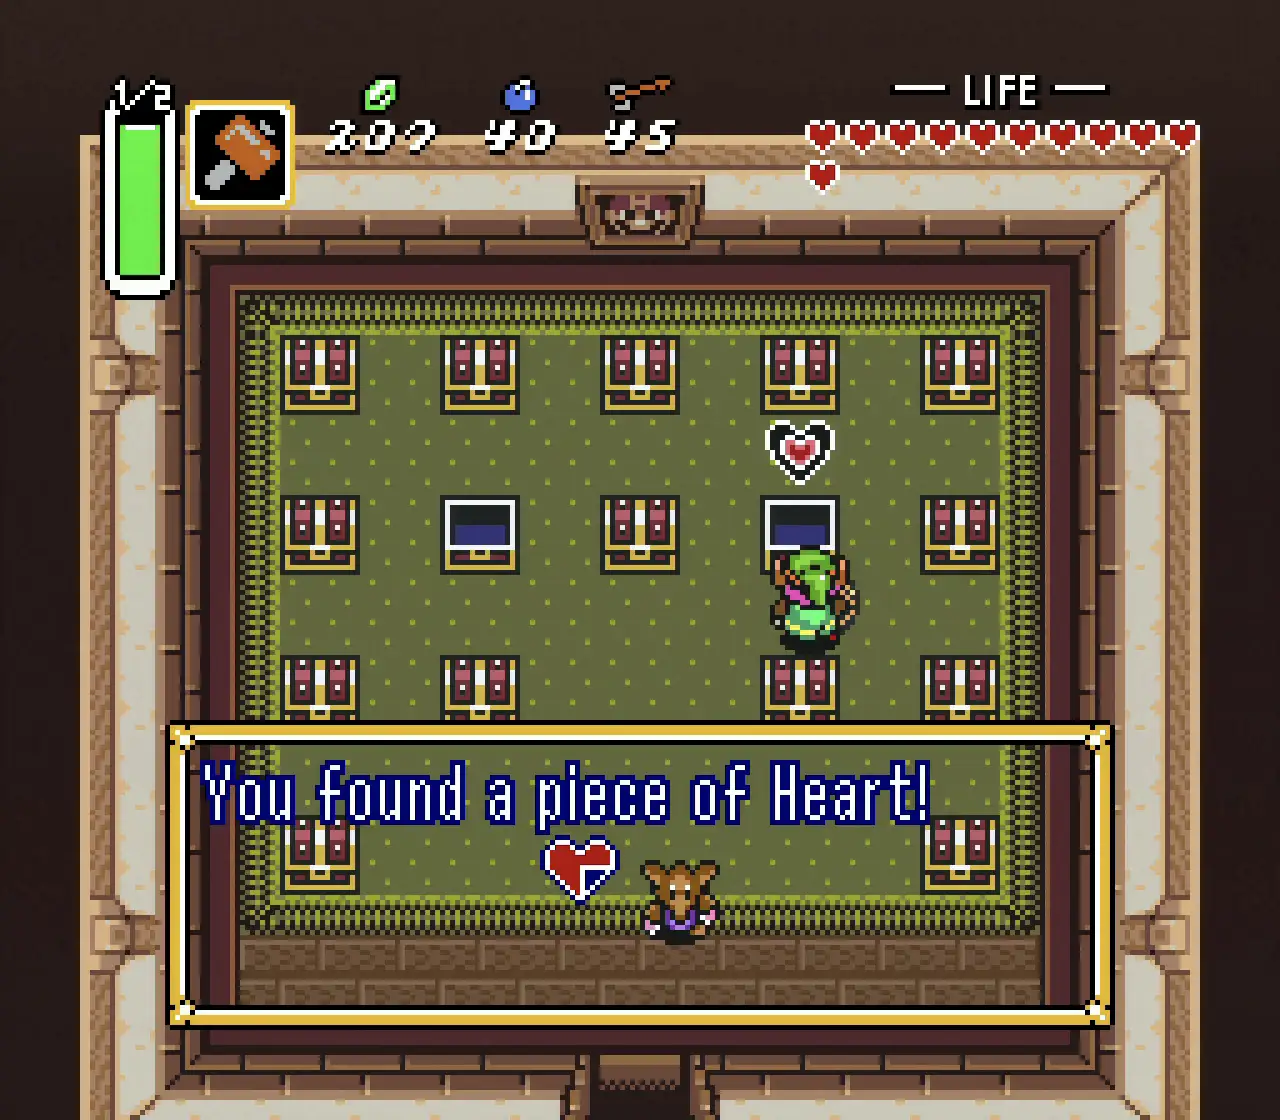
Leave Kakariko Village via the Southern exit and as you keep following that direction, there’s a large house at the very end where some quarrelling brothers reside. Bomb the wall on the left, walk in that direction and leave the house through the Southern exit. Outside, you can talk to the woman there who will promise you something good if you can finish her racecourse in 15 seconds. Perform this easy feat and at the end, you’ll be rewarded with a Heart Piece.
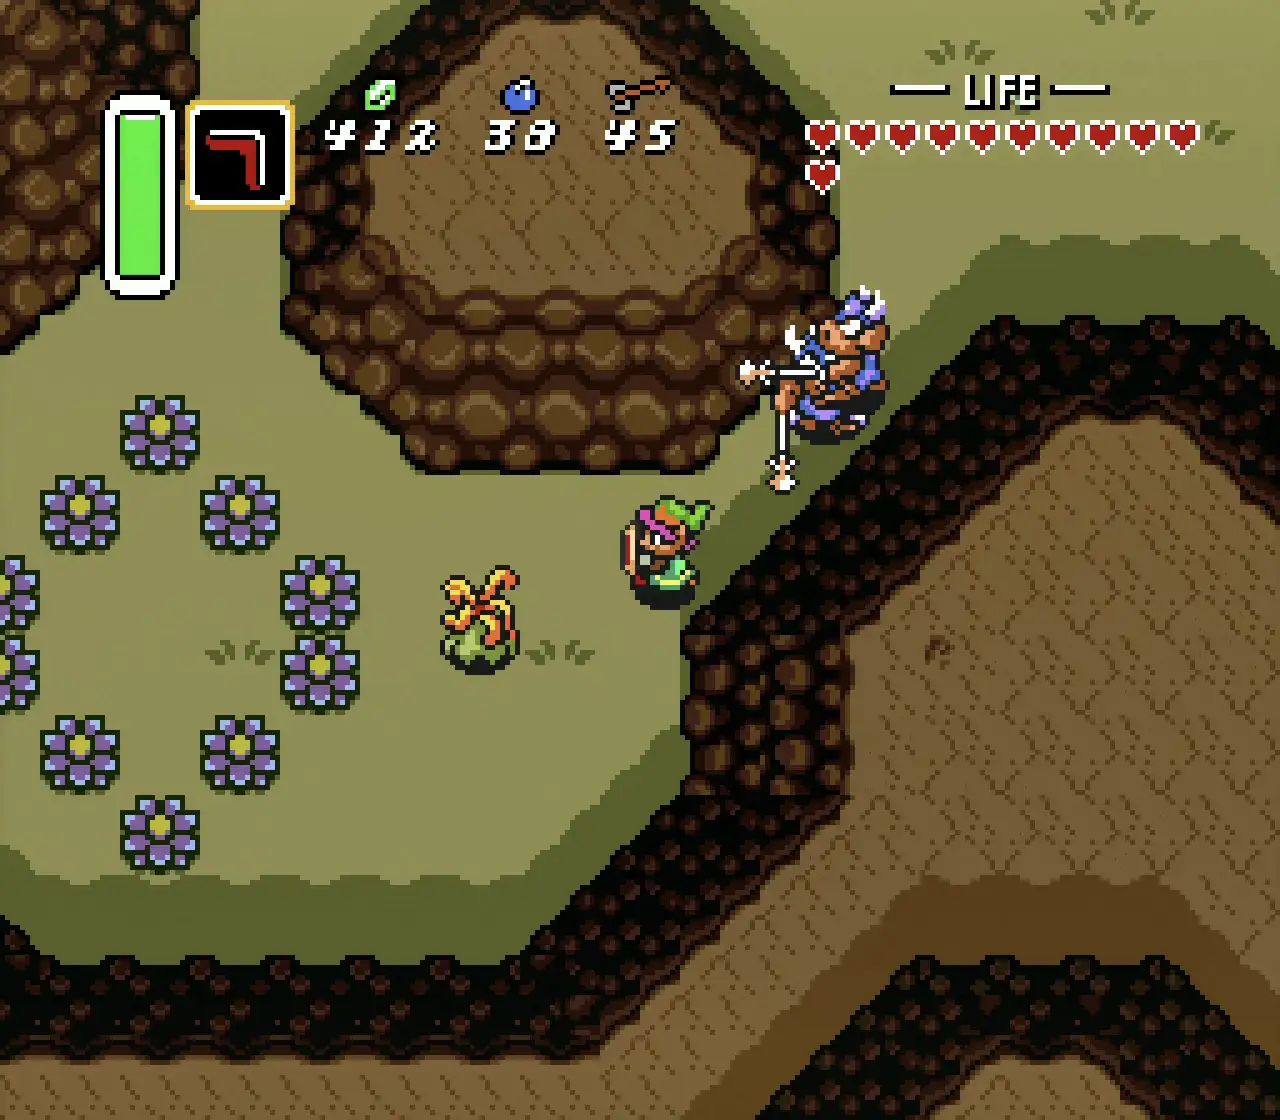
4 – The Lost Woods
Step 1 Step 2
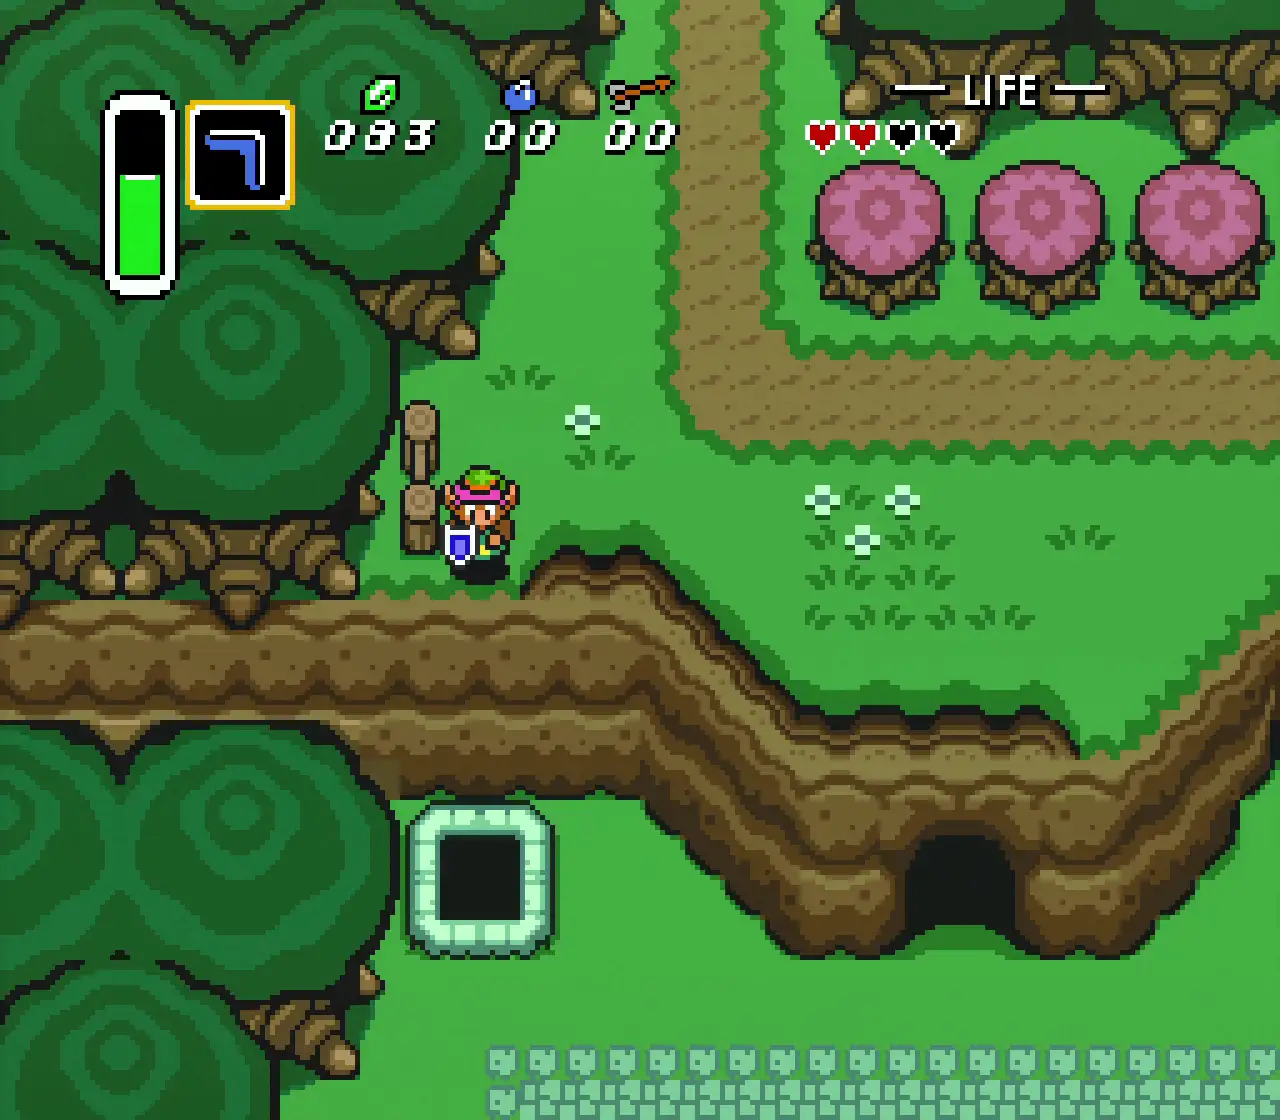
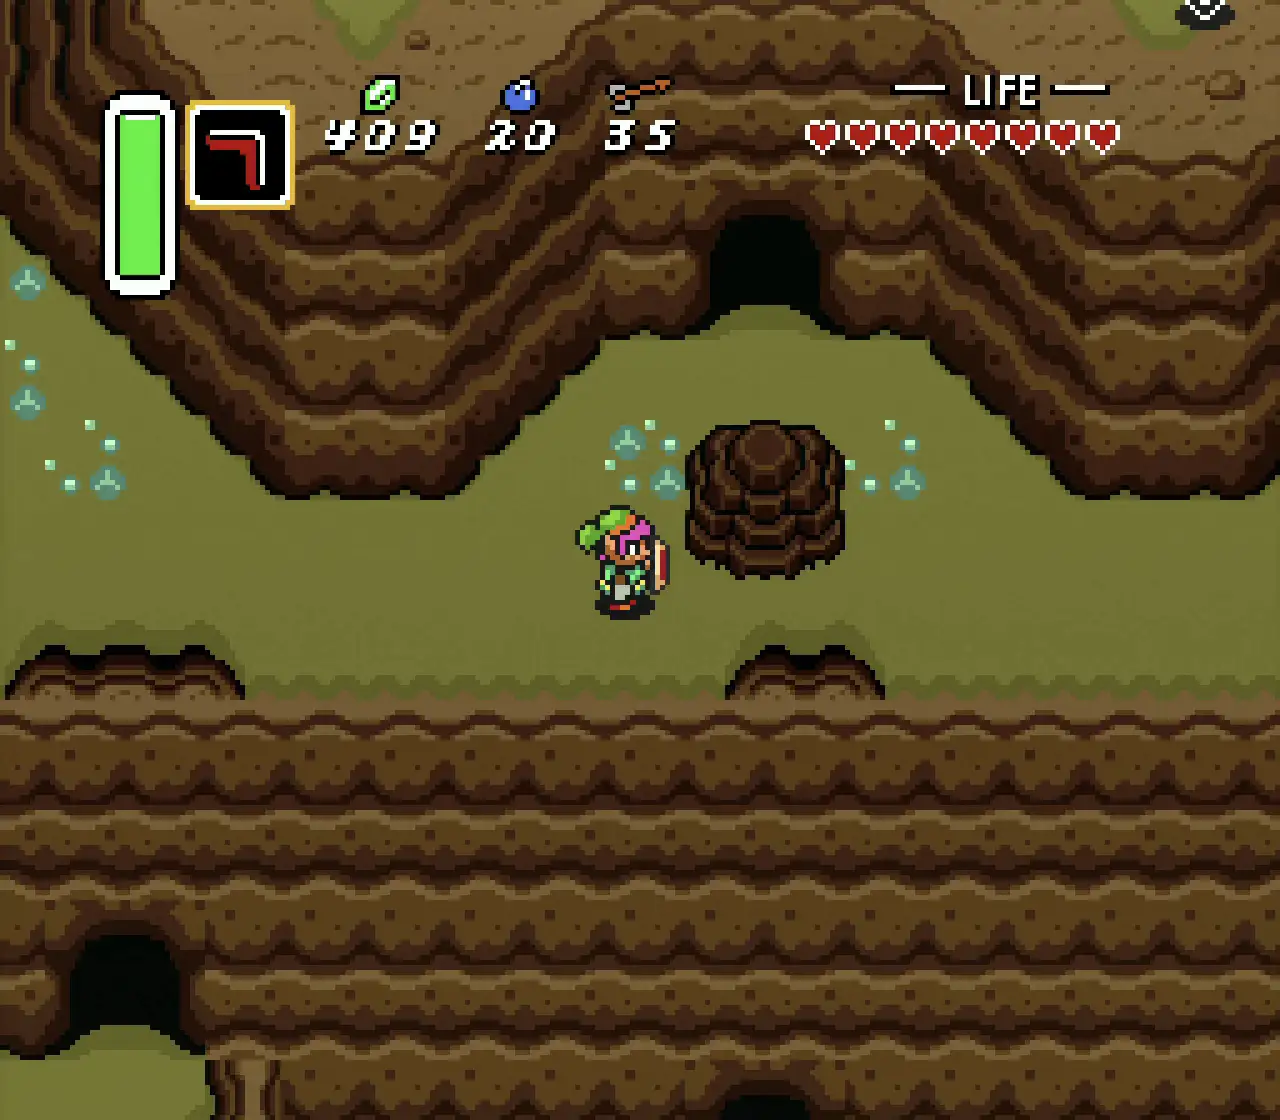
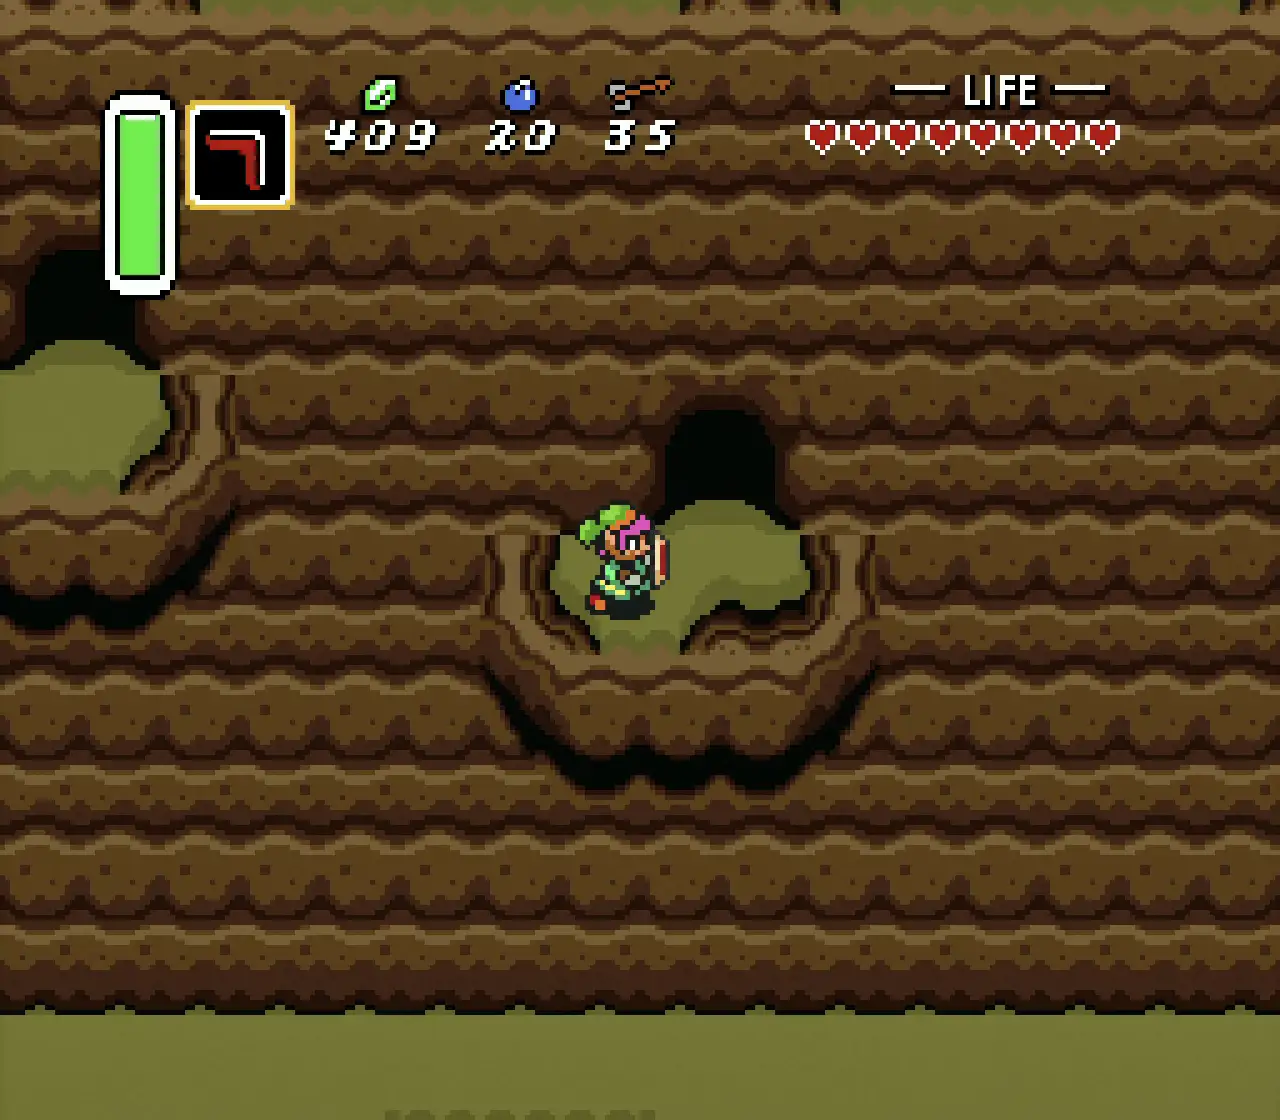
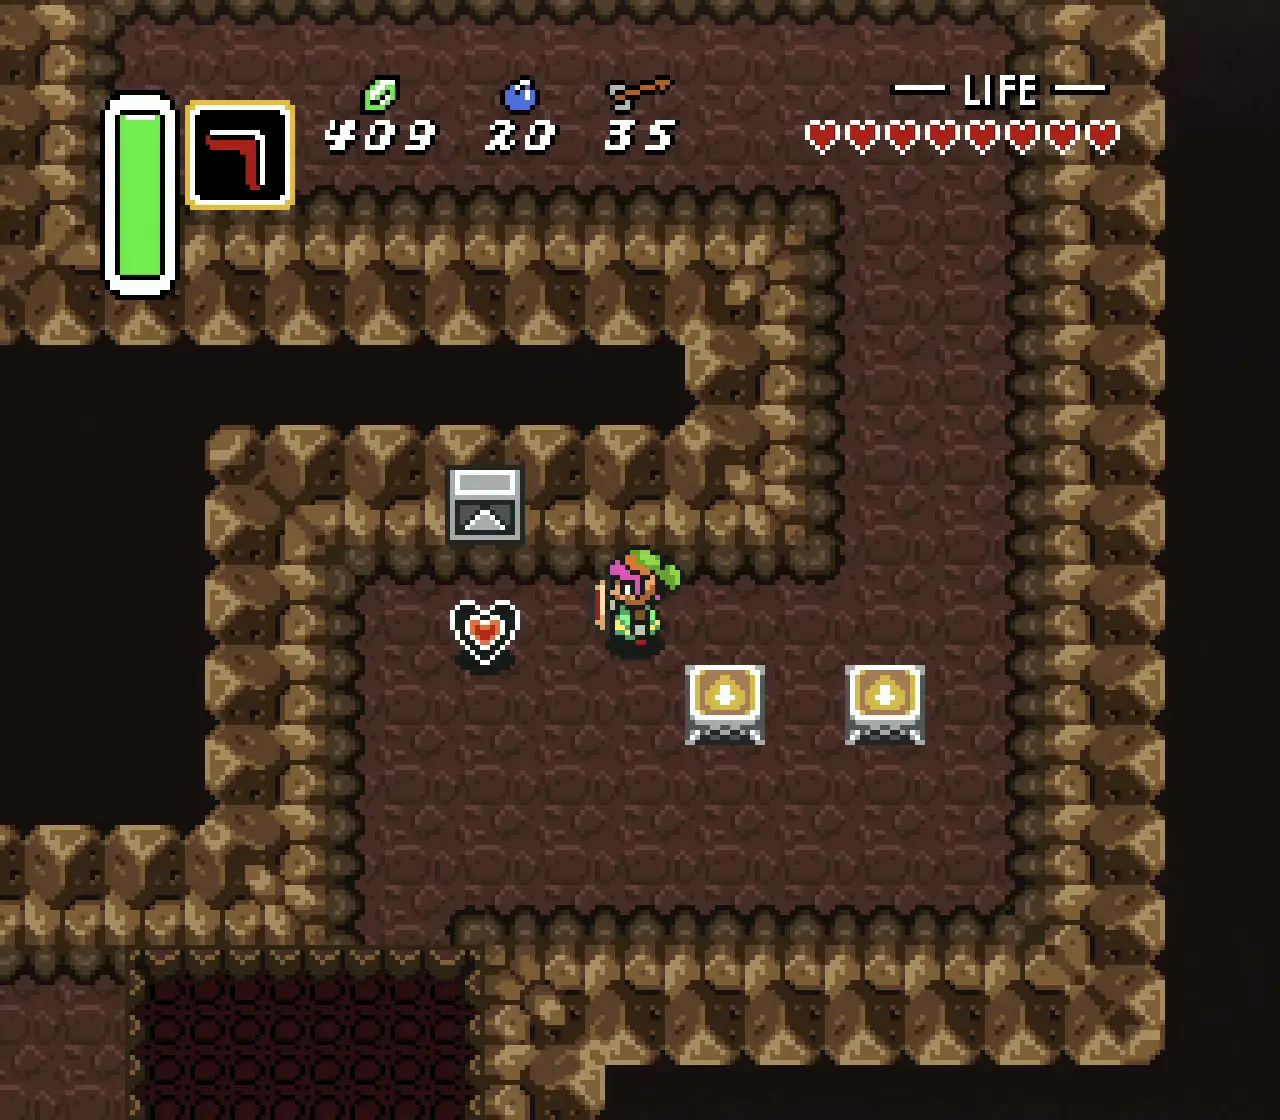
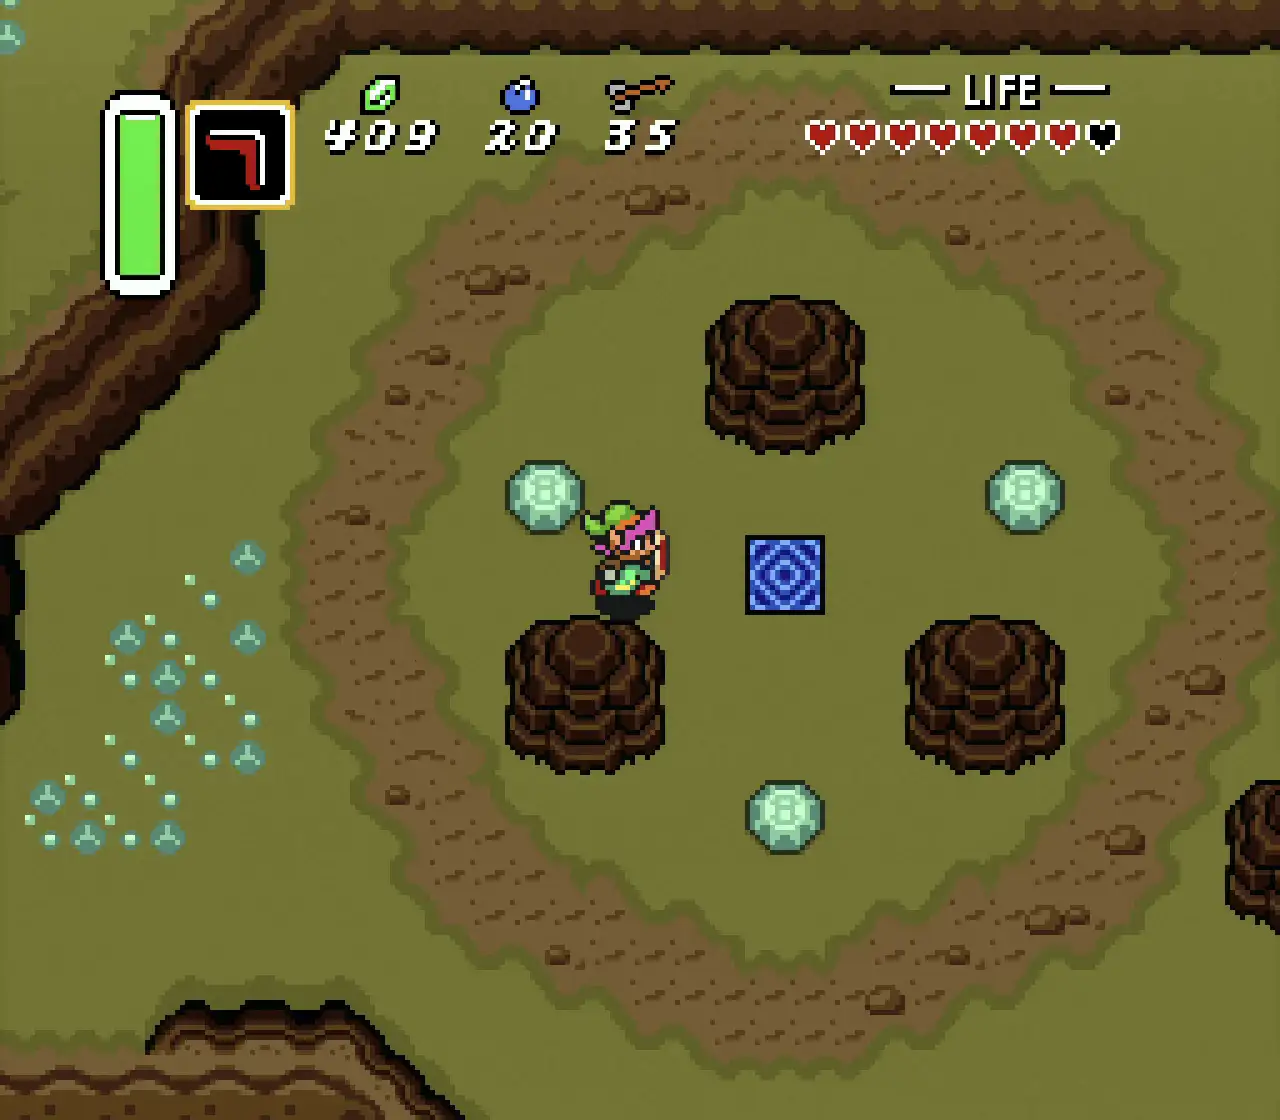
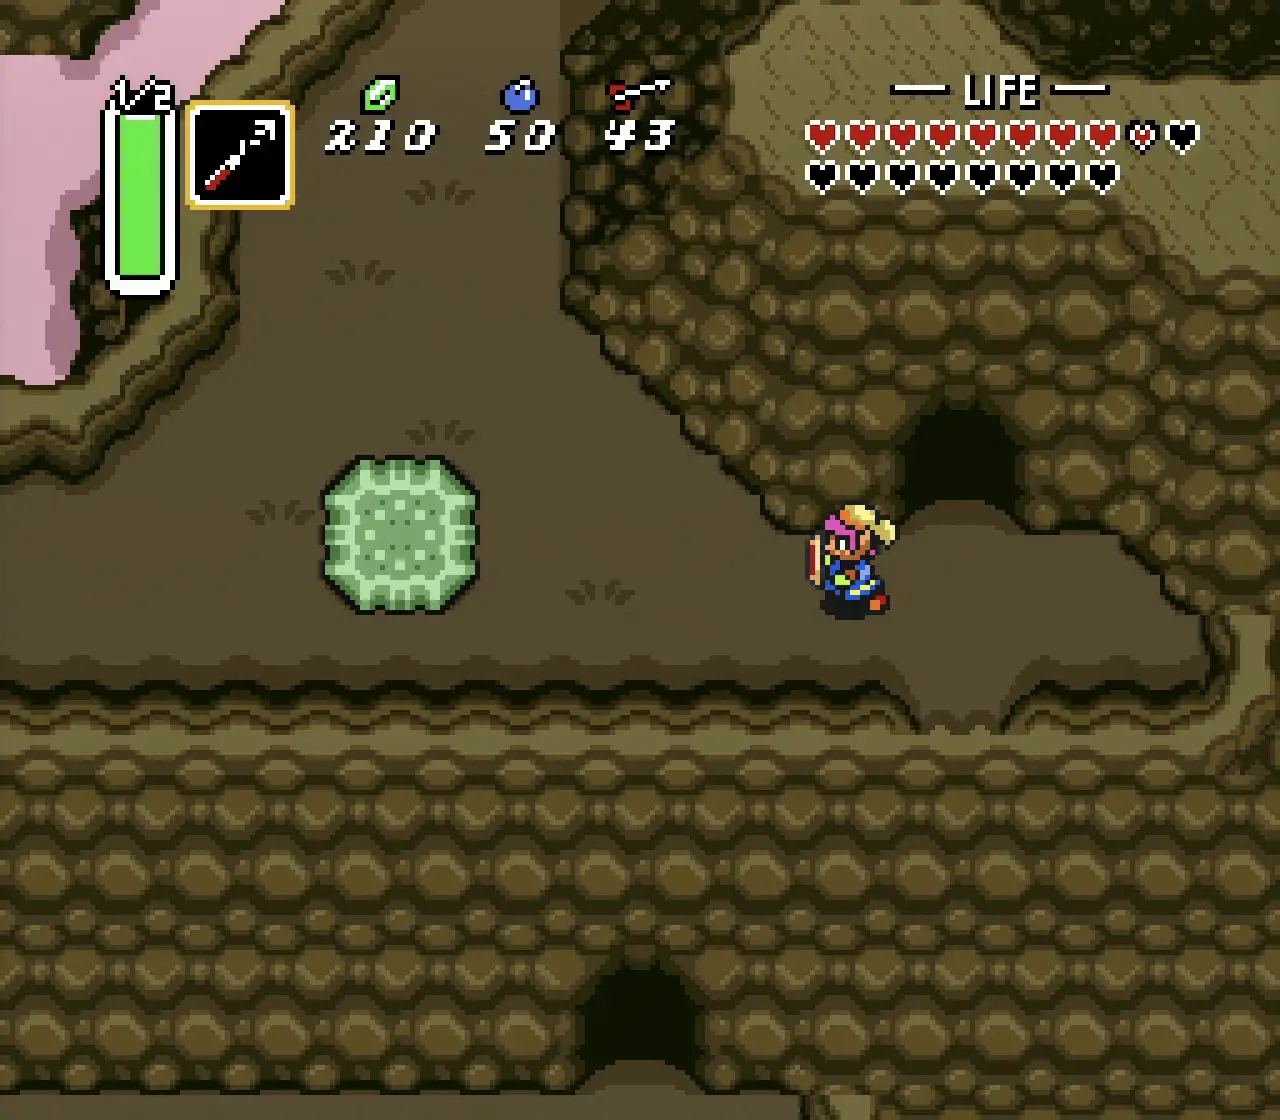
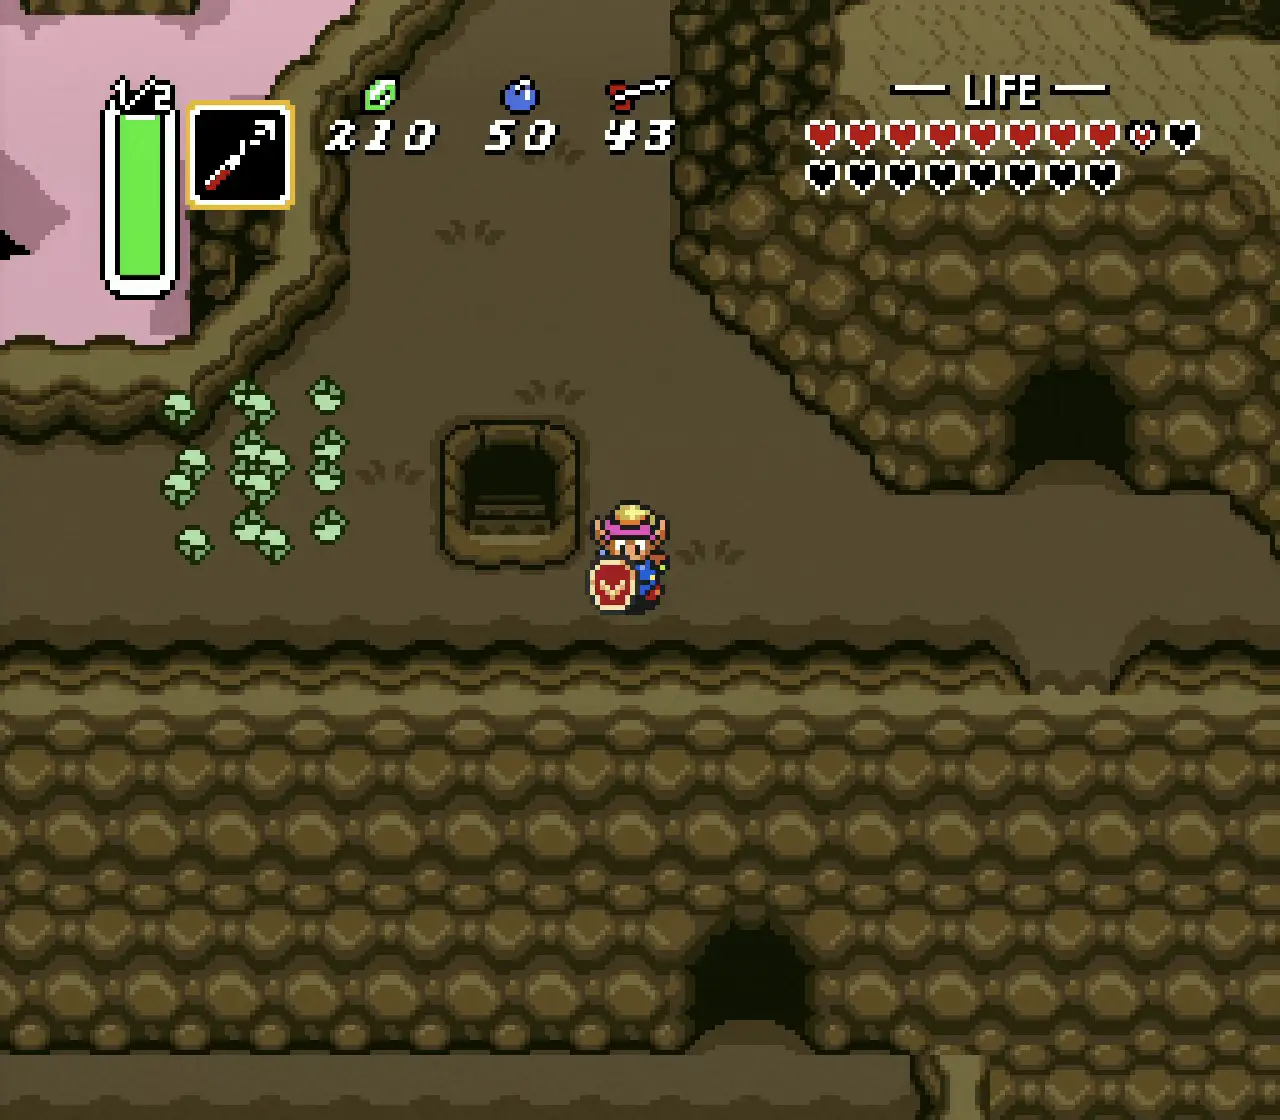
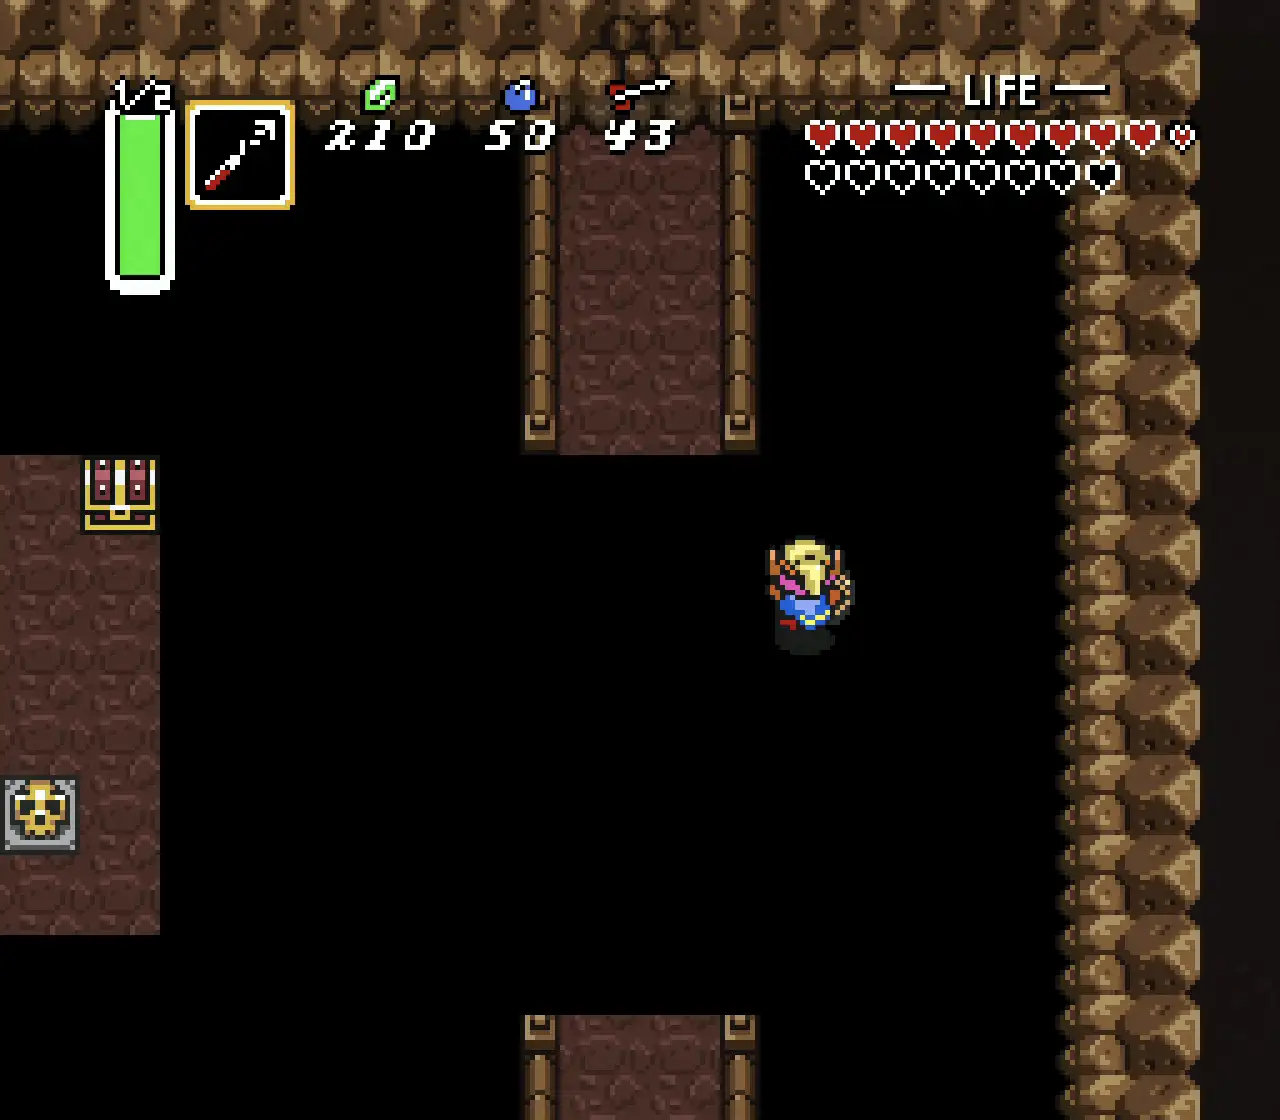
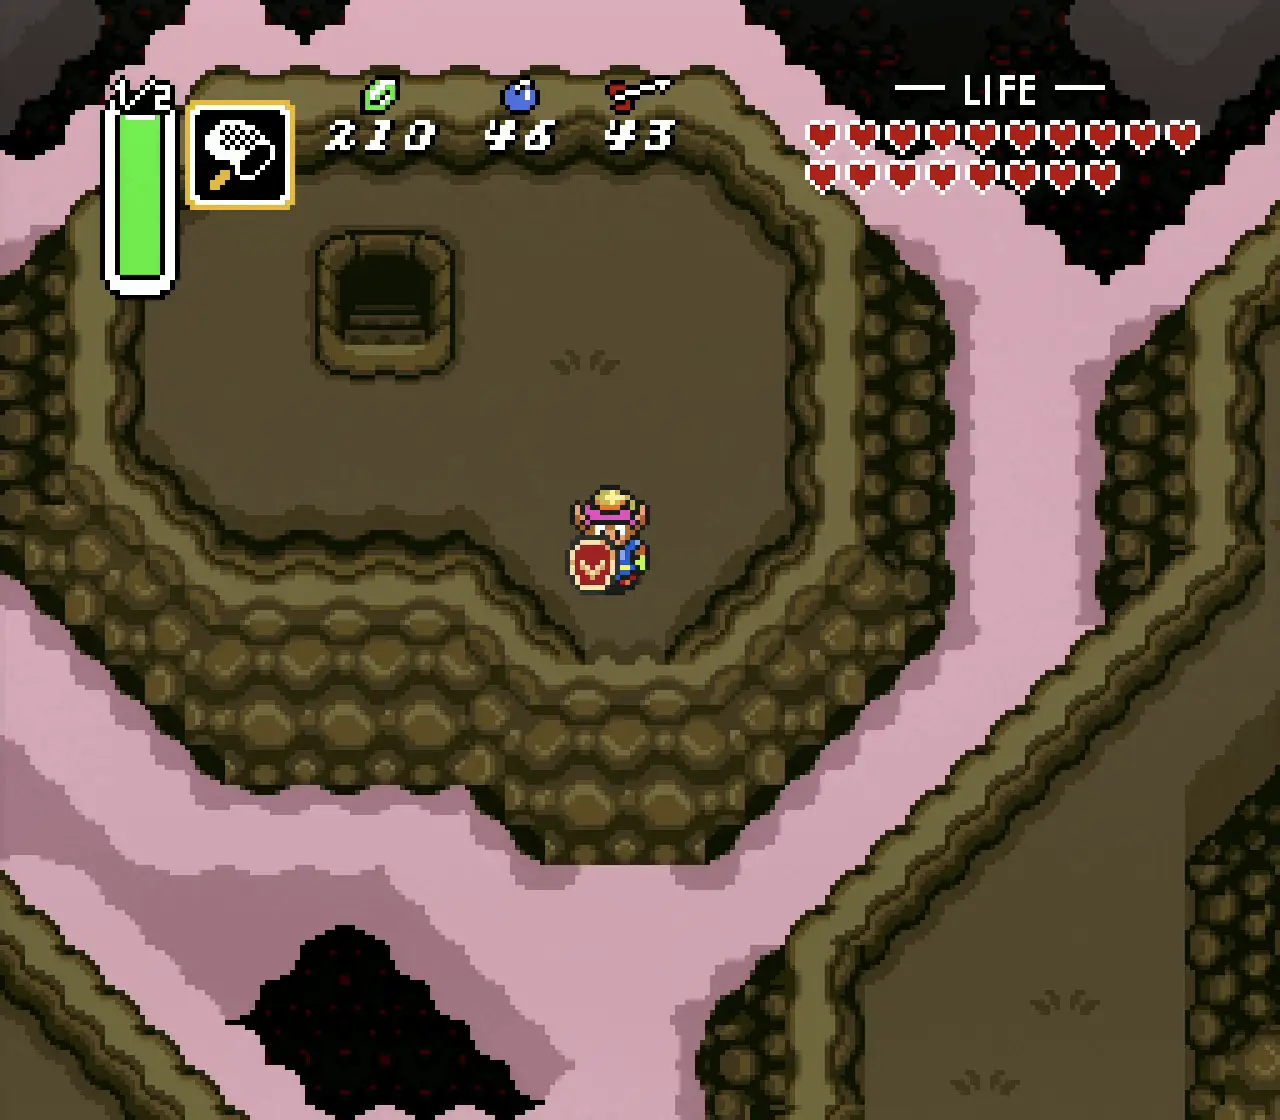
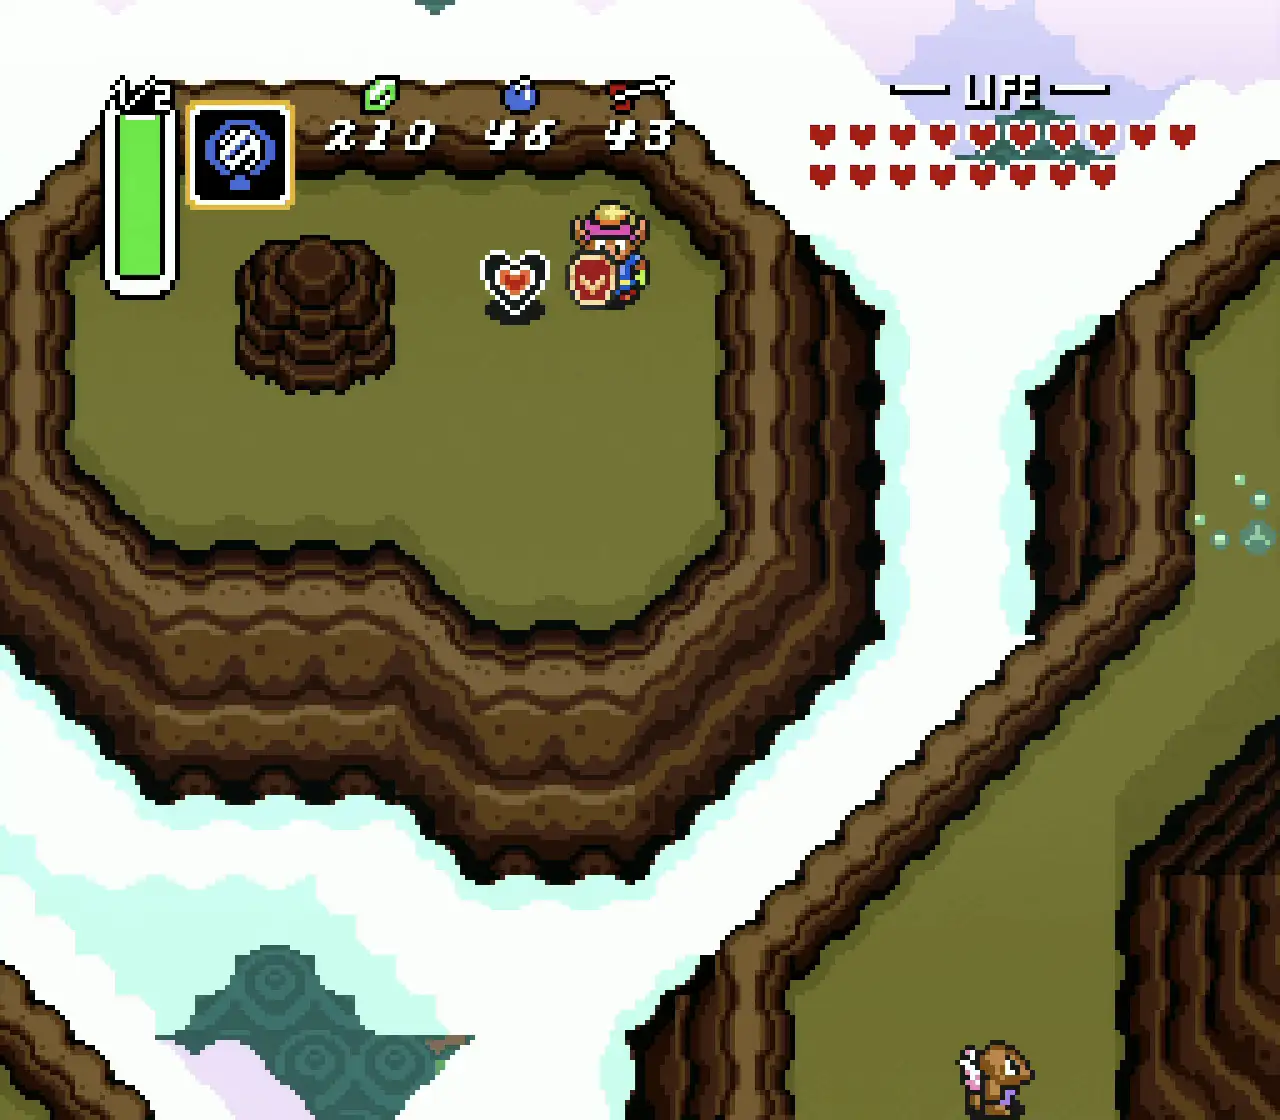
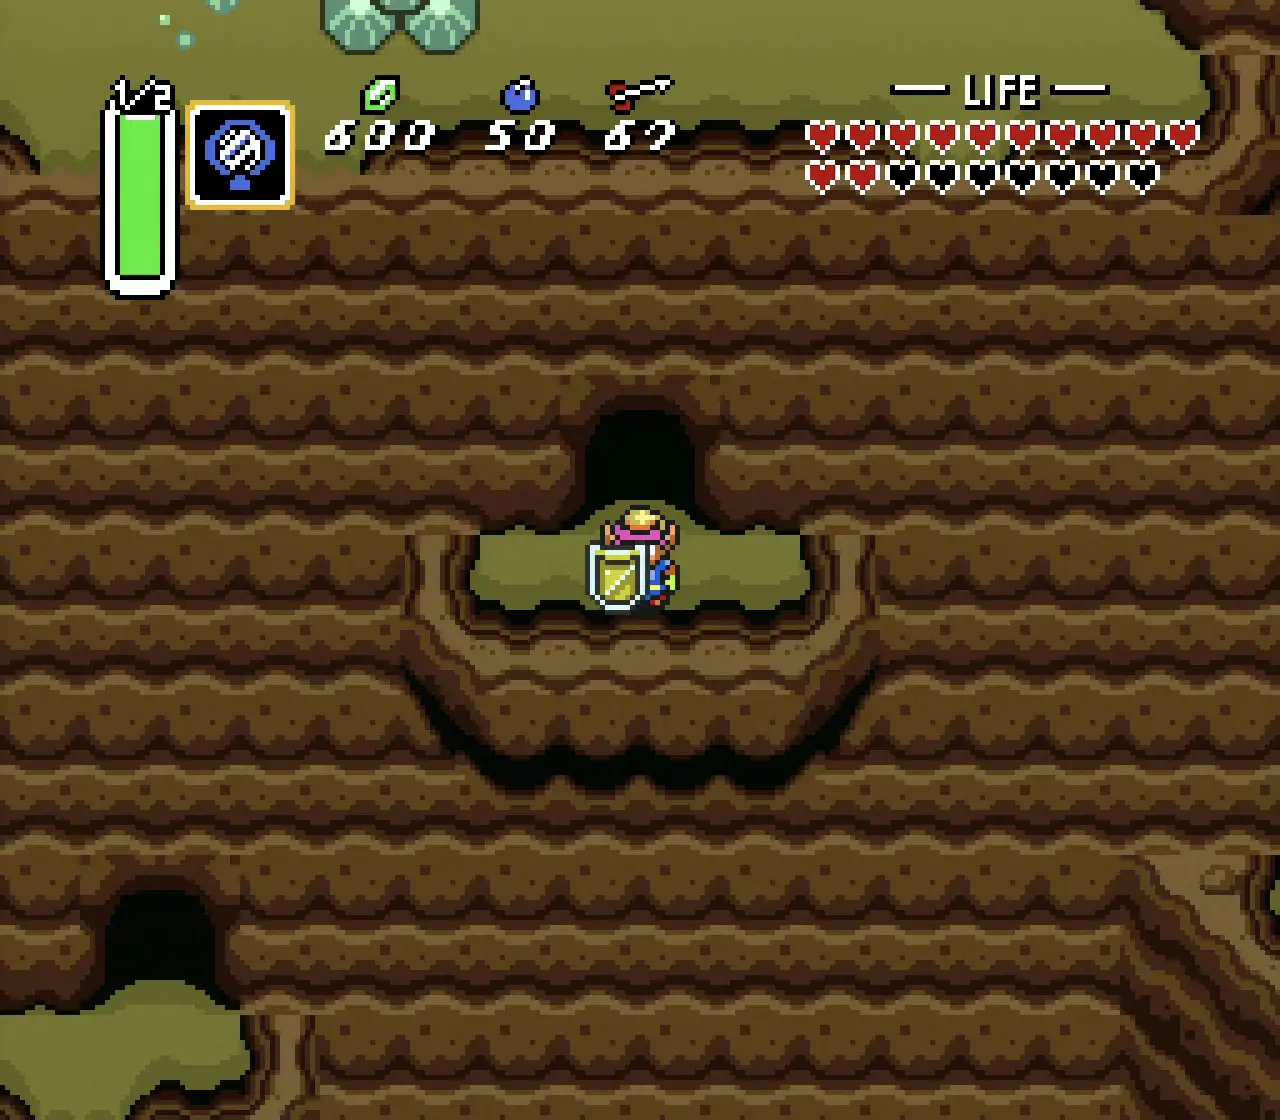
North of Kakariko Village, past the Fortune Teller’s house, is an entrance to The Lost Woods. Keep going north until you reach 9 bushes arranged in a square. Cut the middle bush down to reveal a hole which you can safely fall into, taking you to an underground area with another Heart Piece.
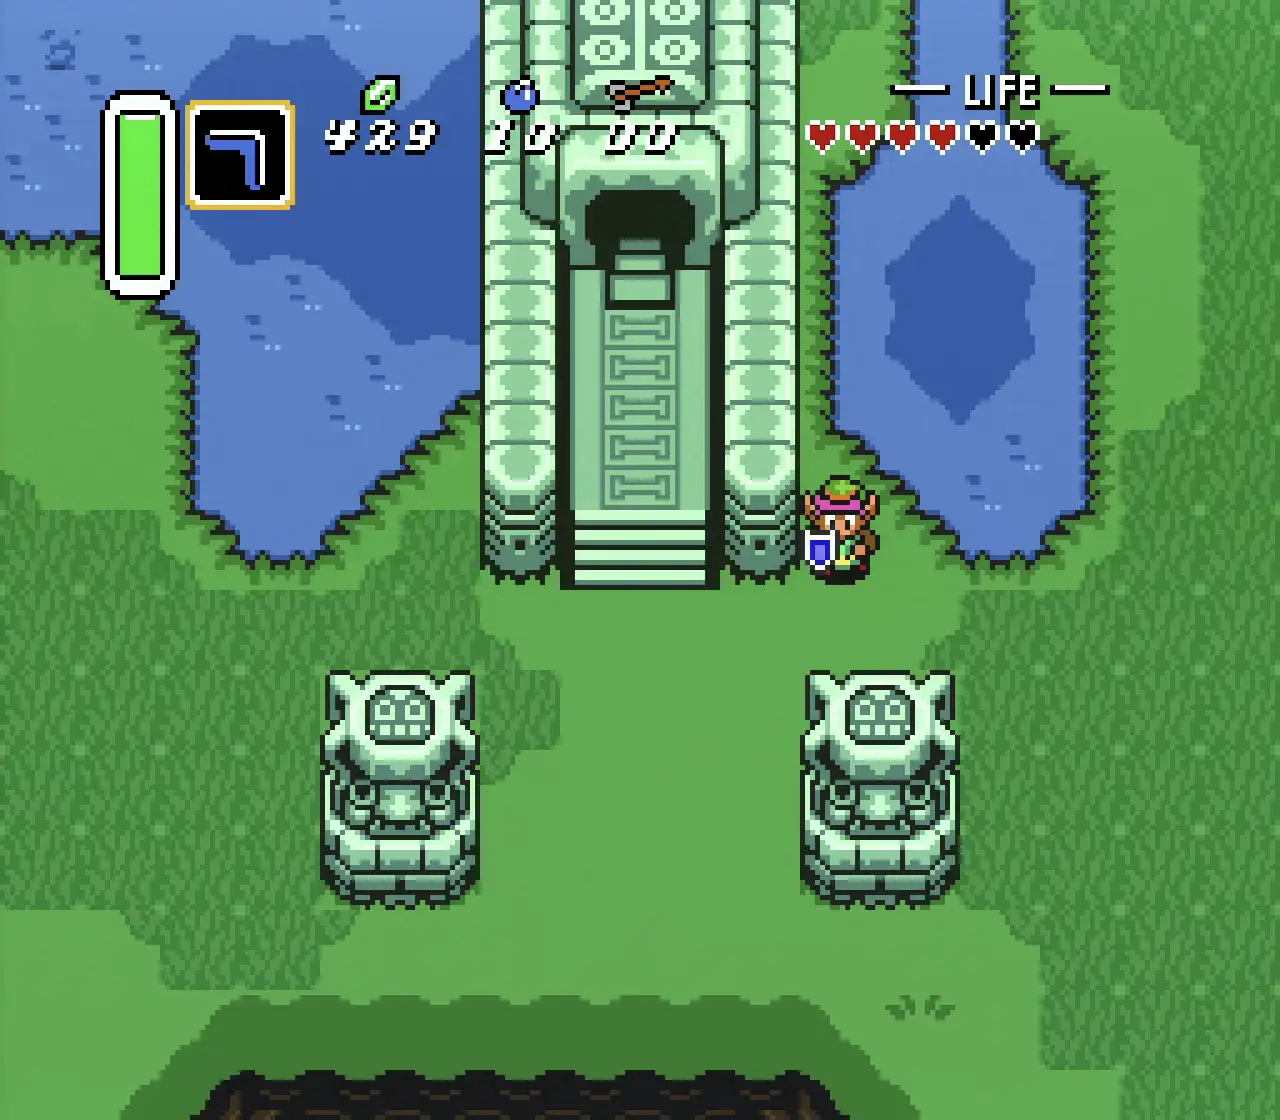
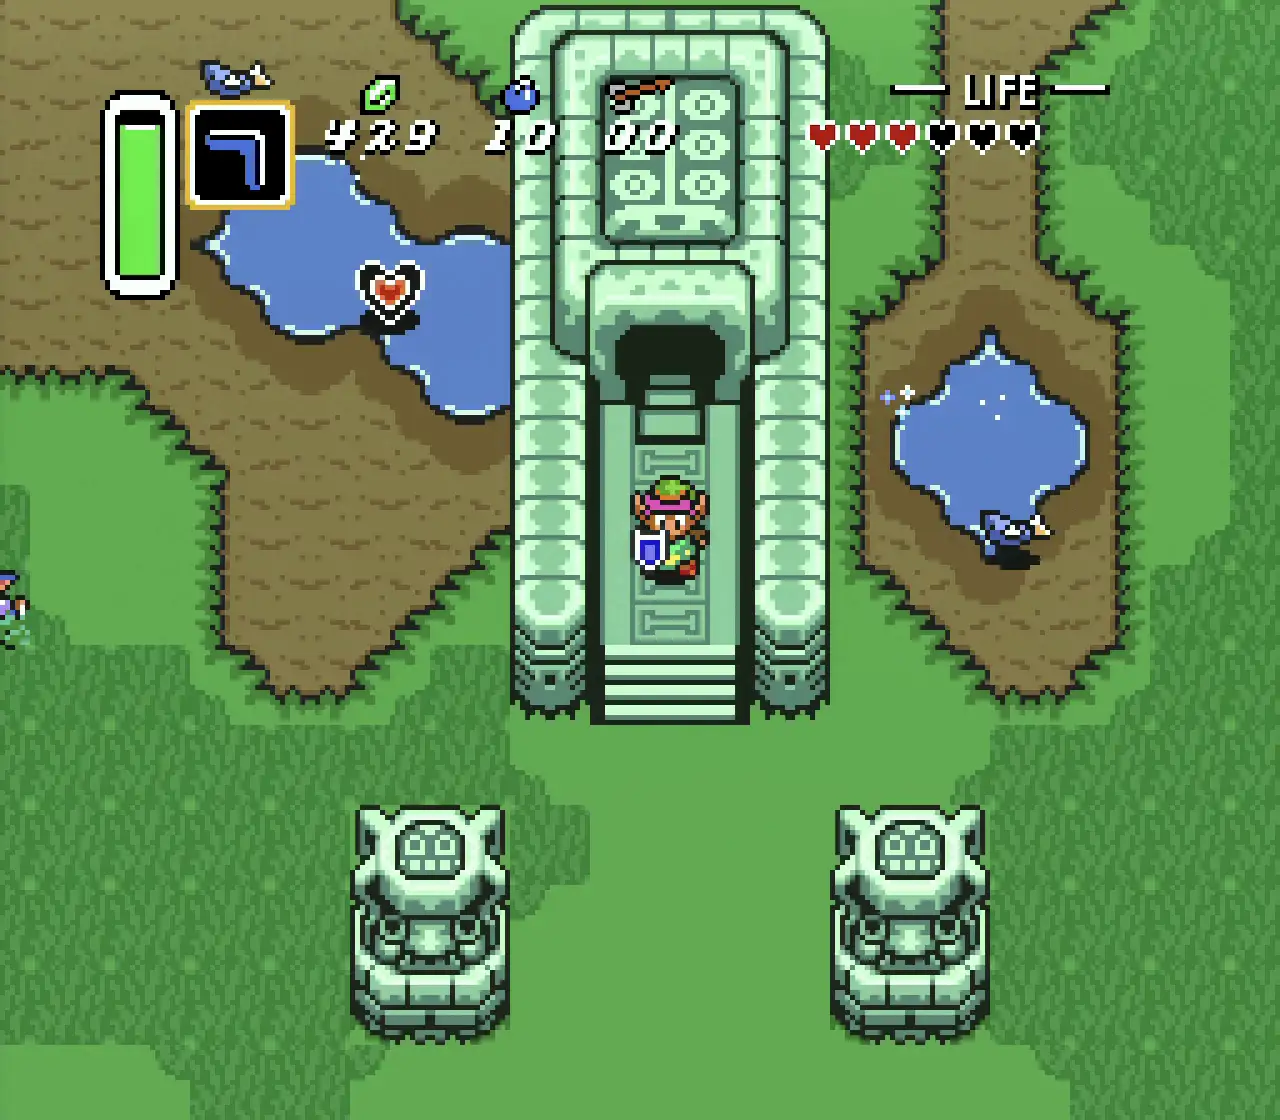
5 – Desert of Mystery
Step 1 Step 2 Step 3

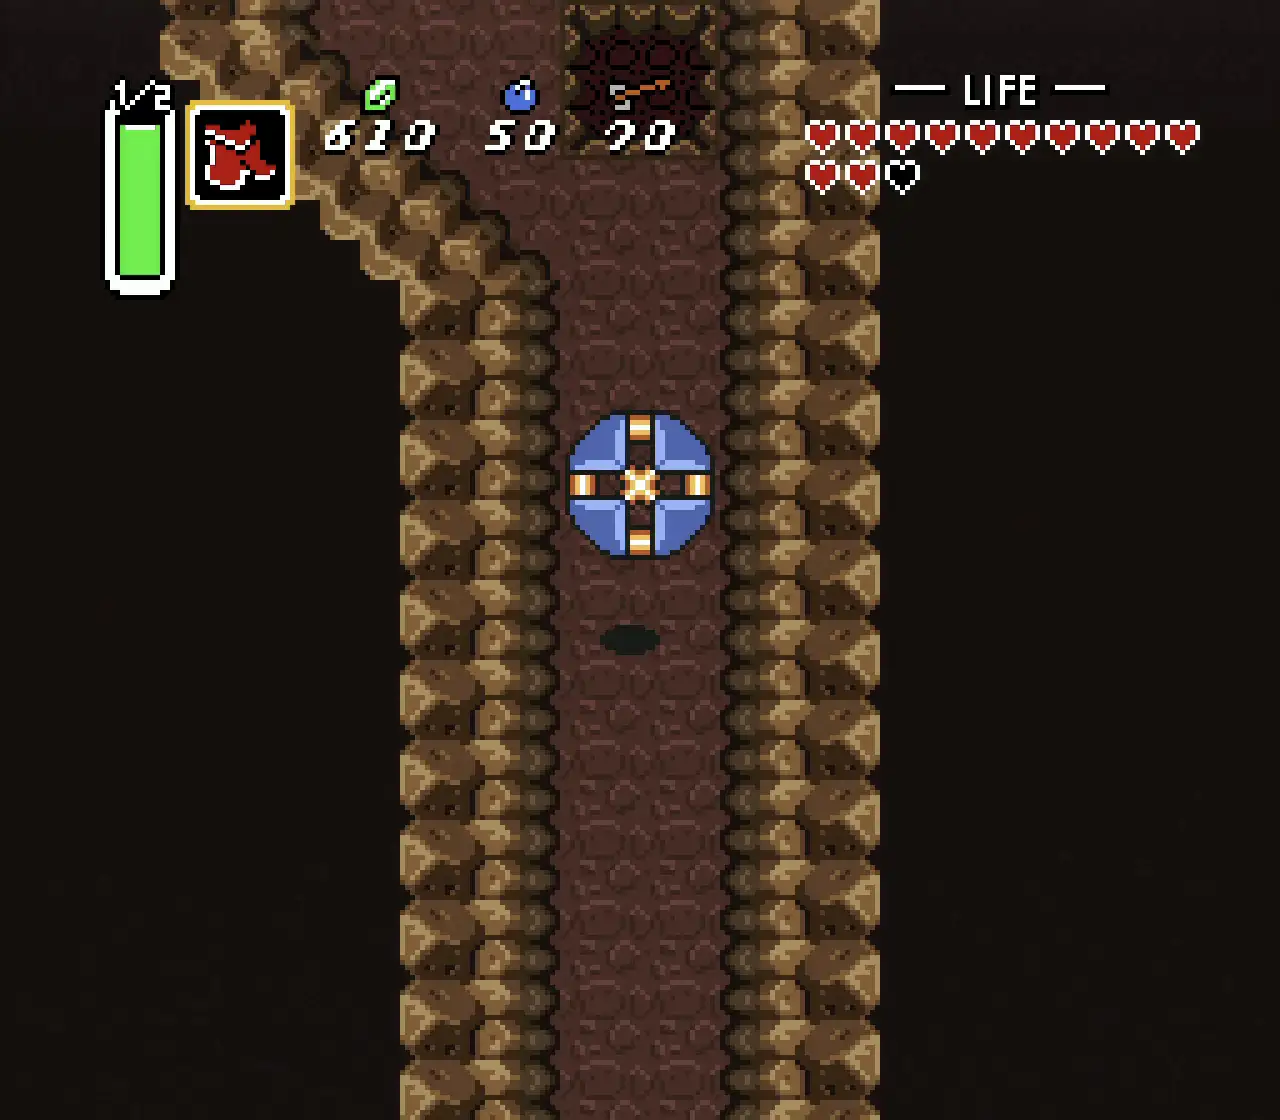
West of the marshlands is the Desert of Mystery. As soon as you enter this area, keep going North to find a cave, which you need to enter. Follow the path insides until you reach a room with an old man and a bombable wall to the South. You know what to do – Open up that crack with a bomb, enter the opening and grab the chest for your Heart Piece.
6 – The Marshlands
Step 1 Step 2 Step 3
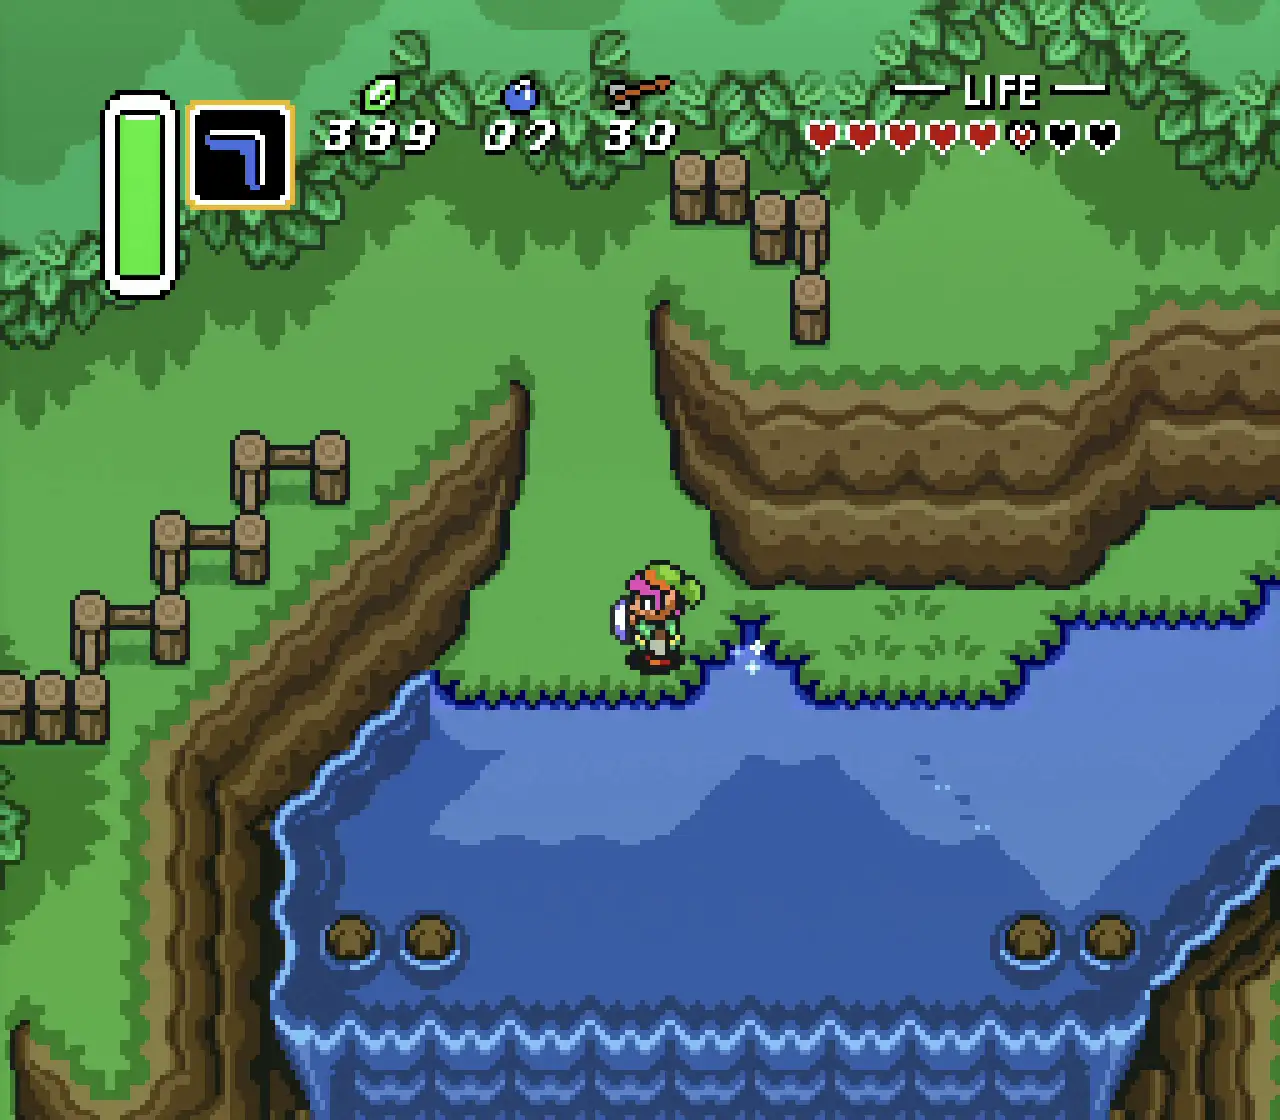
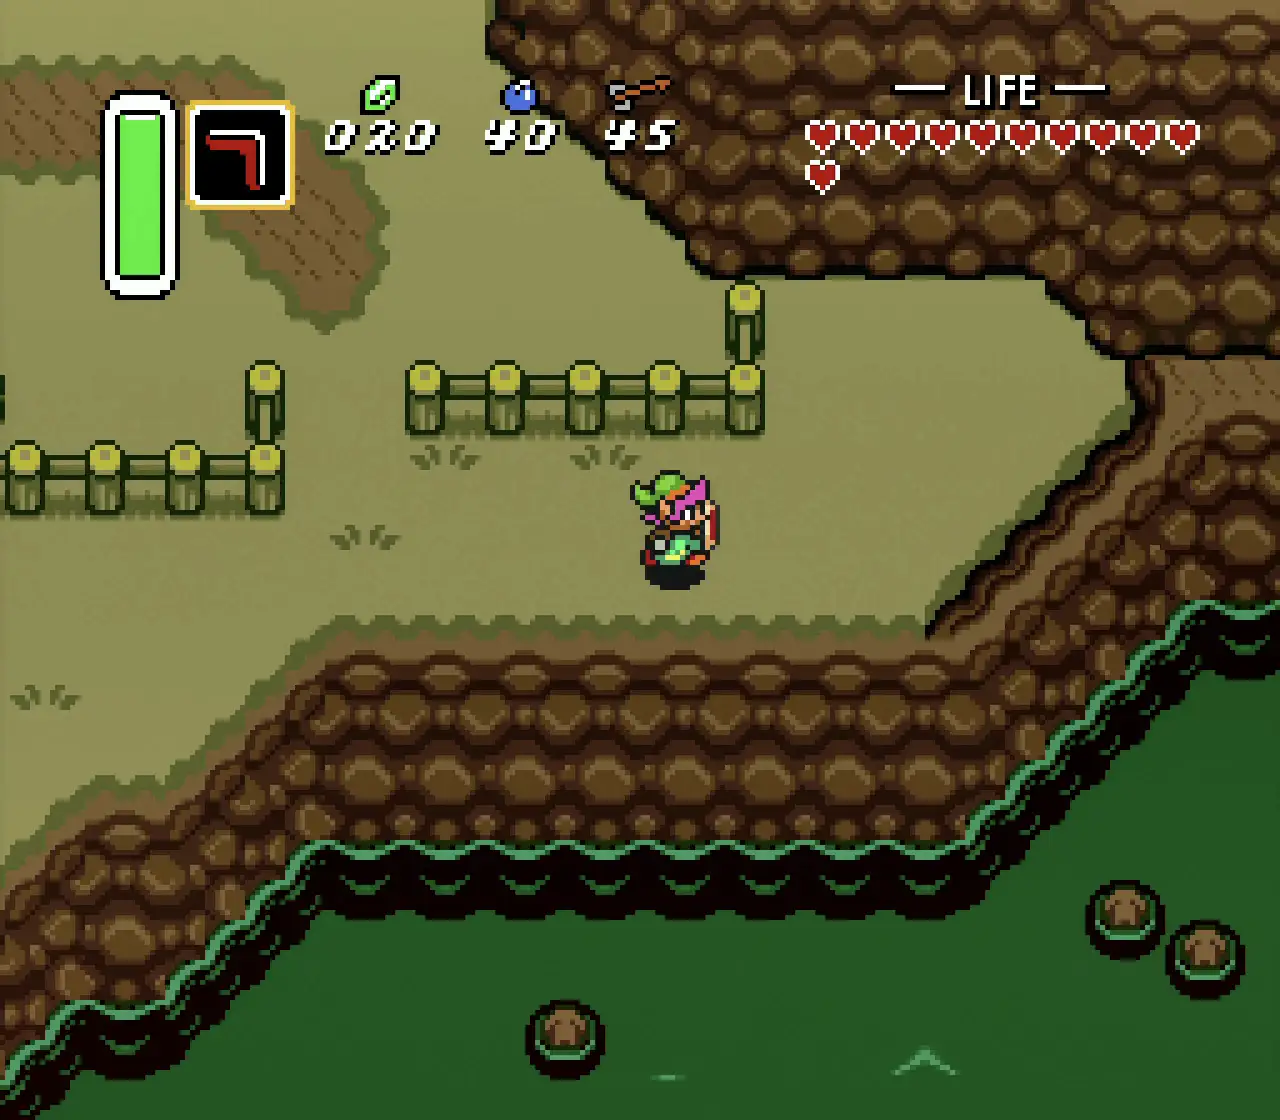
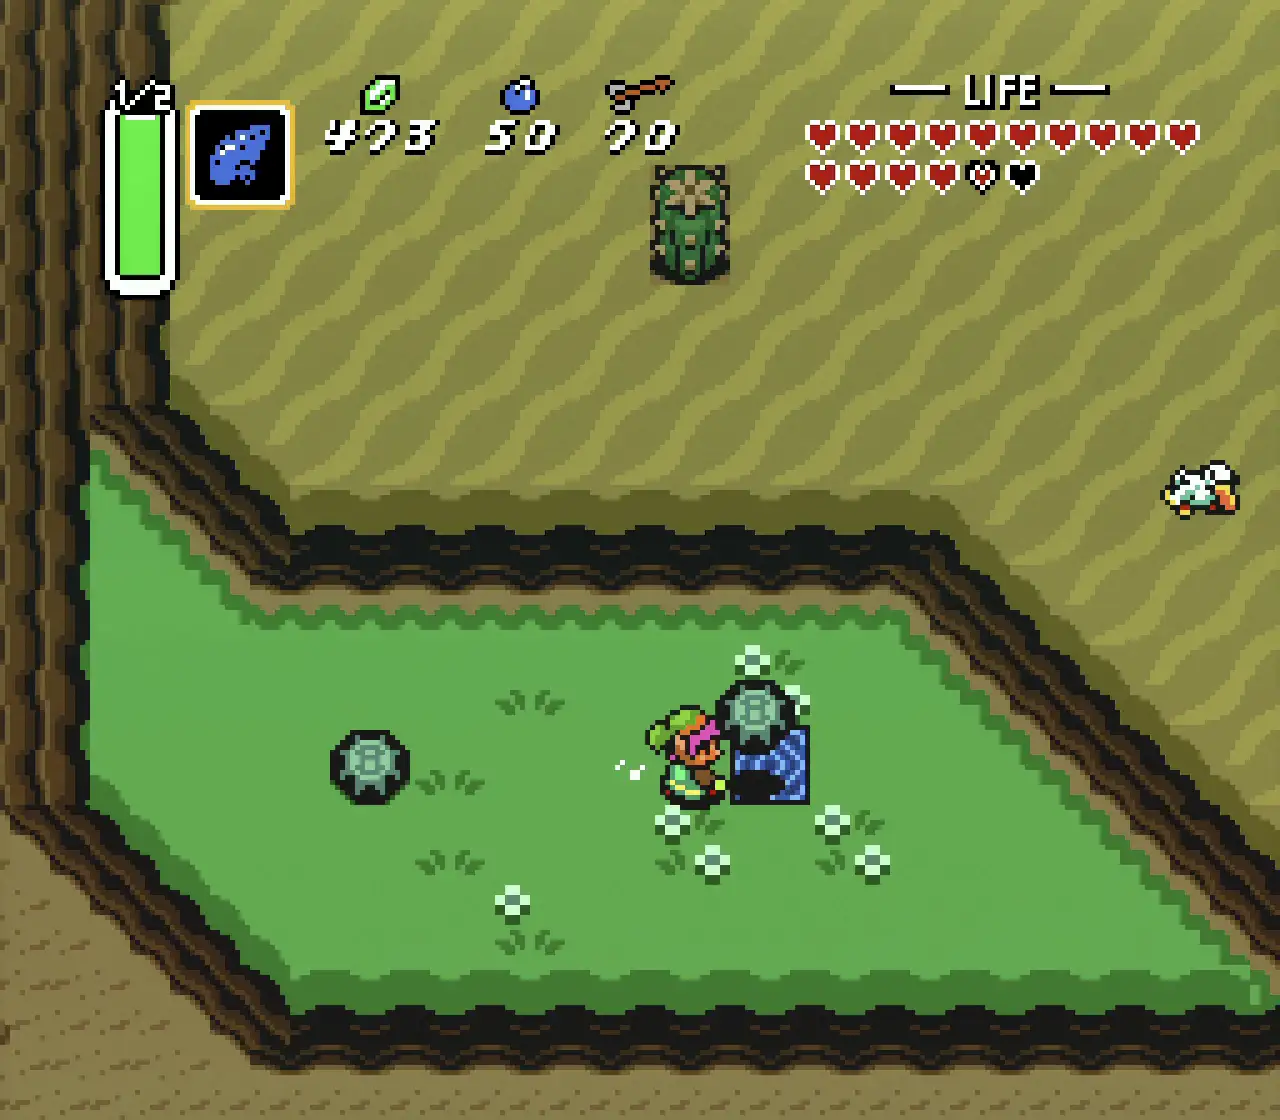
South of Link’s House is some marshland, where you’ll also find a building the contains two levers. If you pull the lever on the right, the nearby floodgate will open, draining the water outside. This will reveal a Heart Piece, ripe for the taking.
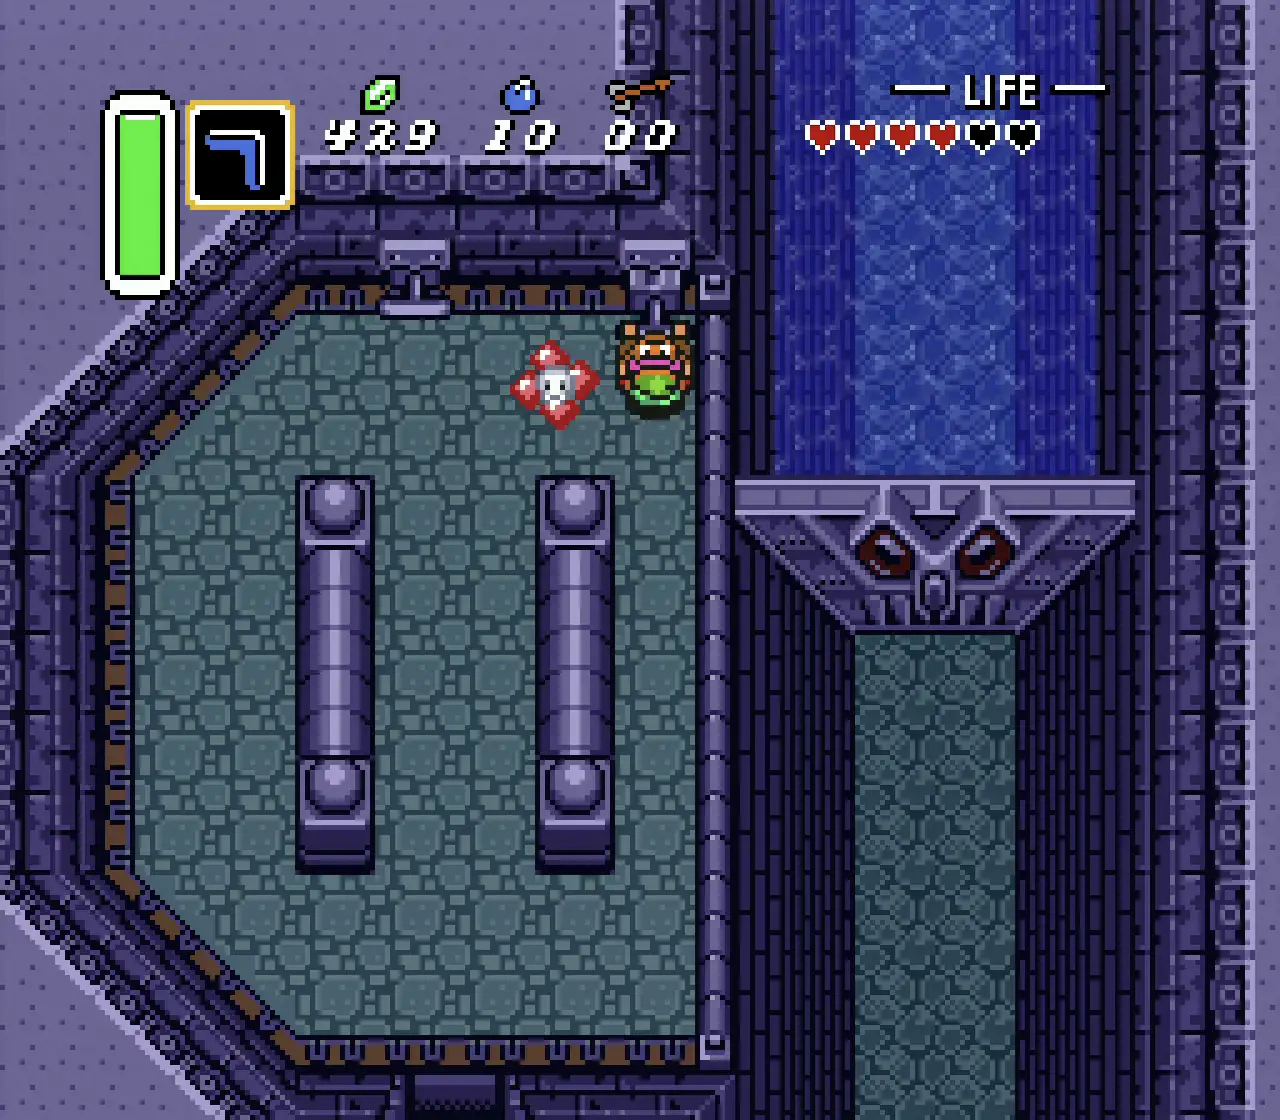
7 – Desert of Mystery
Step 1 Step 2 Step 3
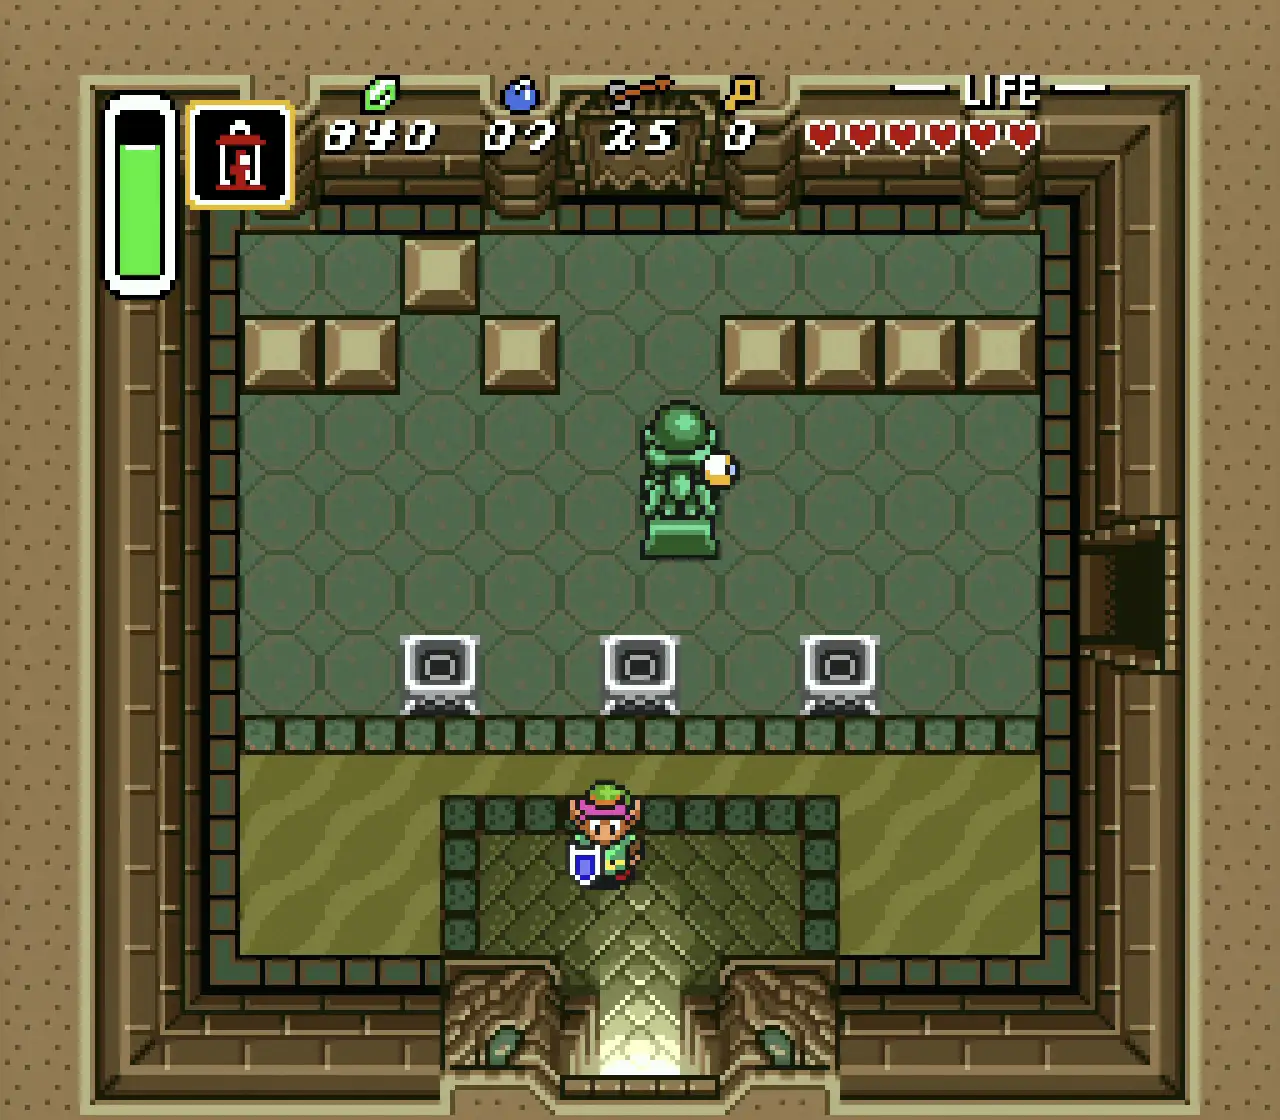
During your stay at the Desert Palace, you’ll reach a room with three torches, a Beamos and then opening to the outside to the South. You’ll need to leave the Palace via this door to proceed with the level. However, before you do, go to the South while staying on the ledge, and you’ll reach another Piece of Heart.
8 – Zora’s Domain
Step 1 Step 2 Step 3 Step 4

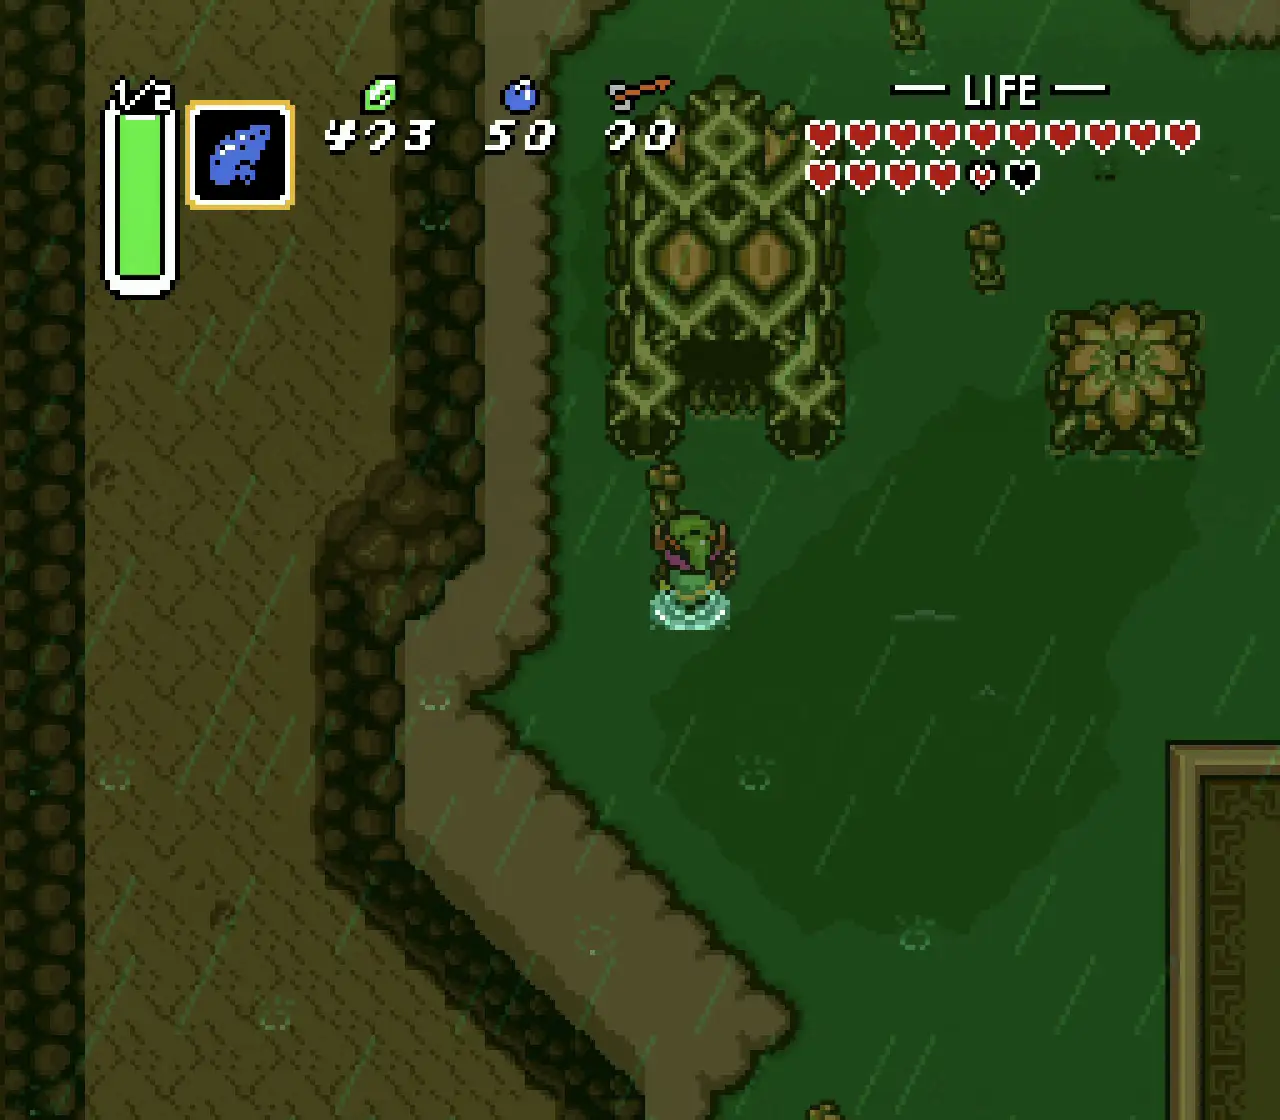
You can get this Heart Piece as soon as you get Zora’s Flippers. From that area in Zora’s Domain, go South straight away and jump off the waterfall. Follow the shallow water around to the South and West to get to dry land, where a Heart Piece is waiting for you.
9 – Sanctuary Overworld Area
Step 1 Step 2 Step 3
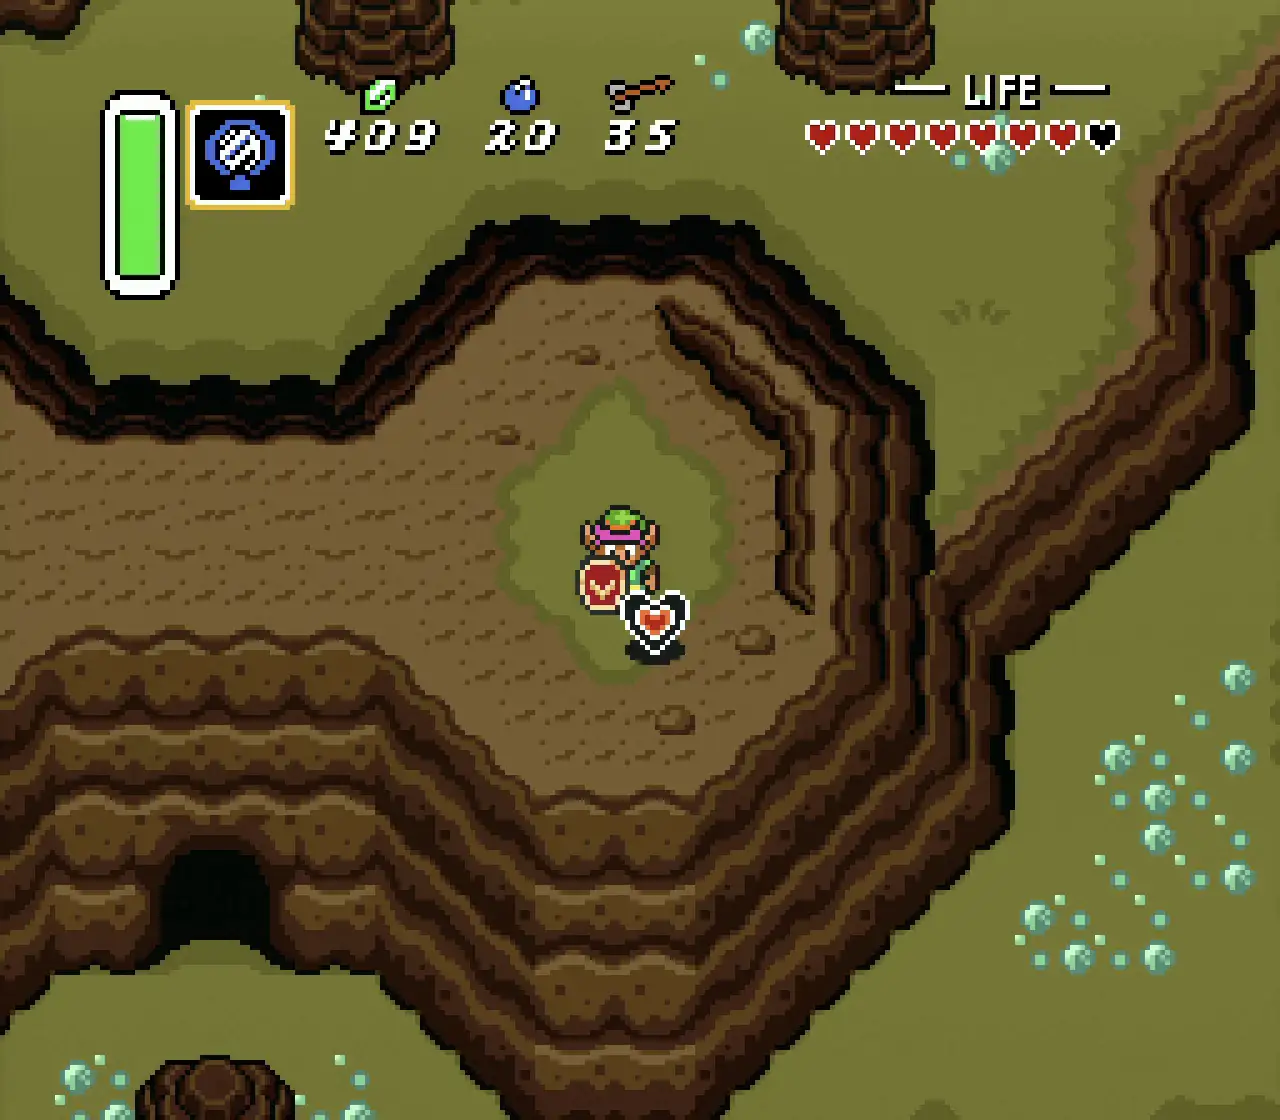
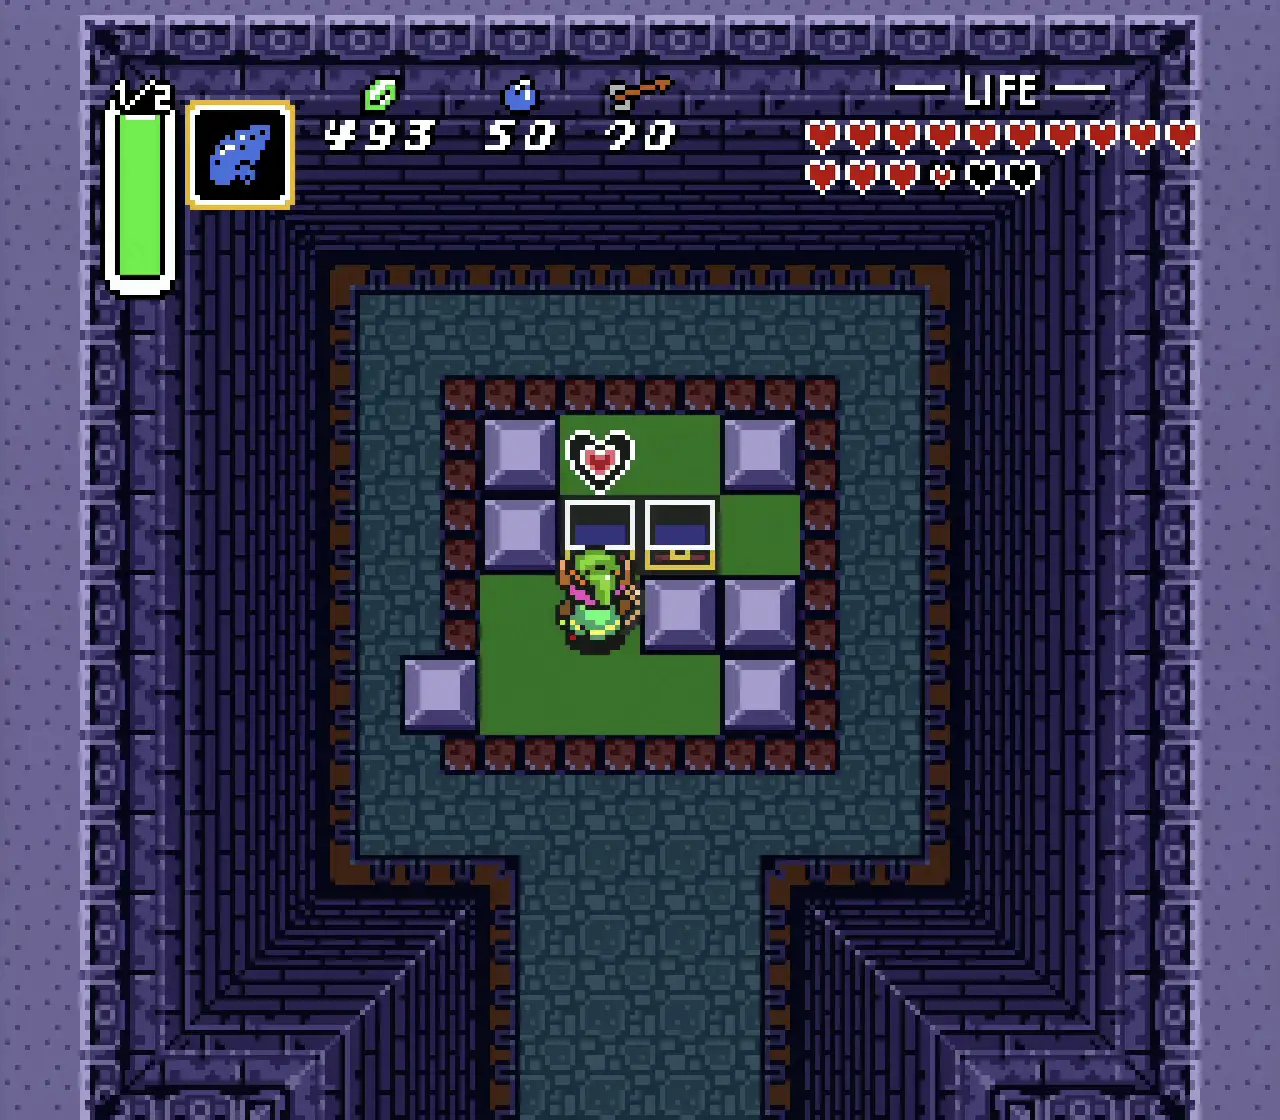
Once you have the Pegasus Boots, you can see a bundle of rocks slightly West of the Sanctuary on a ledge. If you go West from Sanctuary, up to the ledge and then back East, you’ll get to it. Simply perform a Pegasus Boot dash at the pile of rocks and you’ll shatter them, revealing a set of stairs. Go down these stairs and you’ll find a chest with a Heart Piece.
10 – Death Mountain
Step 1 Step 2 Step 3
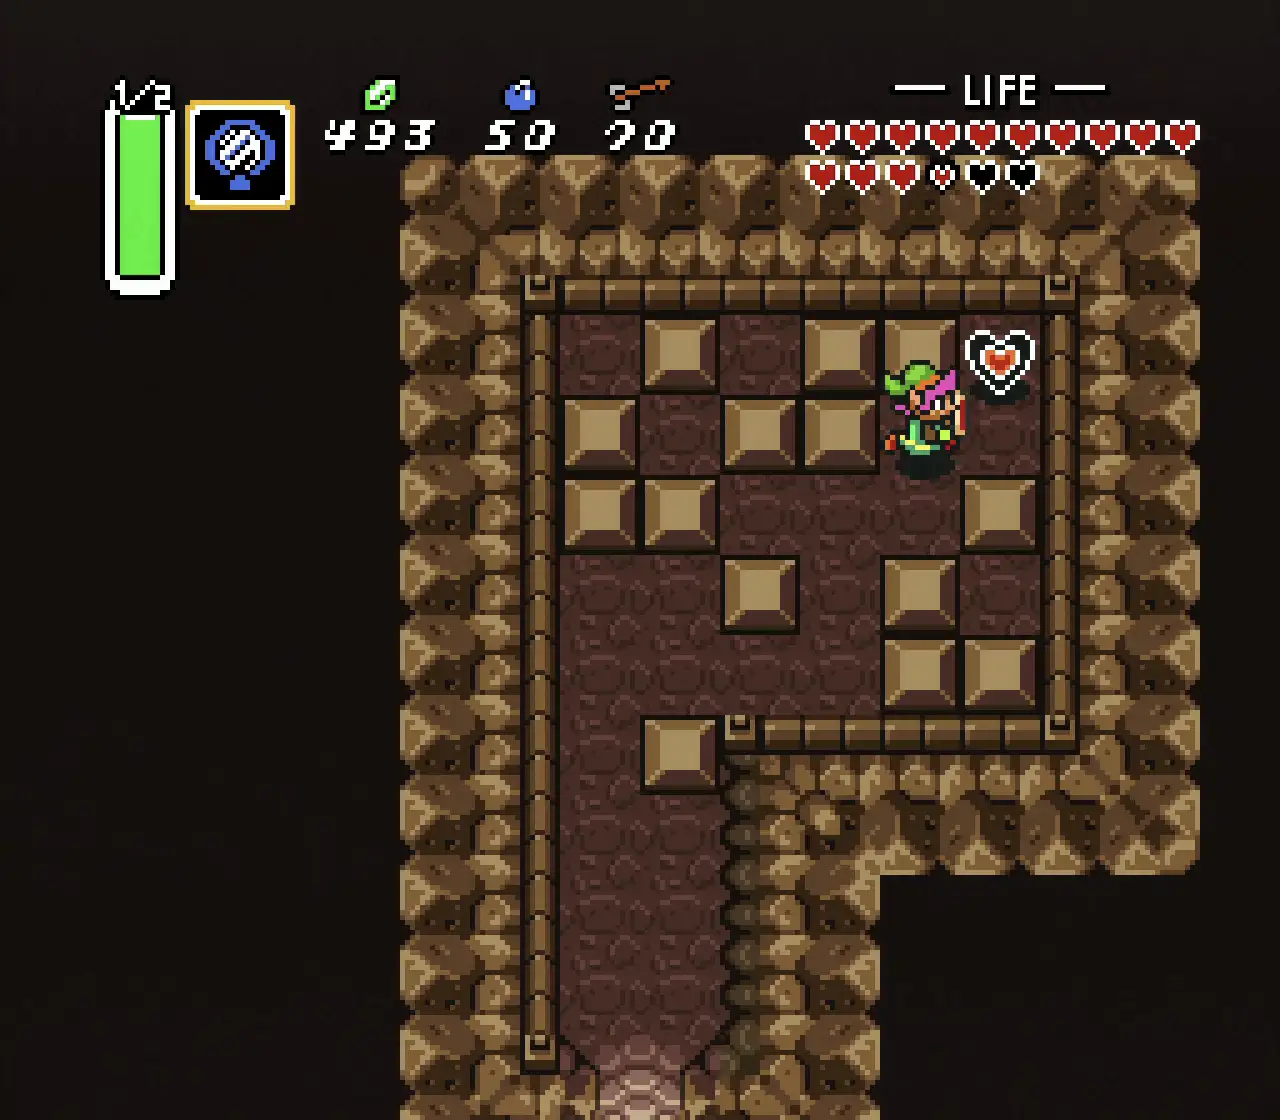
As you make the arduous climb up Death Mountain on the way to the Tower of Hera, you’ll pass a landmark called Spectacle Rock. Below the large boulder in front of this notable location is a ledge you can jump down, leading you to a cave. Make your way through this linear underground area to find yet another Heart Piece.
What To Play While You Wait For Zelda: Breath Of The Wild!

Super Mario World Ending – SNES [Ending Theatre]
The Chibi-Robo amiibo and How Does It Work With Chibi-Robo: Zip Lash?
11 – Death Mountain
Step 1 Step 2 Step 3
The first time you enter the Dark World, you’ll need to use the Magic Mirror to teleport back to the Light World and proceed further on your quest. If you go West from where you first enter this barren wasteland, you’ll see a diamond-shaped mark on the ground. Stand here and use the Magic Mirror and you’ll end up back in the Light World and on top of Spectacle Rock, right in front of the Heart Piece on top of it.
12 – Pyramid of Power
Step 1 Step 2 Step 3
Once you’re transported to the Pyramid of Power, the central location in The Dark World, jump down to the ledge below. Then, walk to the East to find a short ledge which you need to jump down. Finally, follow the path around to the North where you’ll find a Heart Piece. You’re halfway through getting every The Legend of Zelda A Link to the Past Heart Pieces.
13 – Dark World Lake
Step 1 Step 2 Step 3
In the Dark World’s Ice Lake, there is an area of shallow water surrounded by stones. Stand in this area, use the Magic Mirror and you’ll end up on an otherwise inaccessible island in the Light World, next to the Heart Piece.
14 – Lumberjack’s House
Step 1 Step 2 Step 3
The Lumberjack’s live in a hut just South of the Lost Woods and near their abode is an unusual looking tree that you might have seen them working on earlier in the game. Perform a Pegasus Dash straight into the tree and it will collapse, revealing a hole you can fall into. In this area, follow cave up the stairs and to the East, and you’ll find a Heart Piece.
15 – Flute Kid’s Overworld Area
Step 1 Step 2 Step 3
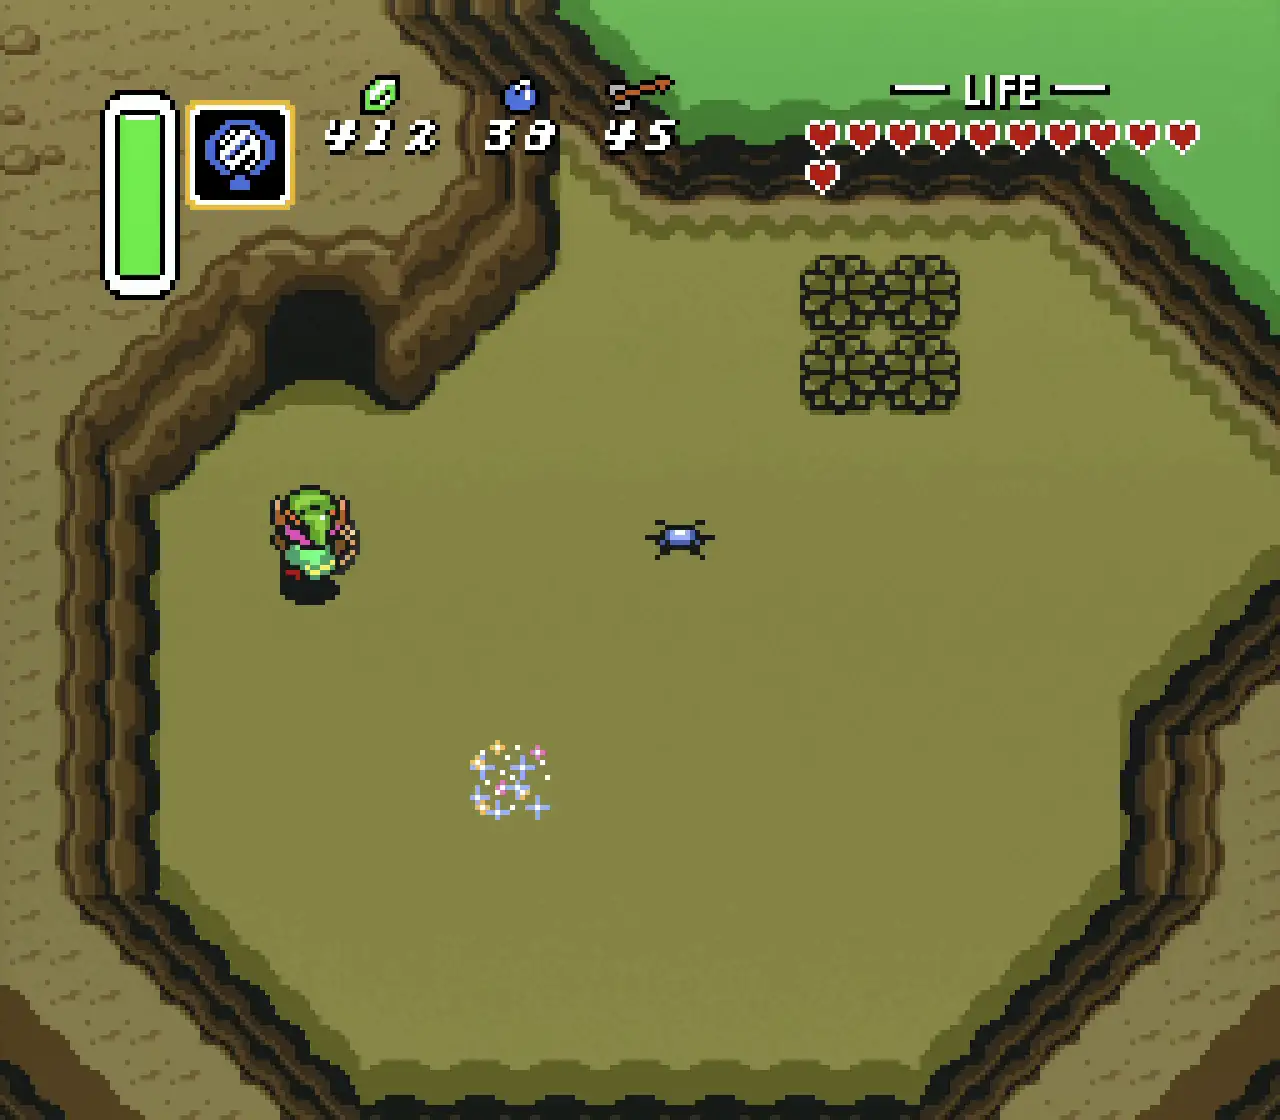
Just to the Southwest of the Flute Kid’s Grove in the Dark World, are some bushes arranged into a diamond shape. Stand in the middle of them and use the Magic Mirror, to end up in front of a cave. Enter the cave to find another Heart Piece.
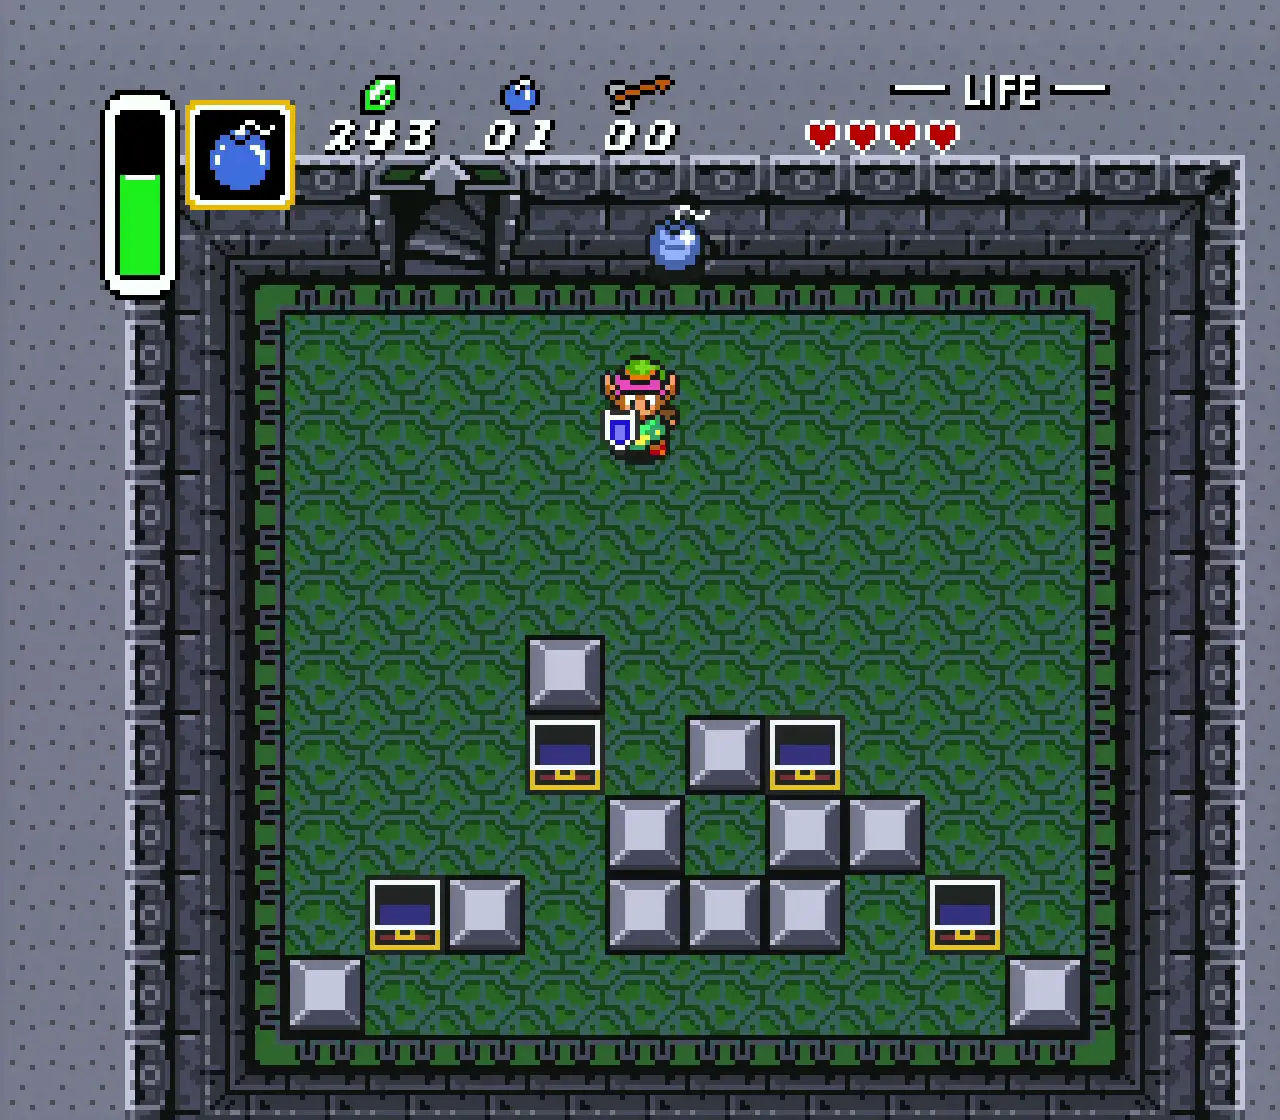
16 – Digging Game
Step 1 Step 2
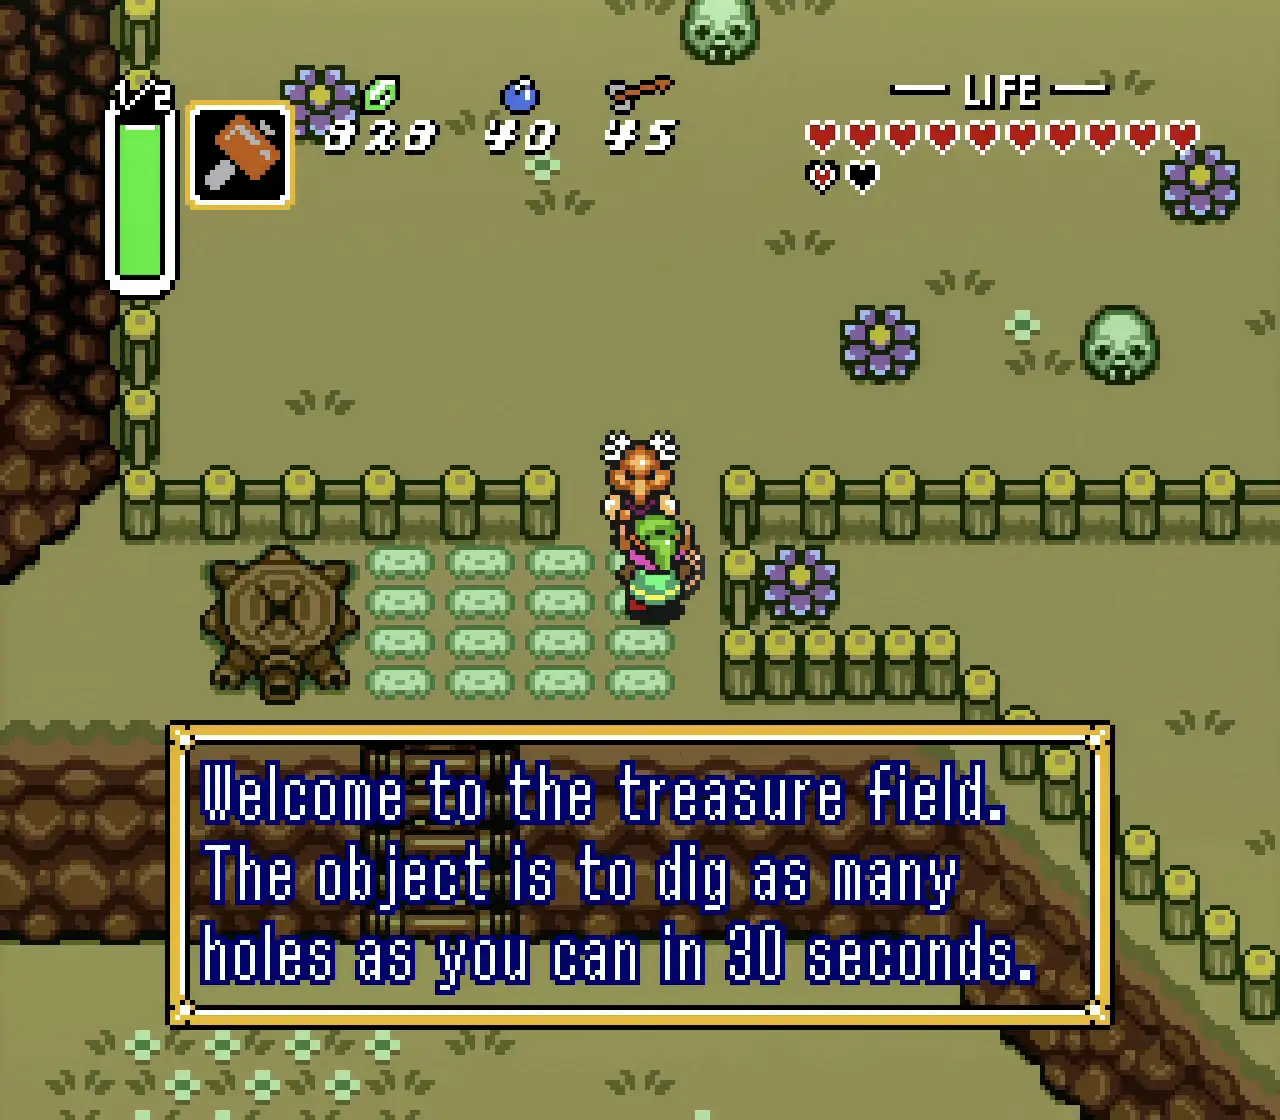
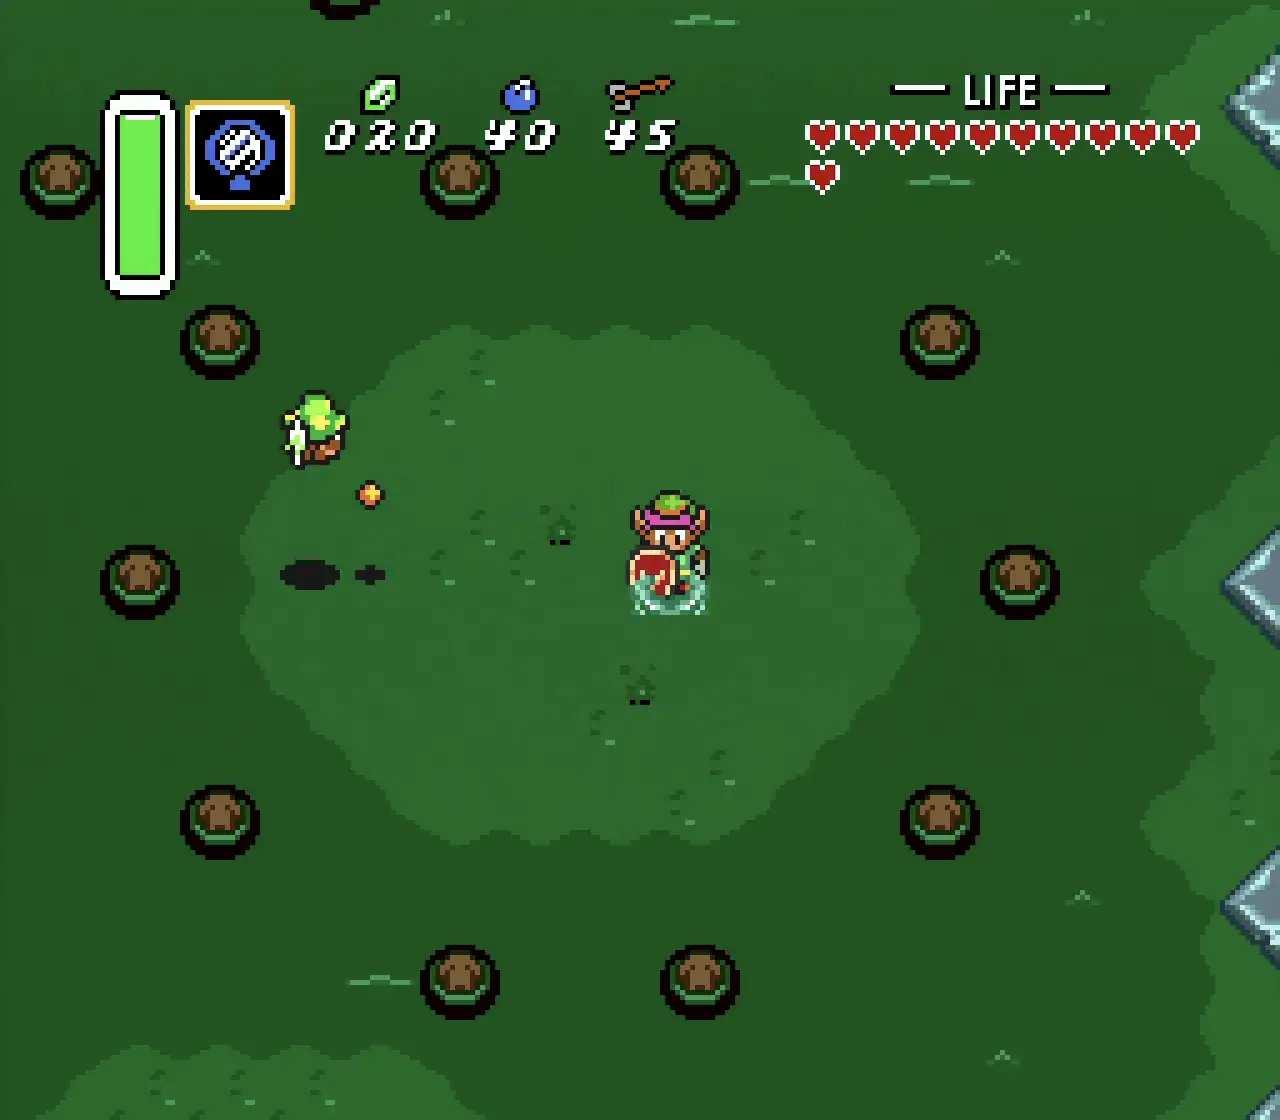
South of the Outcast’s Village, where the race was in the Light World, is a Digging minigame. It costs 80 Rupees to play, and you’ll have 30 seconds to dig as many items out of the ground as possible. One of these items will be another Heart Piece, but its location will be completely random, so it may take a while to find. This is arguably the most infuriating Piece of Heart to find.
17 – Graveyard
Step 1 Step 2 Step 3


In the Dark World’s version of the Graveyard, there is a ledge to the North you can climb up to. Stand on this ledge and use the Magic Mirror to find another cave in the Light World. Enter it, bomb the North wall and walk through. As you’ve probably guessed, here’s where you’ll find another of the Zelda: A Link to The Past Heart Pieces.
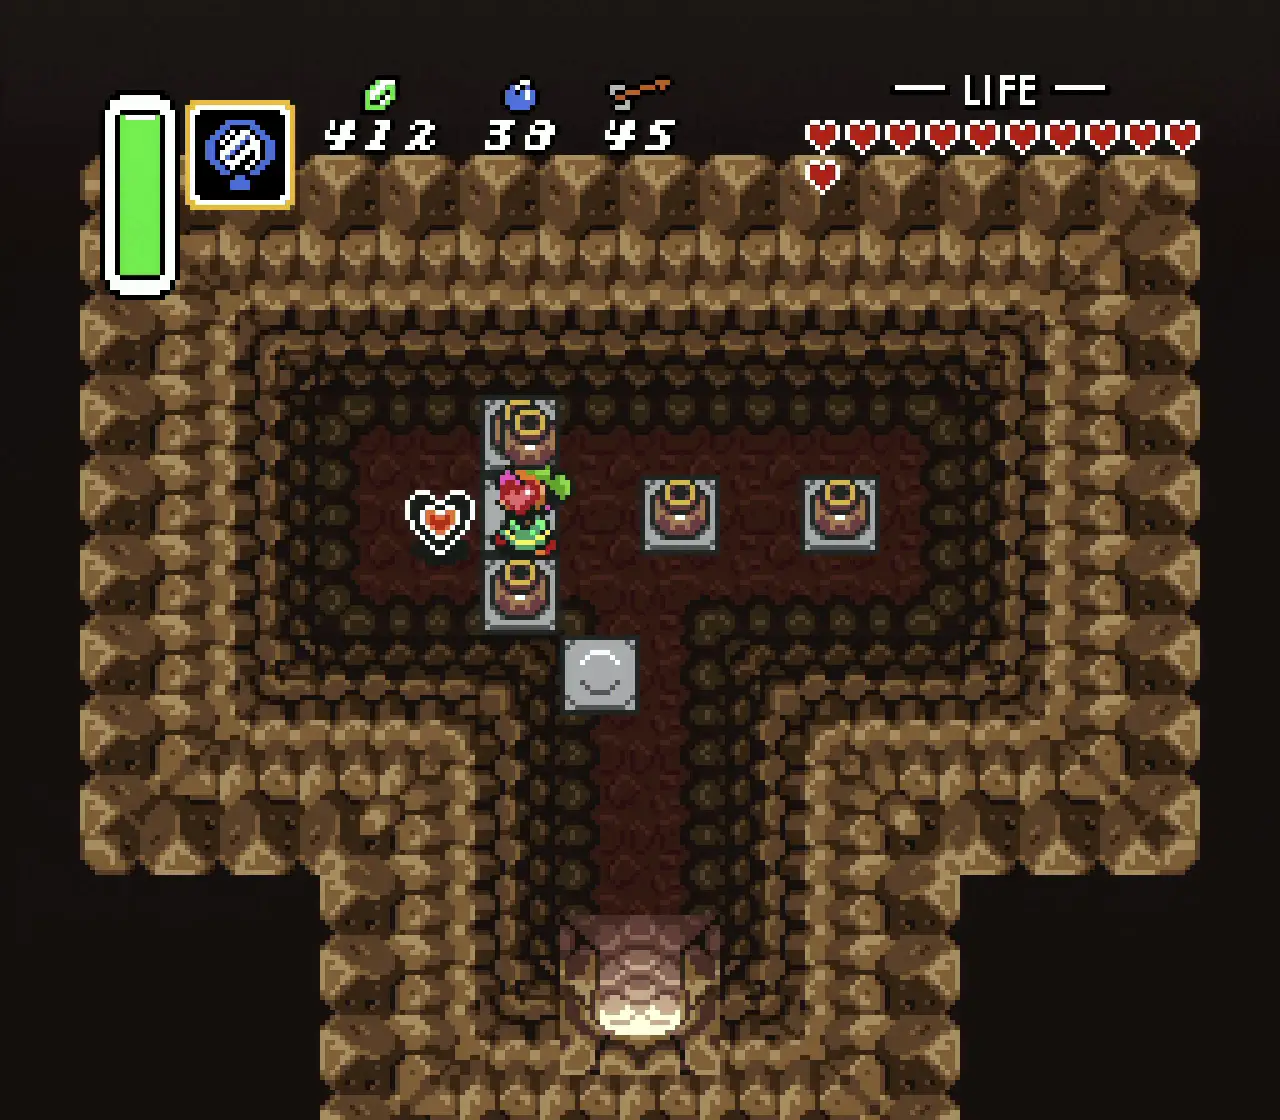
18 – Northwest of Sanctuary Cave
Step 1 Step 2 Step 3 Step 4
You’ll need to Hookshot and Magic Cape for this one. While in the Dark World, visit the cave you would have used in the Light World to enter Death Mountain. Once in the cave, go up the stairs to the North, and use your Hookshot to bypass the huge gap in the floor to the South. Follow the path, and once you reach the blue bumper, use your Magic Cape and simply walk through the bumper. Carry on to the Southern exit and you’ll be in front of the collectable.
19 – Village of Outcasts
1Step Step 2 Step 3
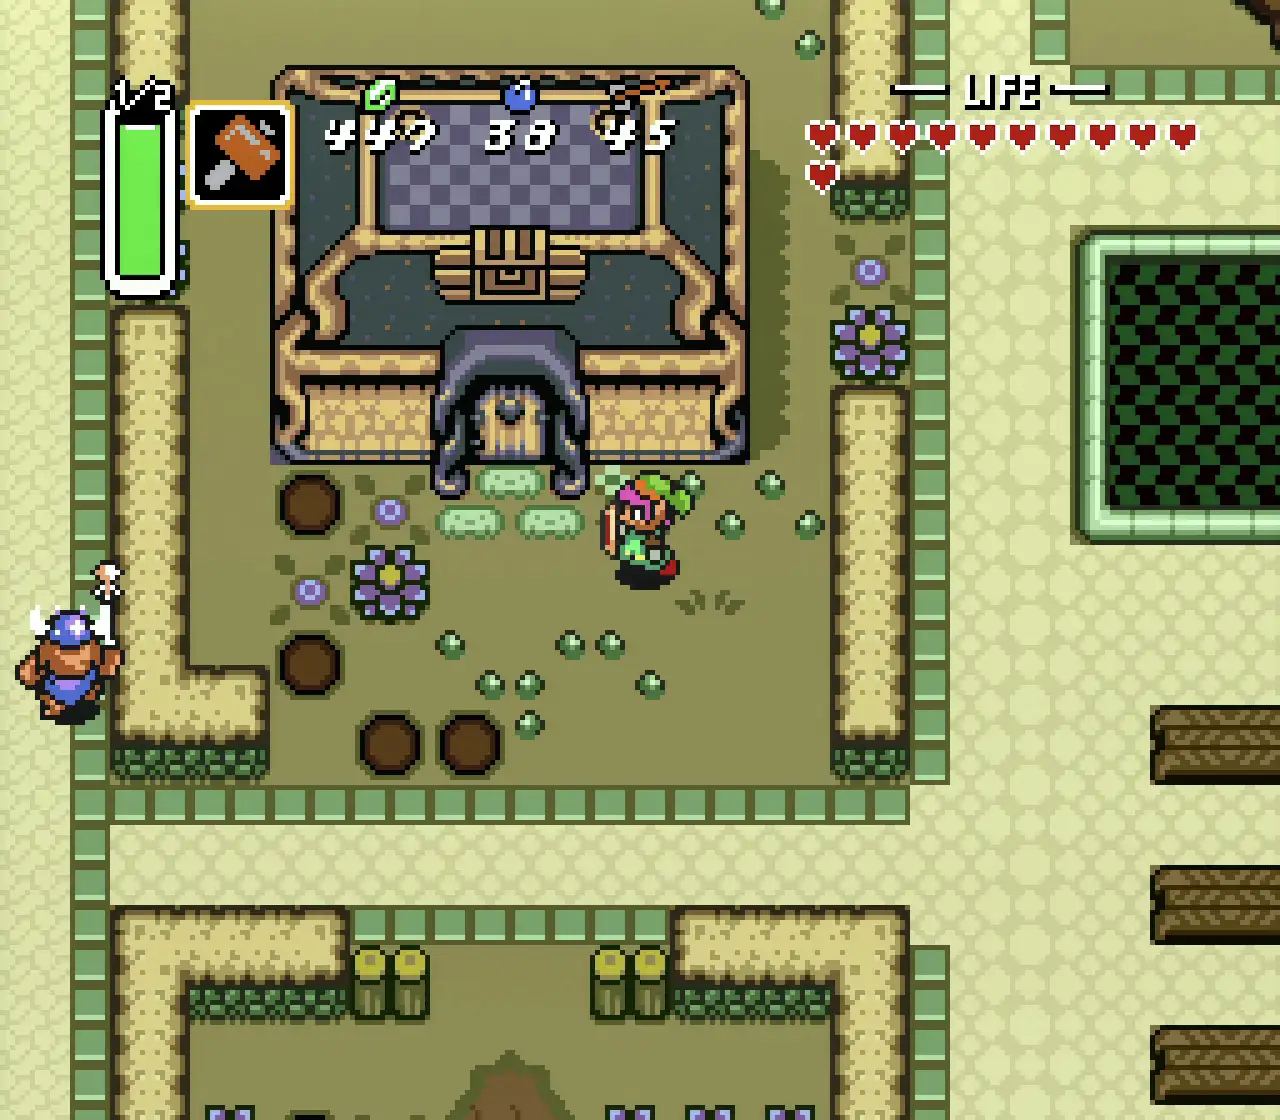
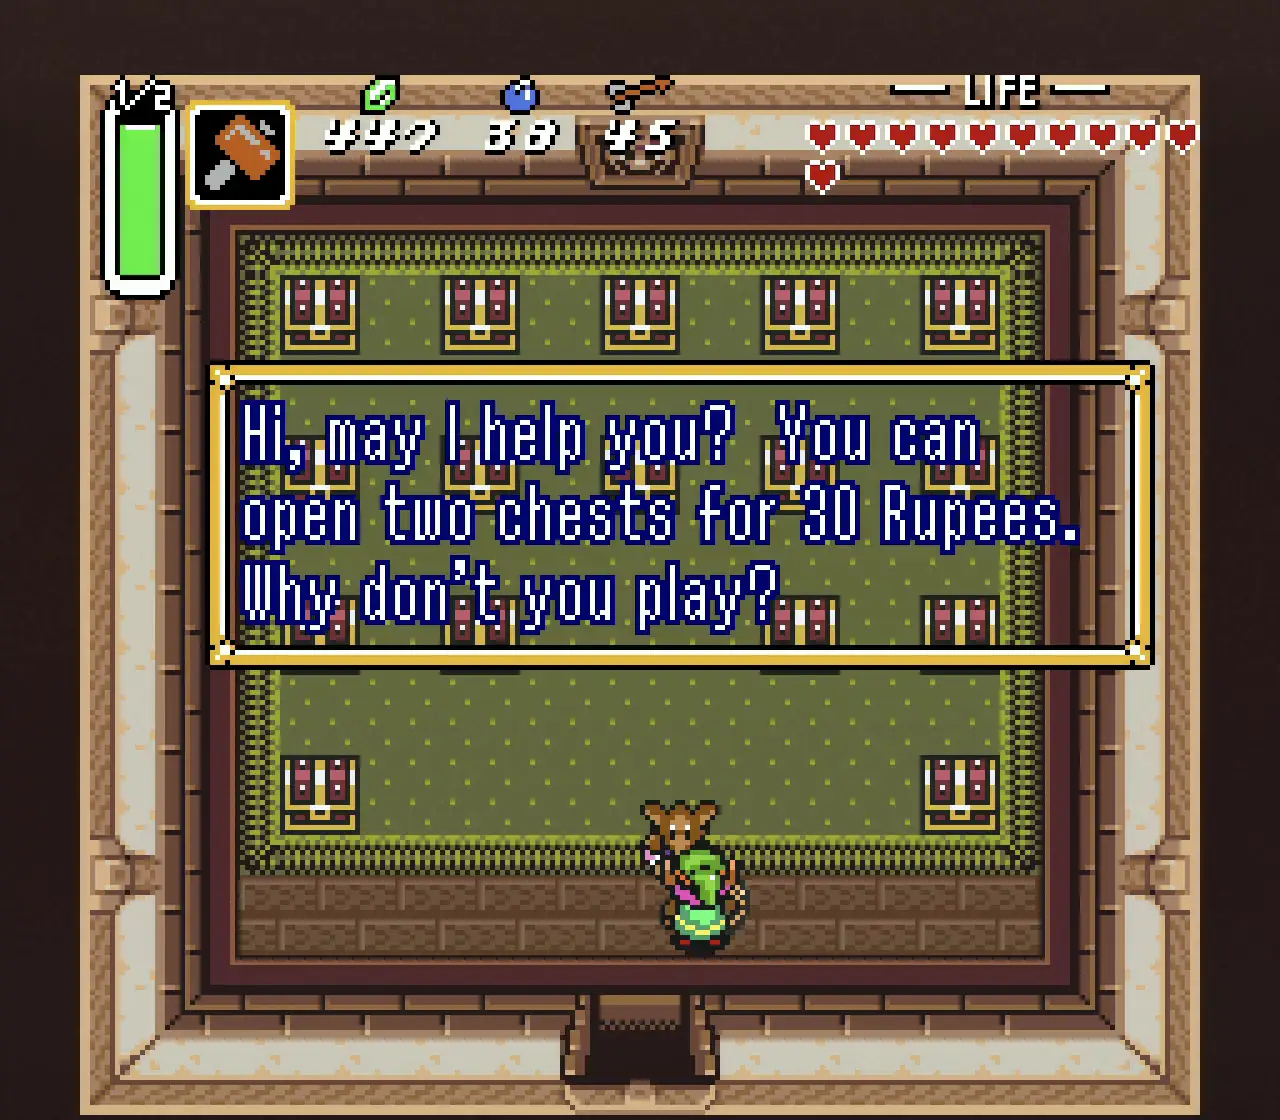
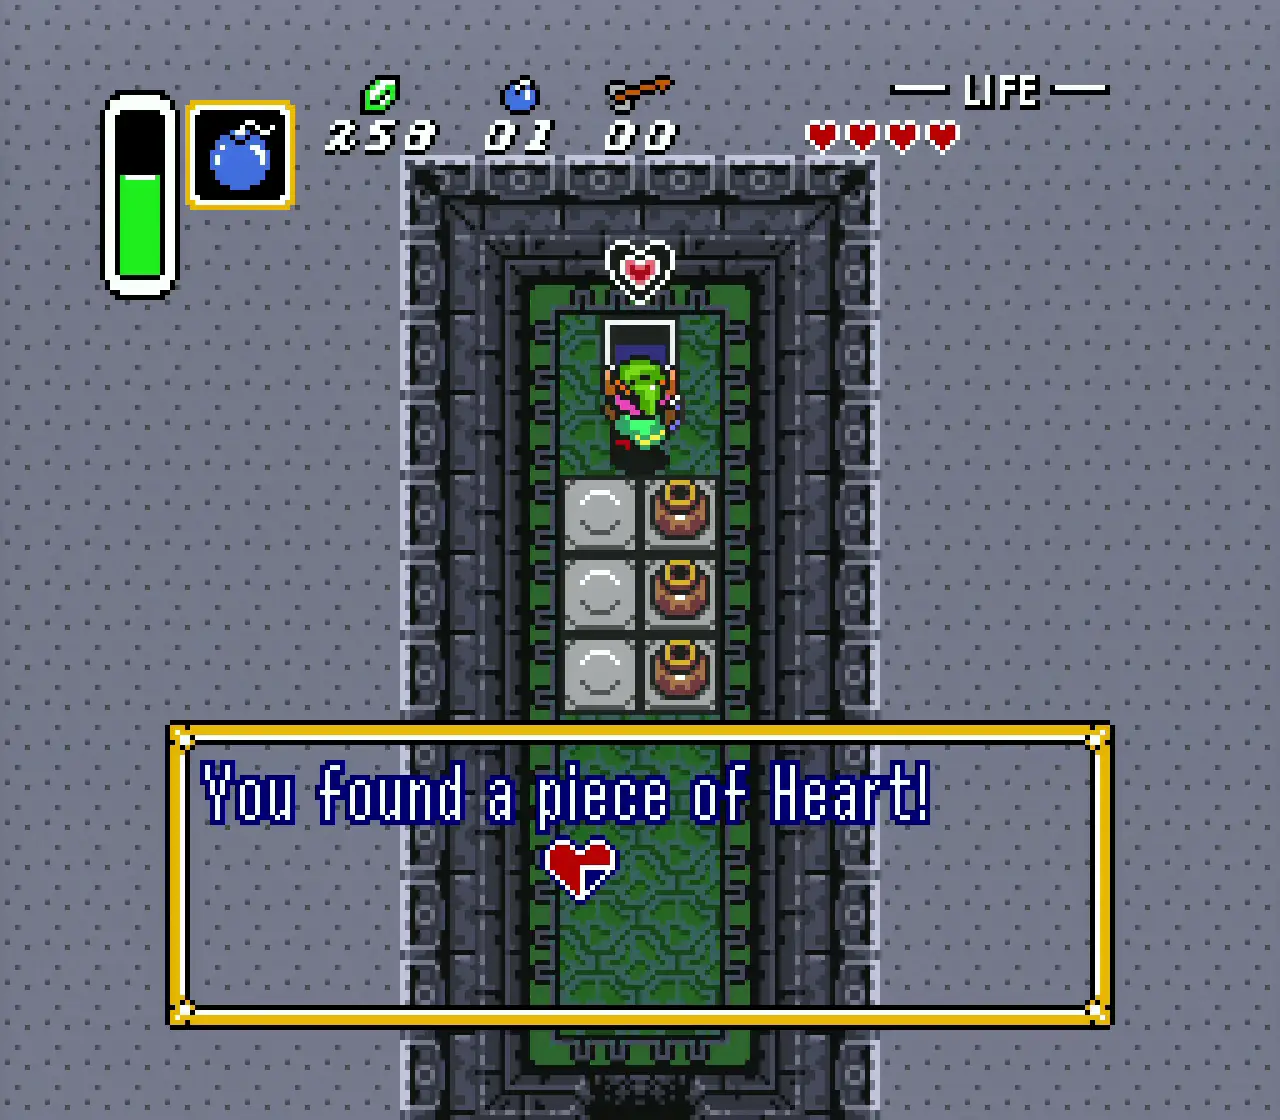
Northwest of the Village of Outcasts there is a house that contains the Treasure Chest game. Pay 30 Rupees to open two of the many chests in this room, and hope that one of the chests contains a Piece of Heart. It’s random, so you’ll need to keep on playing until you find it.
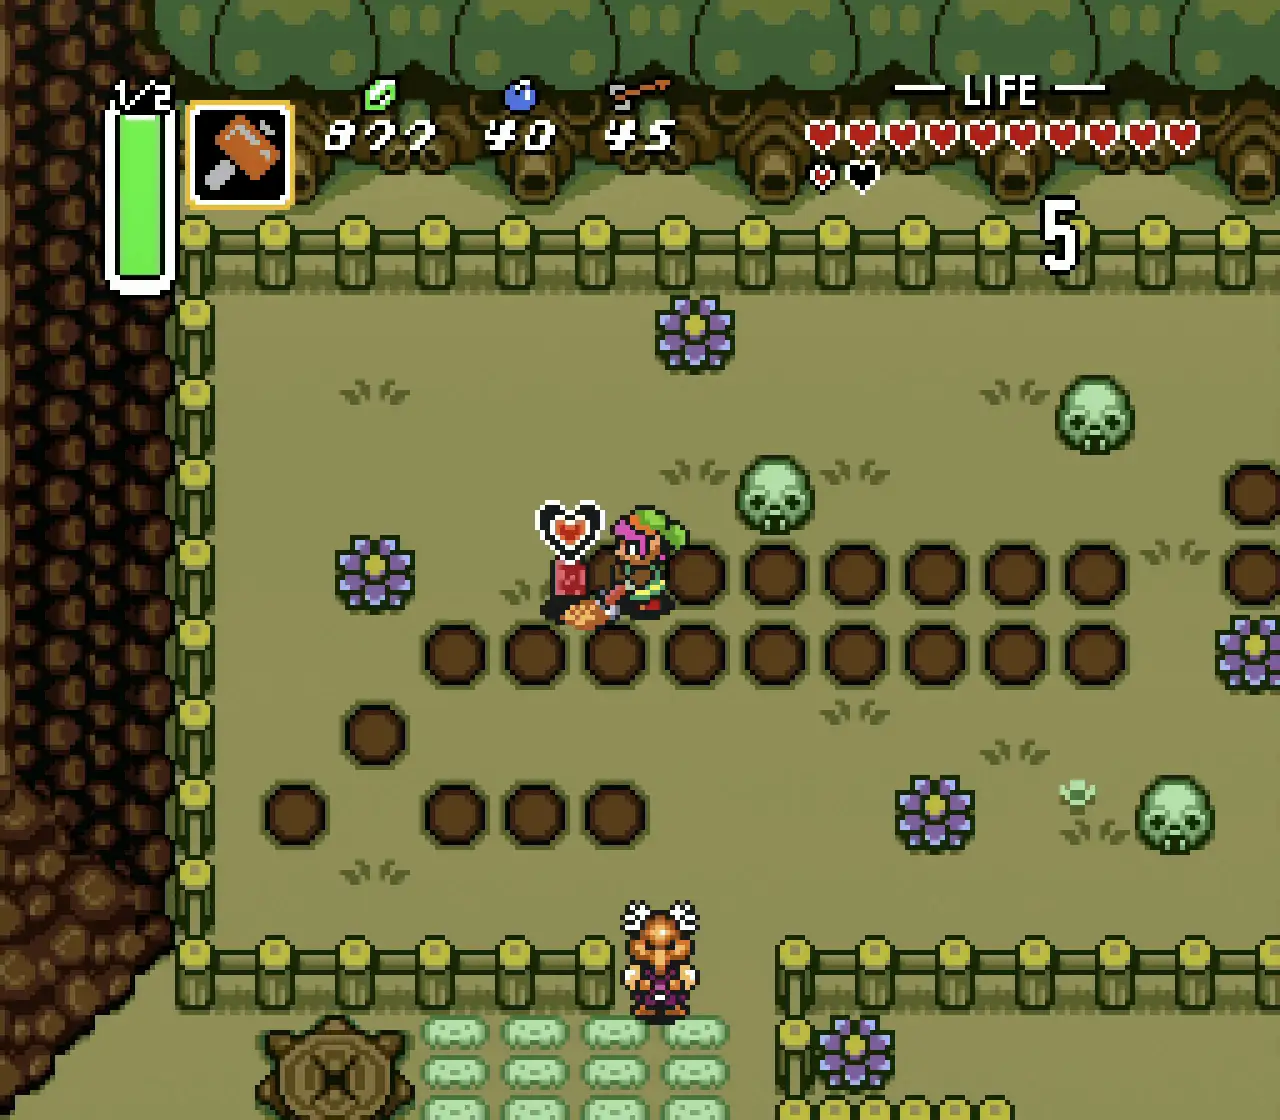
20 – Village of Outcasts
Step 1 Step 2 Step 3
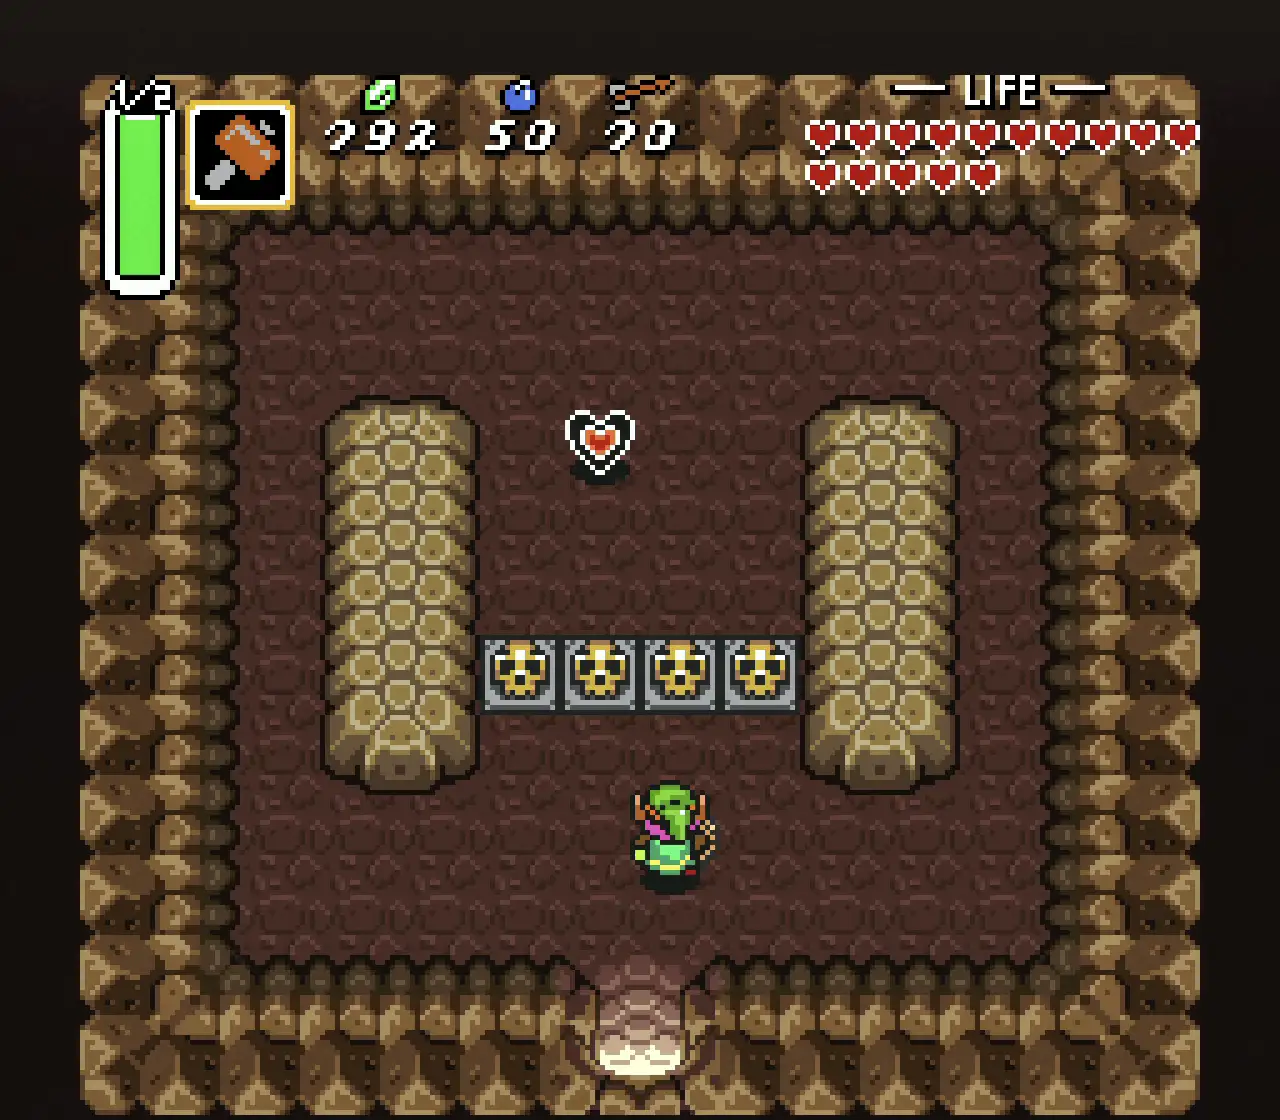
To the East of the Village of Outcasts is what would have been the Blacksmith’s house in the Light World. Outside will be a large number of purple stakes, which you’ll need to smash with the Magic Hammer. As soon as all 22 stakes have been slammed, a cave will reveal itself to the South. Enter this cave, to find another Piece of Heart.
21 – Swamp of Evil
Step 1 Step 2 Step 3
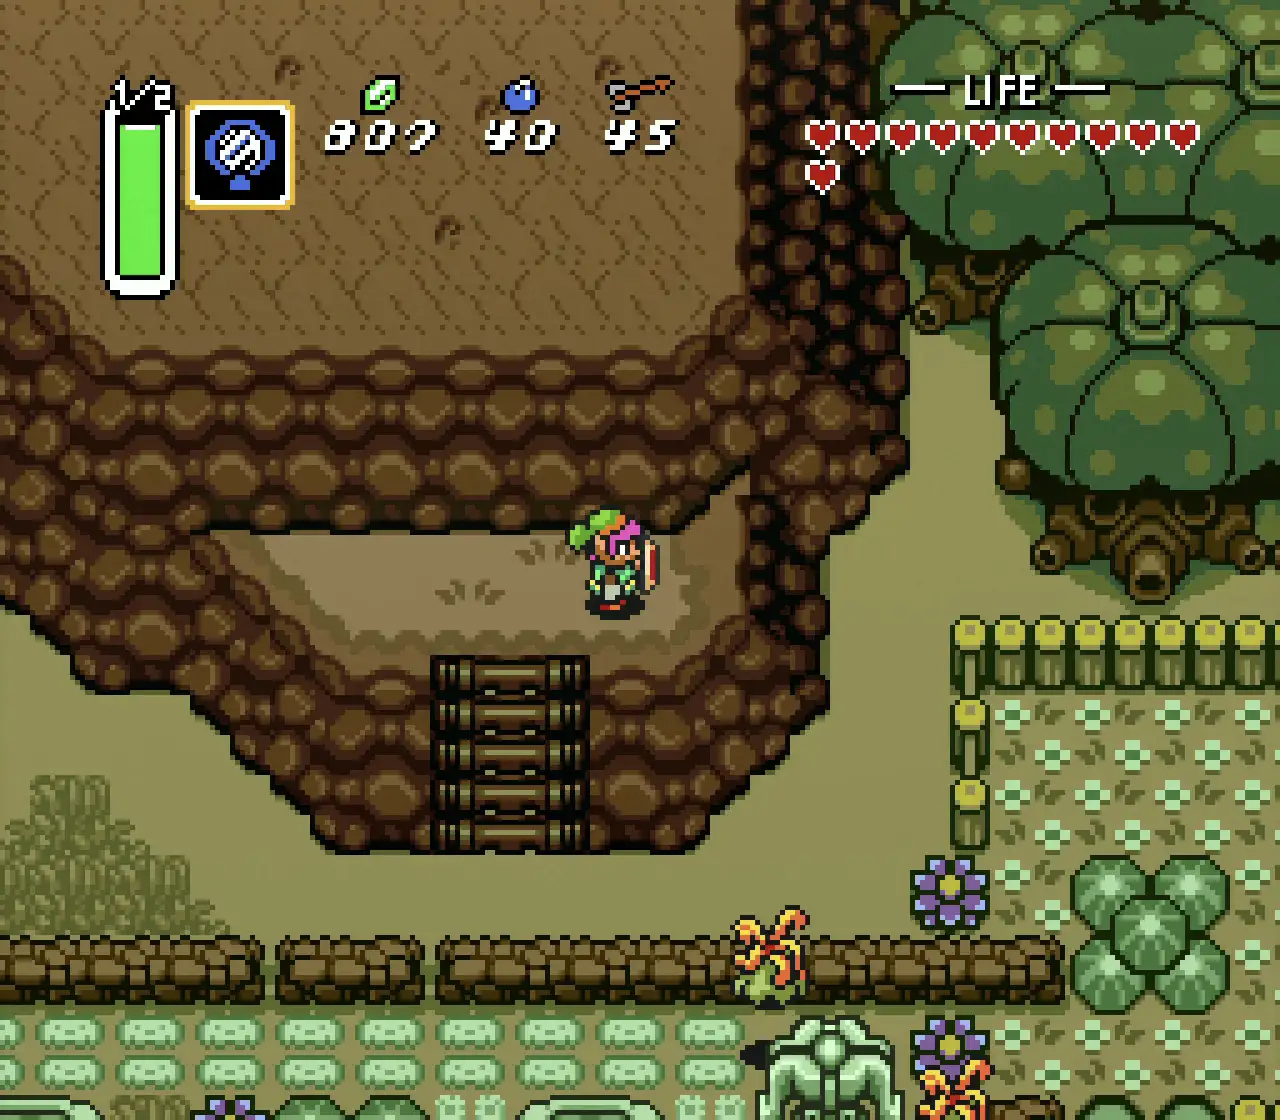
Once you have found the Flute, awoken the Flute Boy’s Duck and collected the Titan’s Mitt from the fourth Dark World dungeon, Gargoyle’s Domain, you can pick this Heart up. While in the Light World, use the Flute to summon the Duck to take you to location 6. This will take you right next to two dark-coloured rocks – Once you have the Titan’s Mitt you can lift the rock on the right-hand side to reveal a Warp Tile. Step in it to transport back to the Light World. Go North and you’ll see a cave that looks like some sort of monster, which you’ll need to enter. In this area, go North and you’ll see two chests, with the Heart Piece being in the left-hand one. You’ll have to push some blocks to get to it.
22 – Swamp of Evil
Step 1 Step 2 Step 3


In the Northeasternmost part of the Dark World’s Swamp of Evil, there is a small crevice. Stand in it, use the Magic Mirror to find yourself next to a large rock. Pick this rock up to open up a stairway to an underground area. In this cave, you’ll need to push the blocks carefully to make a path to the Heart Piece.
23 – Death Mountain
Step 1 Step 2 Step 3 Step 4 Step 5
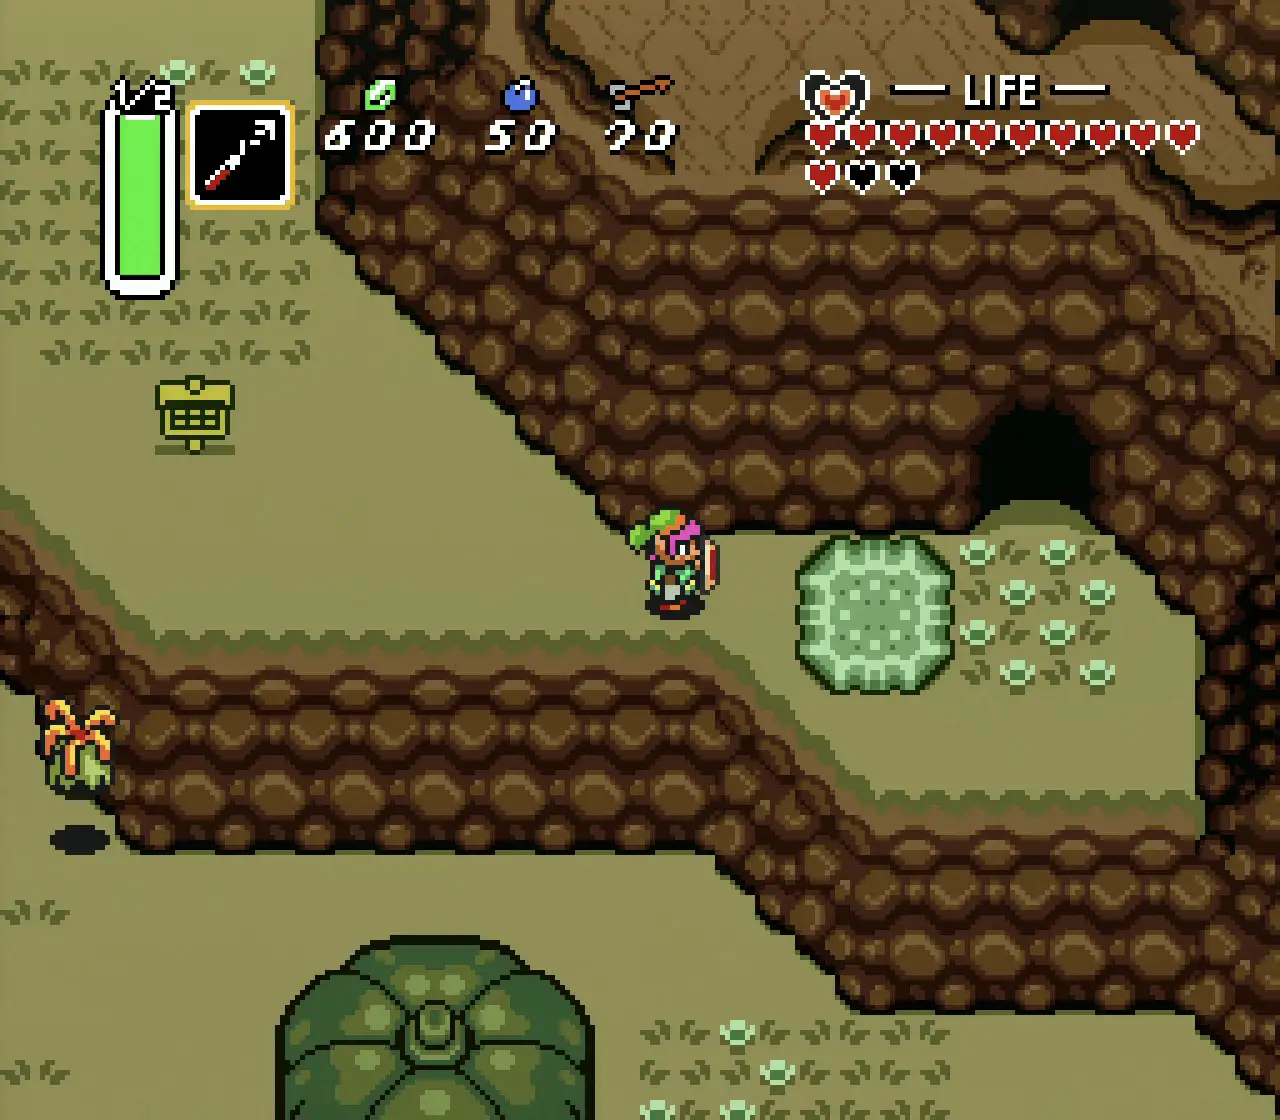
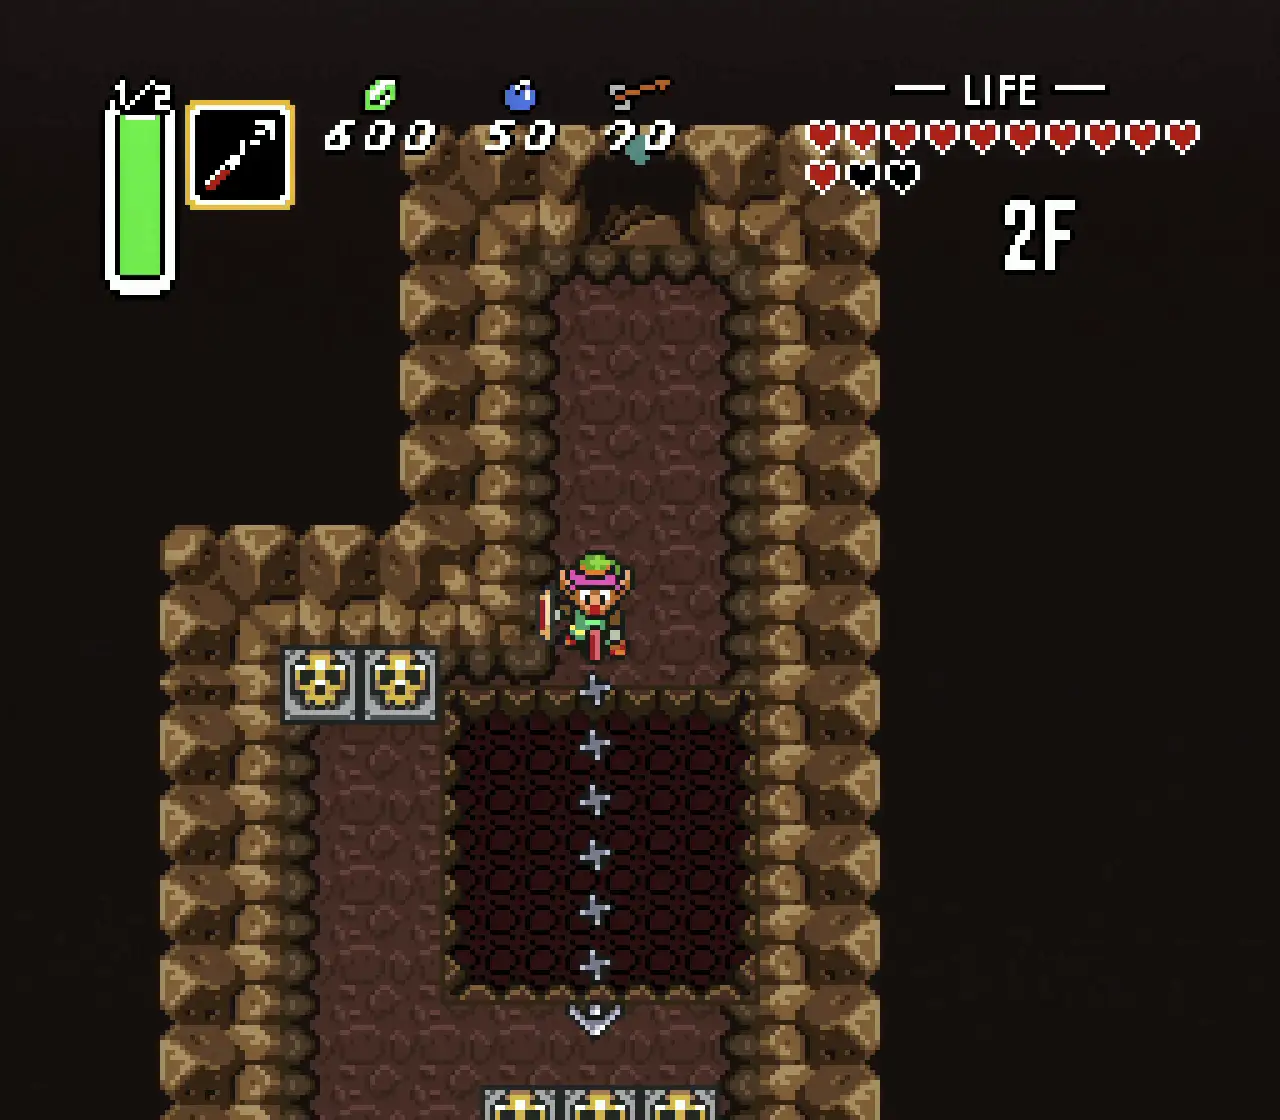
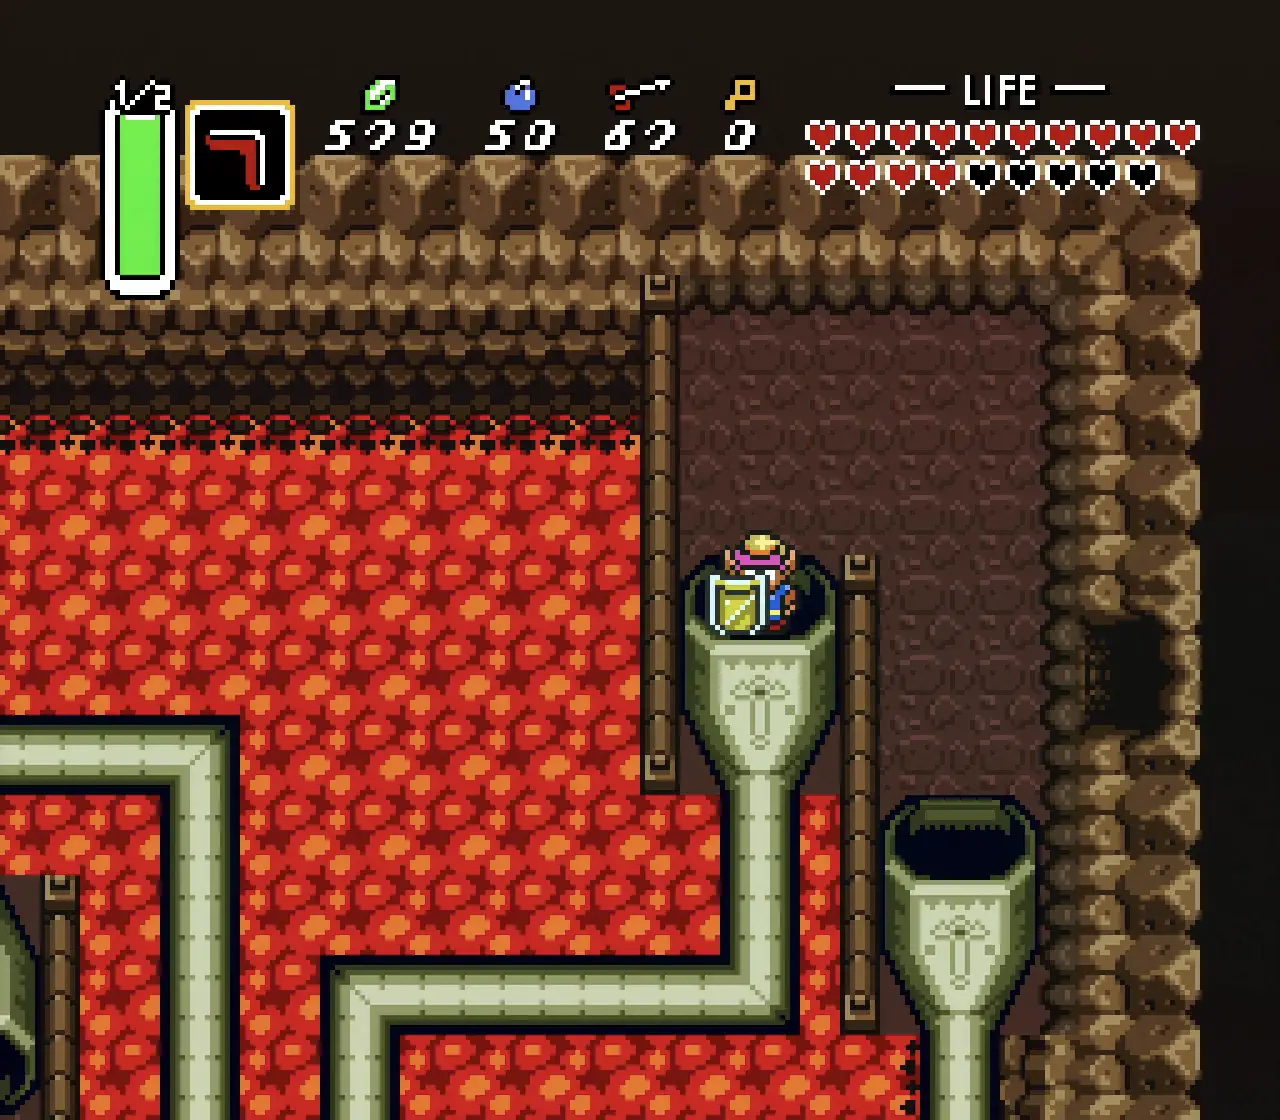
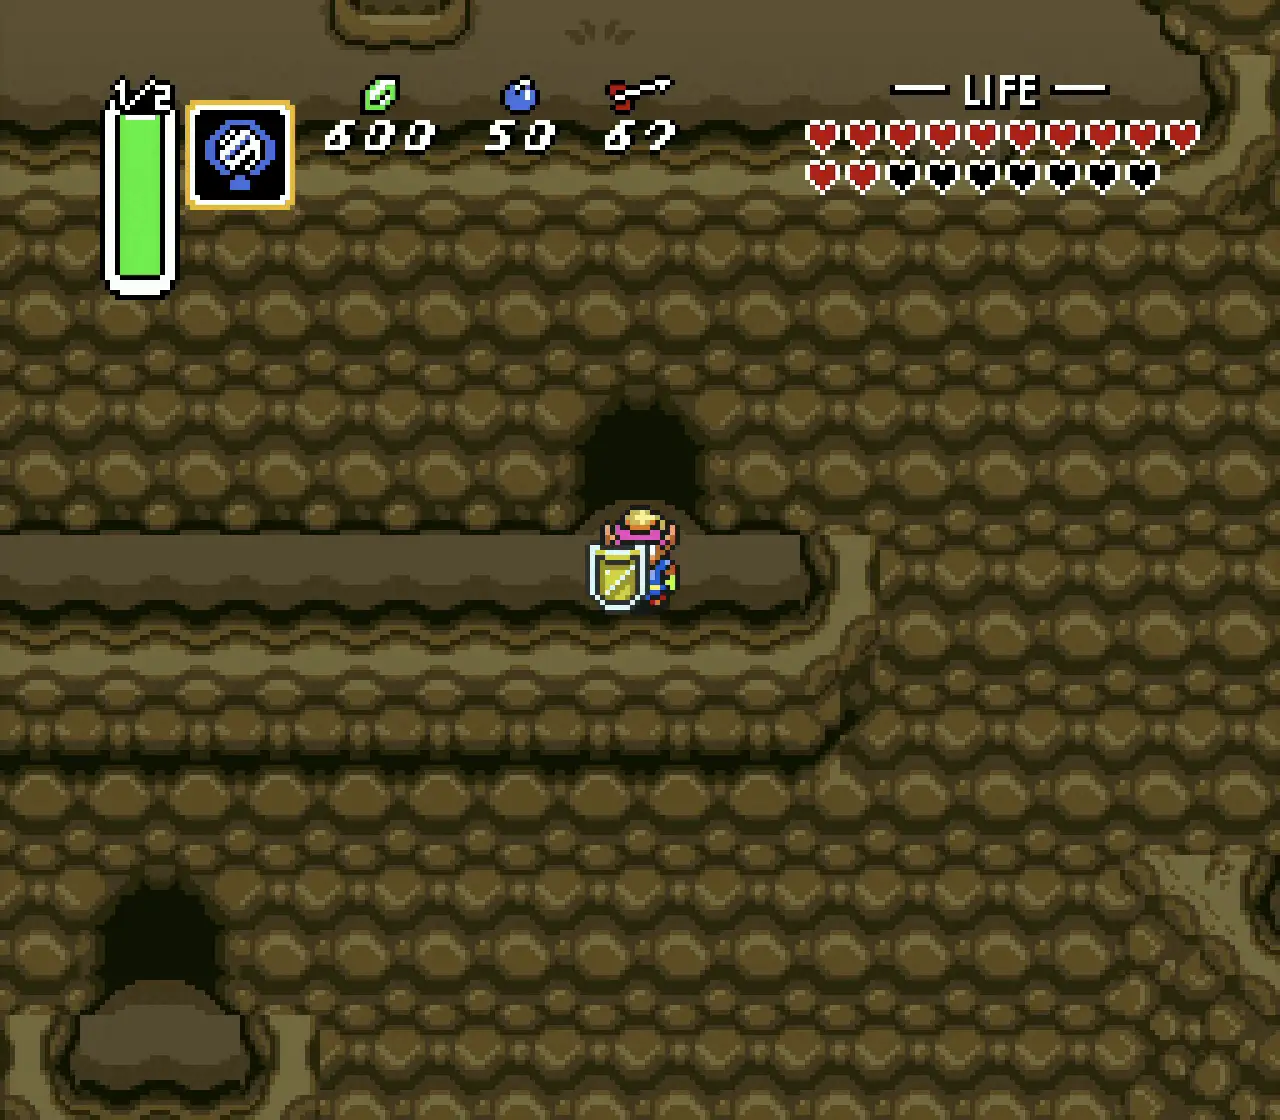
On your way to Turtle Rock you’ll enter a cave and encounter a large rock once you’re back outside (which is just a few screens left of Turtle Rock itself). Lift this rock up to reveal a staircase underground, which you’ll need to enter. Travel North in this cave and you’ll face a massive gap, which is actually an invisible bridge – If you use the Ether Medallion it’ll briefly show you the bridge, or you can just follow this clip to see where to walk. Carry on North, bomb the North wall and continue to the next area. Then, bomb the Western wall and enter that room, then exit the cave to the South. Once back outside, use the Magic Mirror, where you’ll appear in front of a Piece of Heart.
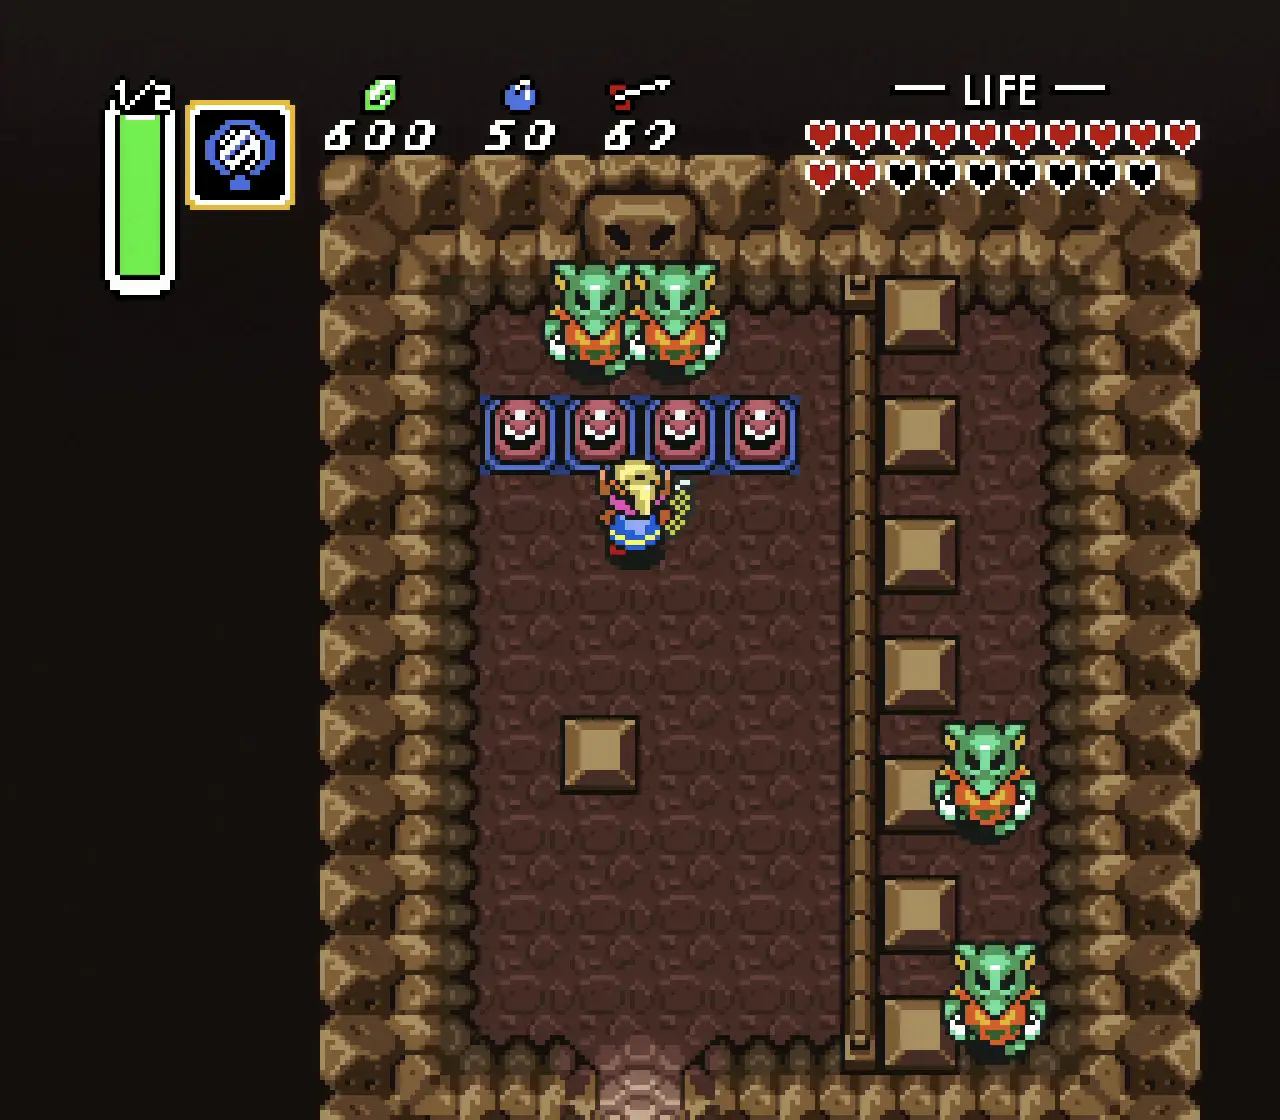
24 – Turtle Rock Overworld Area
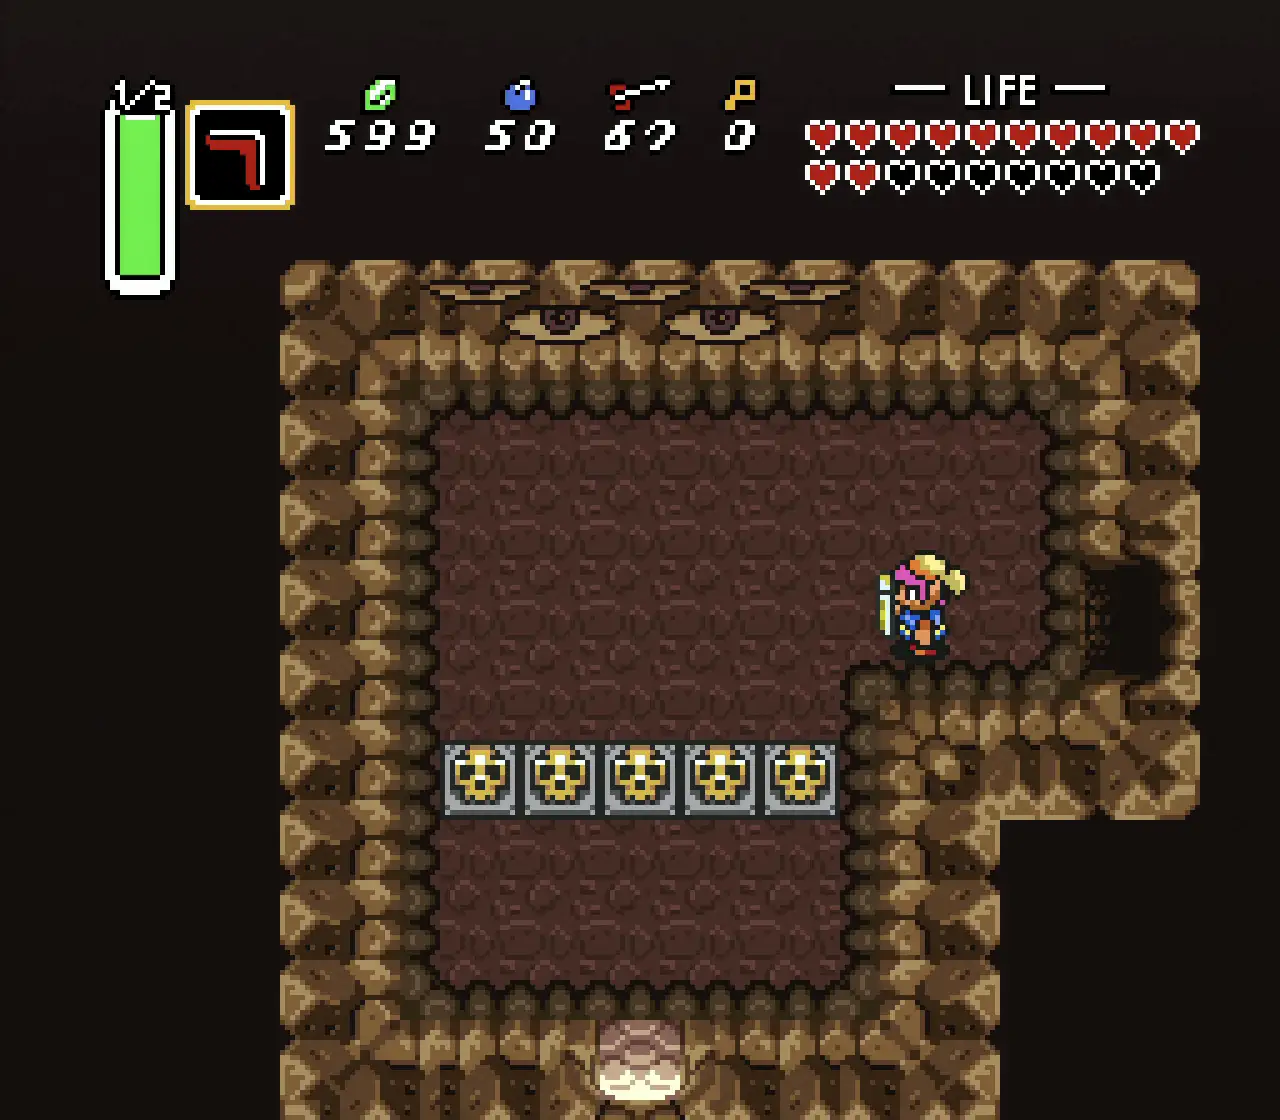
Step 1 Step 2 Step 3 Step 4 Step 5 Step 6

While finding your way through Turtle Rock, you’ll enter a massive room filled with lava and two tubes. Go into the left tube and South to the next room where you’ll find two Hokkubokku. Defeat them and go South, then West, then South to leave the dungeon. Outside, you’ll follow a narrow path to the East to another doorway, but before entering it, instead, use the Magic Mirror. Back in the Light World, you’ll be on a ledge outside a cave you need to enter. You’ll be greeted by four Green Goriya, which you need to defeat to open the Northern door, wherein you’ll find the last of The Legend of Zelda: A Link to The Past Heart Pieces.
